Overview
SalesBlink is designed for cold outreach and appointment-scheduling agencies. You can create separate workspaces for each client and give them controlled access to view their campaign performance, leads, and reports.
Prerequisites
Agency plan
A workspace created for the client
Owner or Admin role to add users
How It Works
When you add a client to a workspace:
The client receives an email invitation
They can access only the workspace they are invited to
You control what they can see and do through role-based permissions
Clients can view their campaign data, leads, and reports in real time
Add Client to Workspace
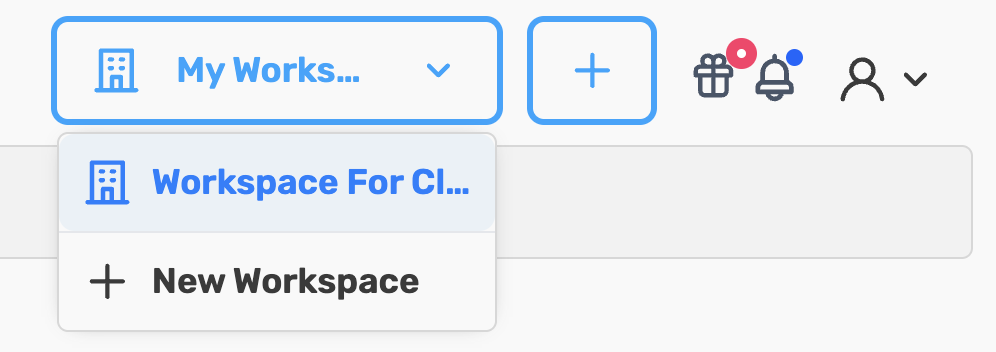
Step 1: Switch to the Right Workspace
Click the Workspace dropdown in the Top Navbar
Select the client's workspace from the list
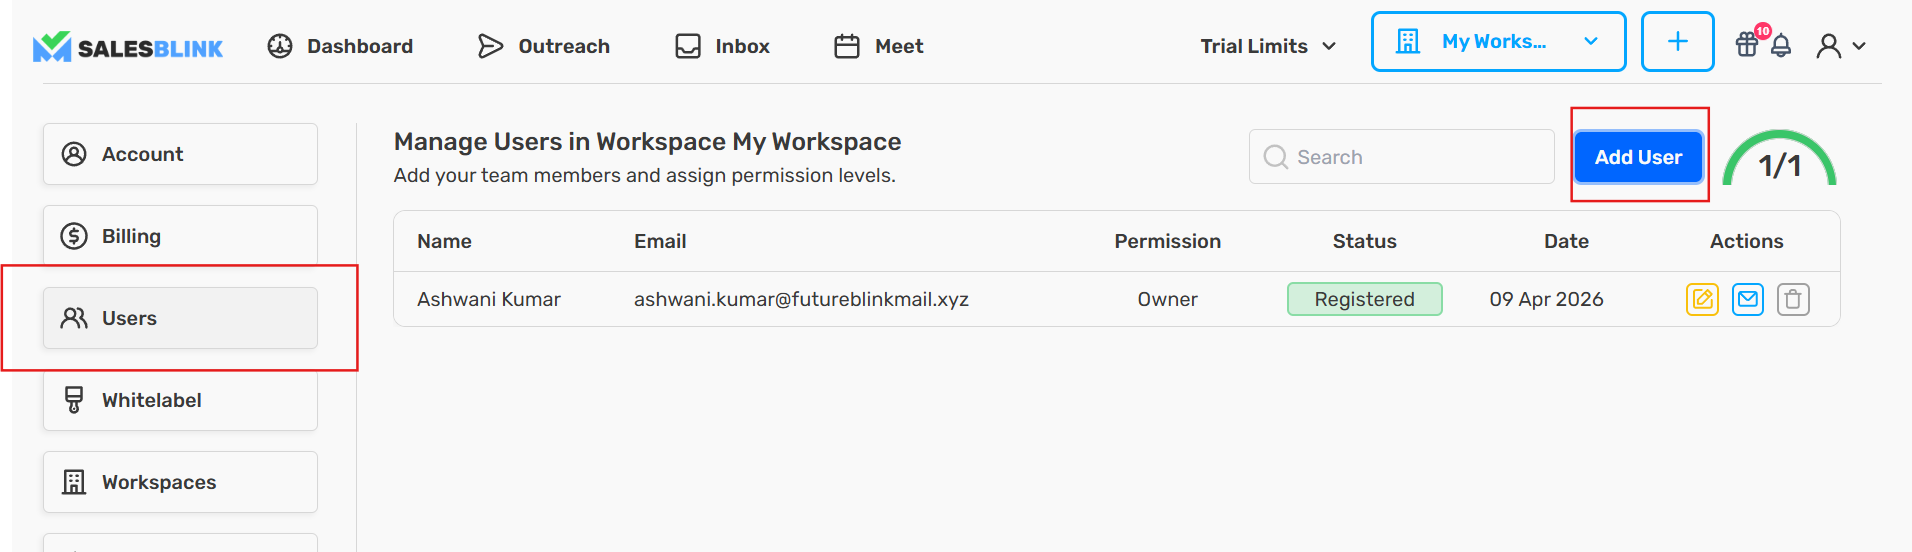
Step 2: Open Users Section
- Click on your Profile icon and select My Profile
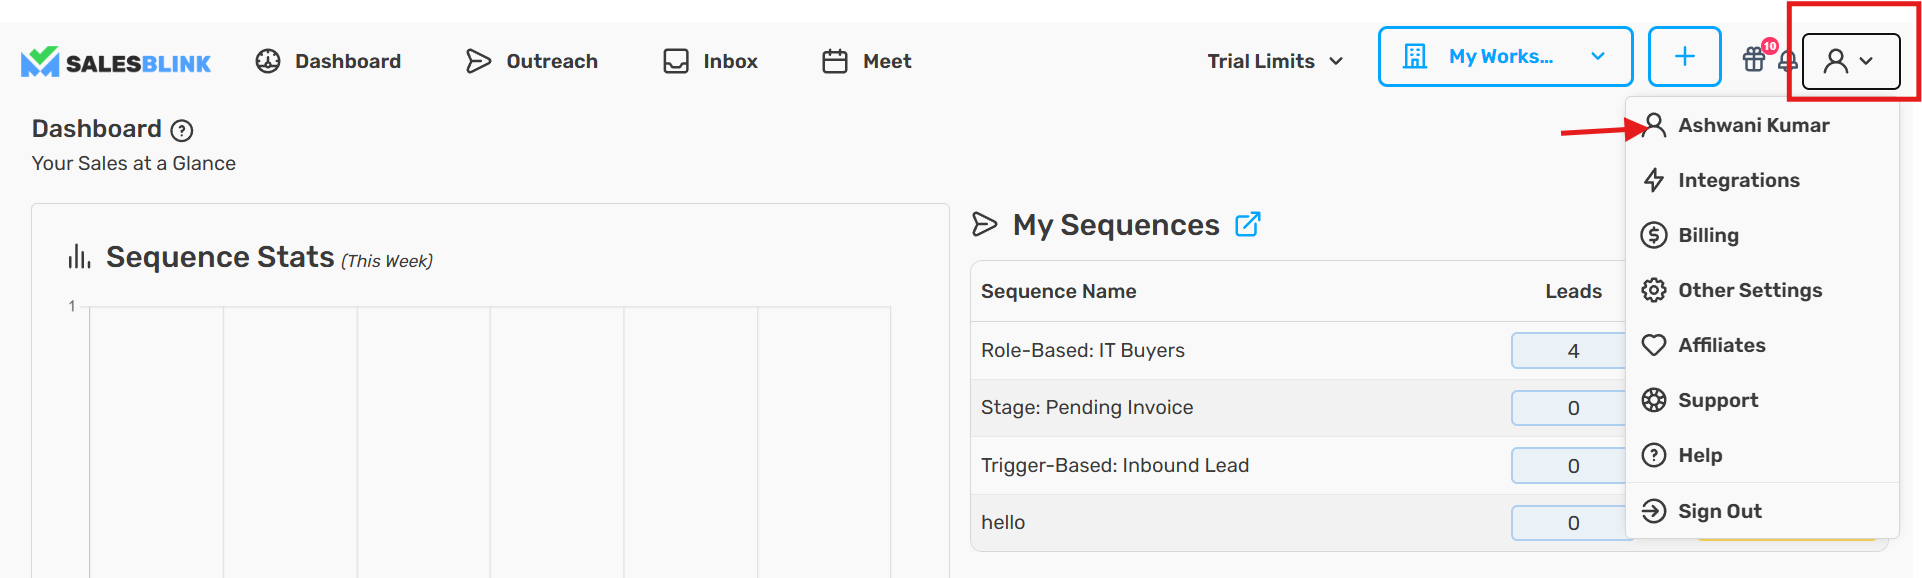
- Navigate to Account → Users
Step 3: Click Add User
- Click the Add User button
Step 4: Enter Client Details
- Enter the client's information:
Email Address: Client's email for login
Role: Select appropriate role (User recommended for clients)
Step 5: Send Invite
- Click Send Invite
Done! The client will receive an email invitation with their login credentials.
What Clients Can Access
Depending on their role, clients can access the following features:
User Role
Create and edit their own sequences
Add and manage leads
Create templates
Cannot manage other users or workspace settings
Admin Role (Use with Caution)
Full access to manage sequences, leads, and users
Can add or remove other users
Pro Tip
Tip: For most clients, the Client role is sufficient. Reserve Admin roles for clients who need hands-on control.
Manage Client Access
To manage existing client access:
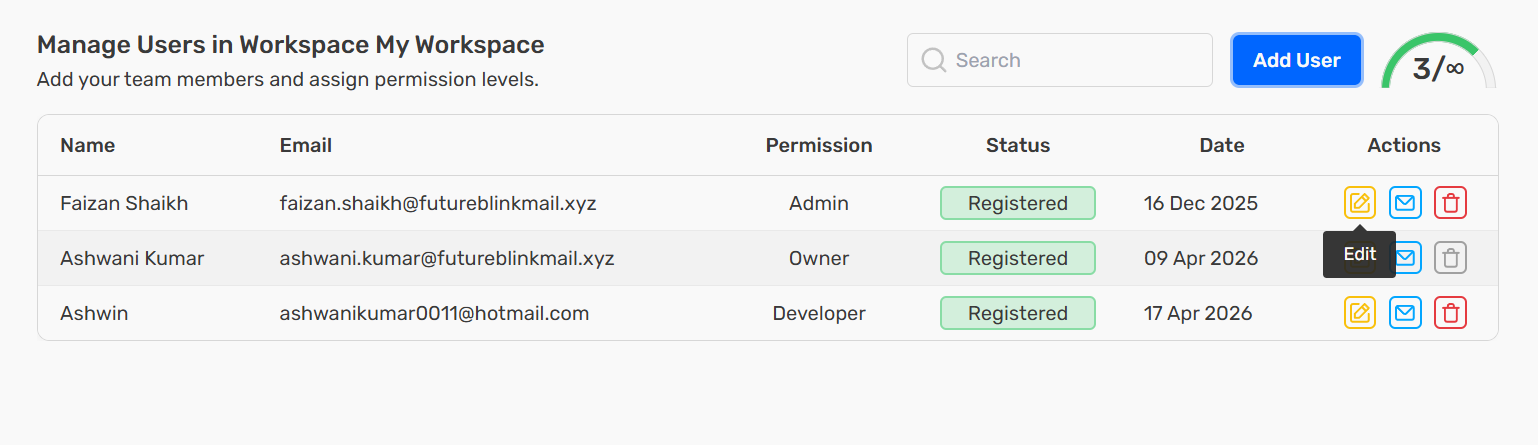
Go to Account → Users
Find the client in the user list
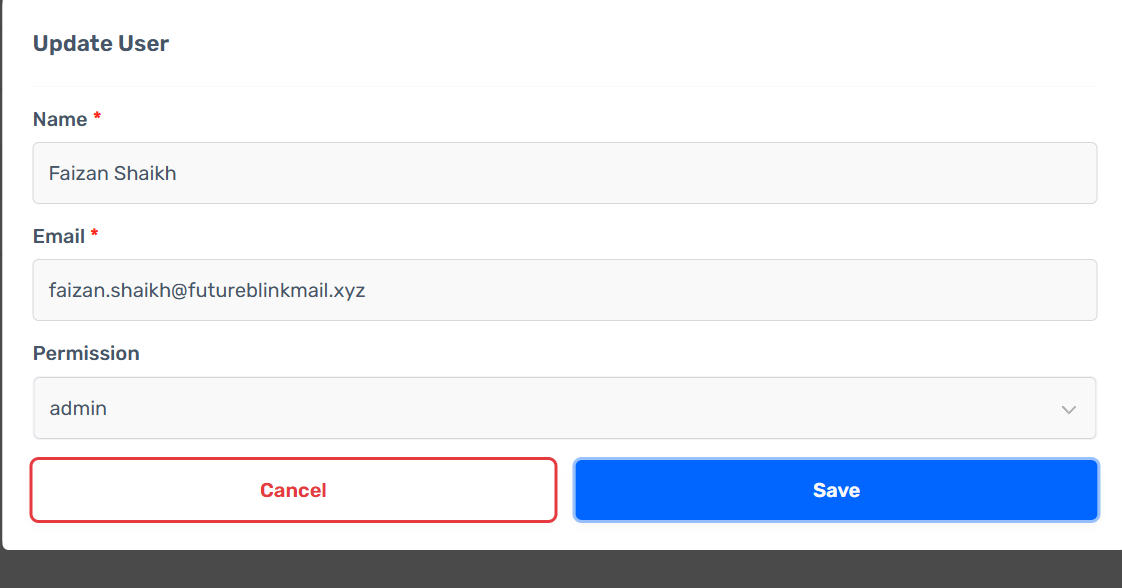
Click on the client to:
Edit their details
Change their role
Remove them from the workspace