Overview
Workspaces allow you to organize your SalesBlink account into separate environments for different teams, clients, or projects. Each workspace has its own data, users, and settings, keeping everything isolated and organized.
Prerequisites
- Permission to create workspaces (Owner or Admin role)
What is a Workspace?
A workspace is a dedicated environment within SalesBlink that contains:
Separate lead lists and contacts
Independent email sequences and campaigns
Unique email senders and settings
Dedicated users with role-based access
Isolated analytics and reporting
Workspaces are ideal for agencies managing multiple clients or companies with different teams that need separate outreach operations.
Create a Workspace
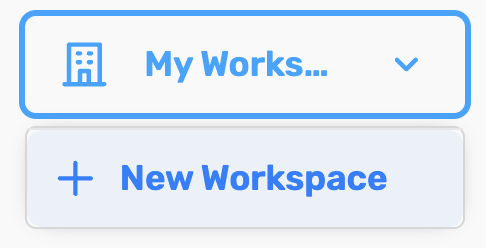
Step 1: Open Workspace Switcher
- Click the Workspace dropdown in the Top Navbar

Step 2: Create New Workspace
- Click the + (Create New Workspace) button
Step 3: Enter Workspace Name
Enter a Workspace Name (e.g., "Client A", "Sales Team", "Marketing Dept")
Click Create Workspace
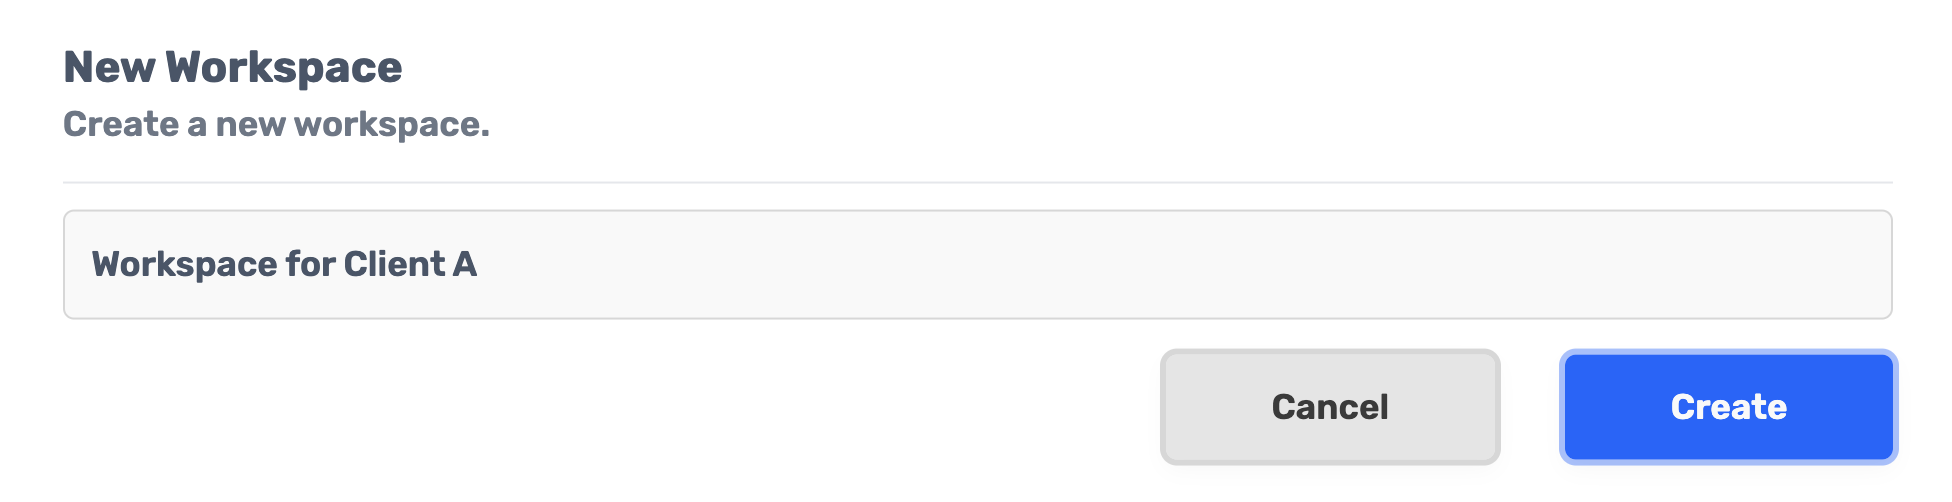
Your new workspace is now created and ready to use!
Manage Users in a Workspace
Before You Begin
Only Owners and Admins can add or manage users
Users can only access workspaces they are invited to
Each user can have different roles in different workspaces
Add a User
- Click on your Profile icon and select My Profile
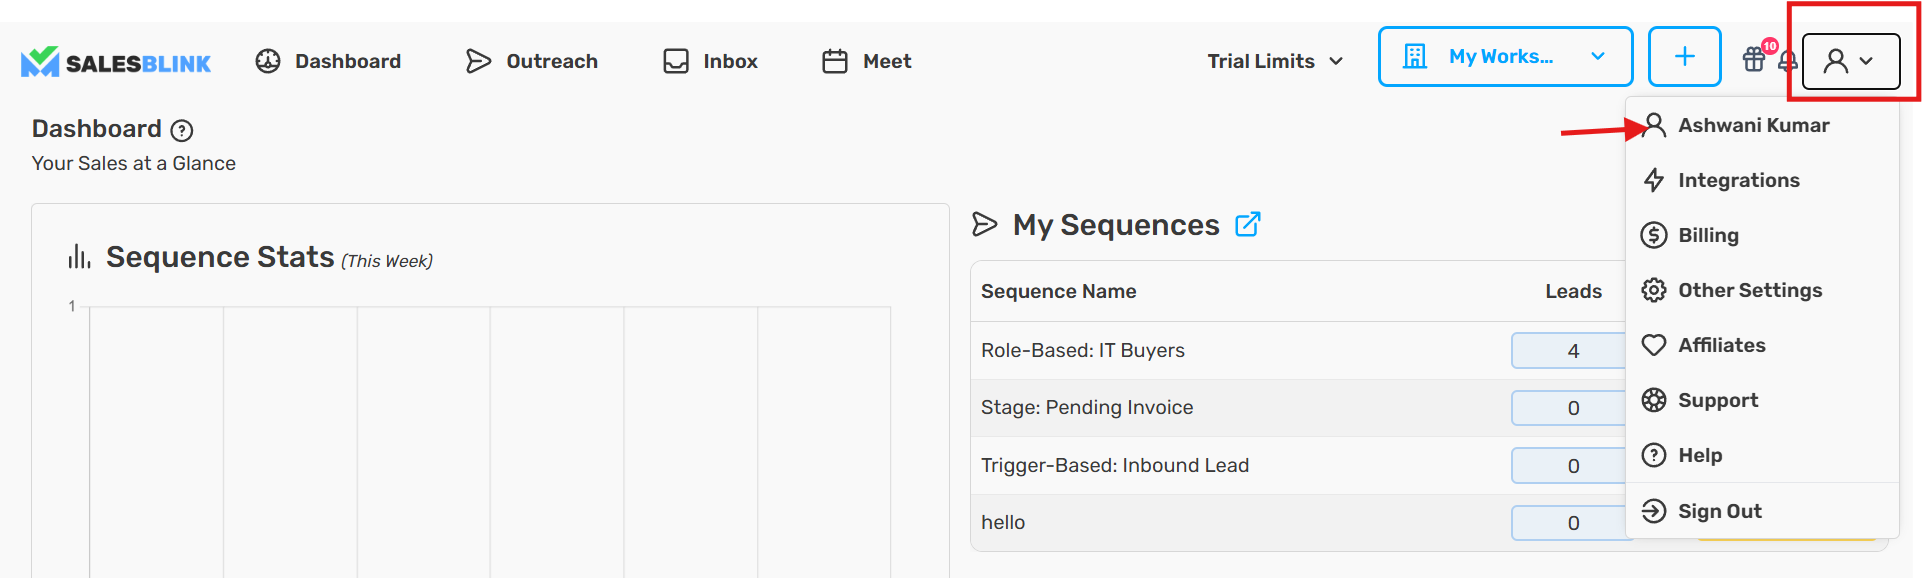
Navigate to Account → Users
Click Add User
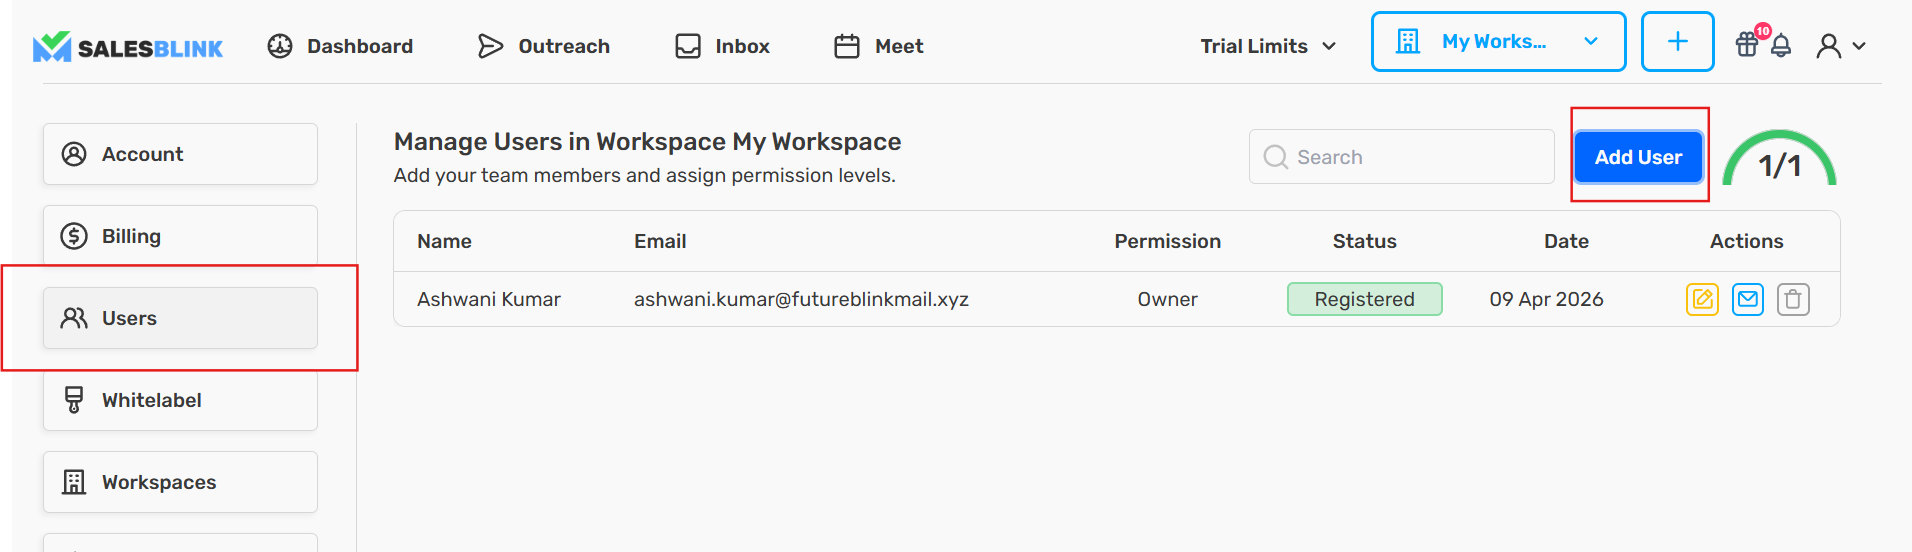
- Enter the user details:
Email address: The user's email for login
Permission: Select the appropriate role
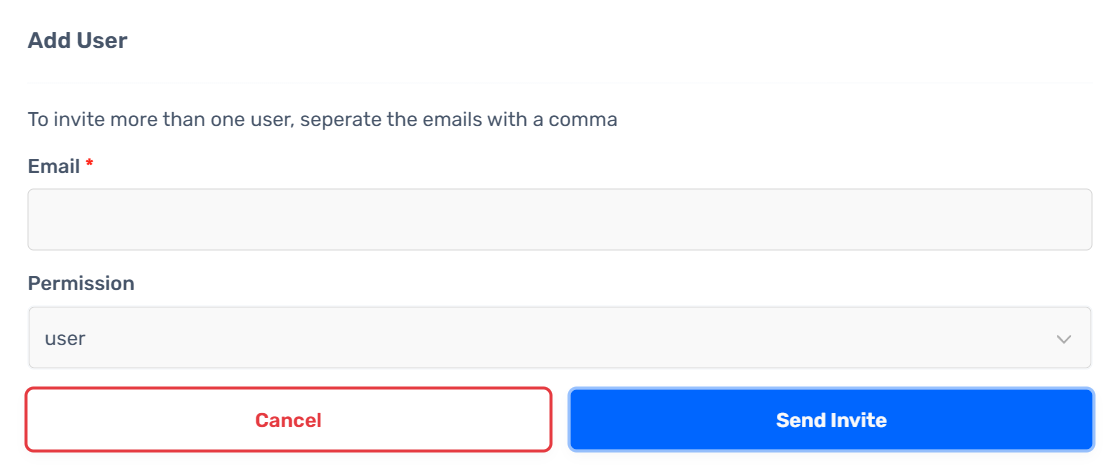
- Click Send Invite
Done! The user will receive an email invitation to join the workspace.
User Permissions
Each user in a workspace can be assigned one of the following roles:
| Role | Permissions |
|---|---|
| Admin | Full access to all features, can manage users |
| Developer | Can create and manage their own sequences and leads; cannot manage other users |
| User | Can create and manage their own sequences and leads; cannot manage other users |
| Client | Read-only access to view sequences, leads, and reports; cannot make changes |
Manage Existing Users
To view or manage existing users in a workspace:
Go to Account → Users
View the list of all users in the current workspace
Click on a user to:
Edit their details
Change their role
Remove them from the workspace
Important Notes
Note: Removing a user from a workspace will immediately revoke their access. Note: Ensure your plan supports the number of workspaces you need.
Pro Tip
Tip: Use descriptive workspace names that clearly identify the team or client. This makes it easier to switch between workspaces and keep everything organized.
Switch Between Workspaces
Step 1: Click Workspace Dropdown
- Click the Workspace dropdown in the Top Navbar
Step 2: Select Workspace
- Select the workspace you want to switch to from the list
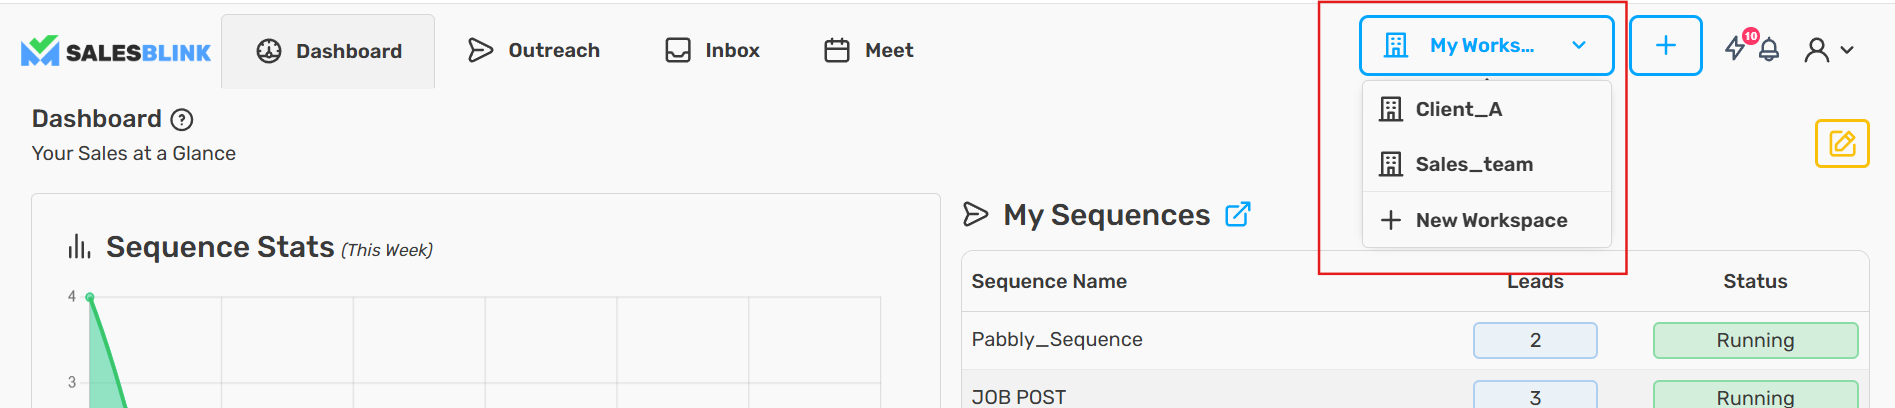
The page will refresh and you'll be working in the selected workspace. All data, settings, and users will be specific to that workspace.