Overview
Learn how to create lead lists, upload contacts via CSV or Google Sheets, organize lists into folders, and manage individual leads in SalesBlink.
Prerequisites
- CSV file with lead data OR a public Google Sheet
Create a List via CSV Upload
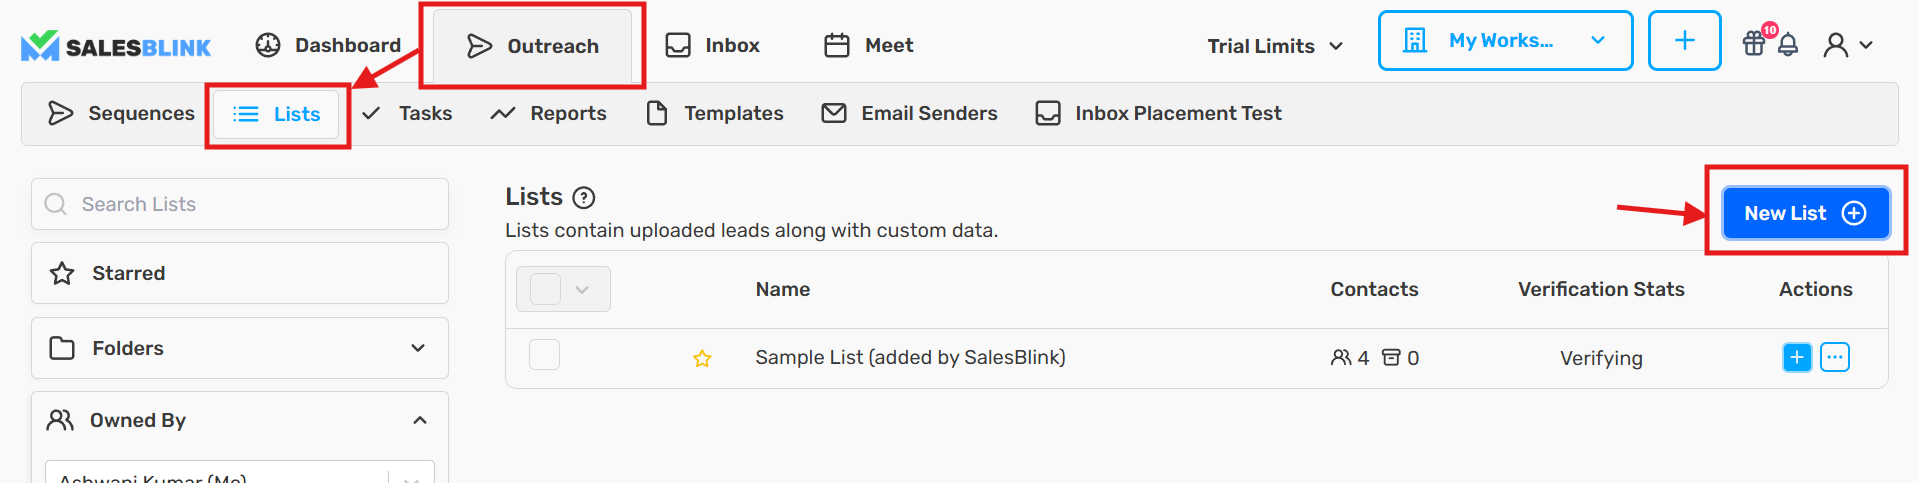
Click Outreach → Lists
Click New List
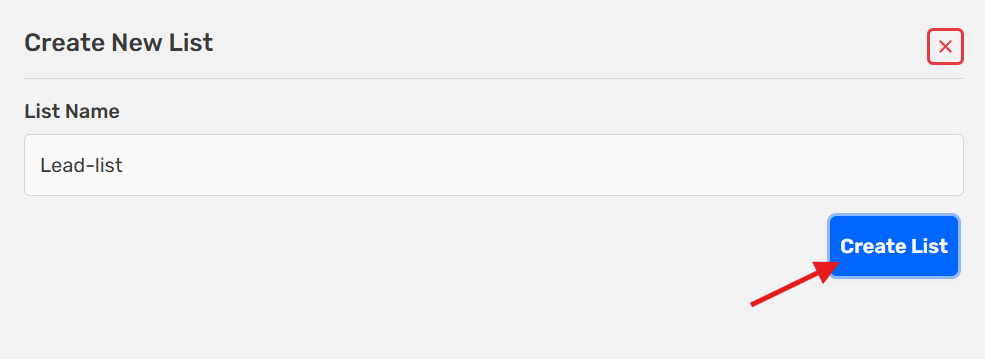
- Enter a List Name and click Create List
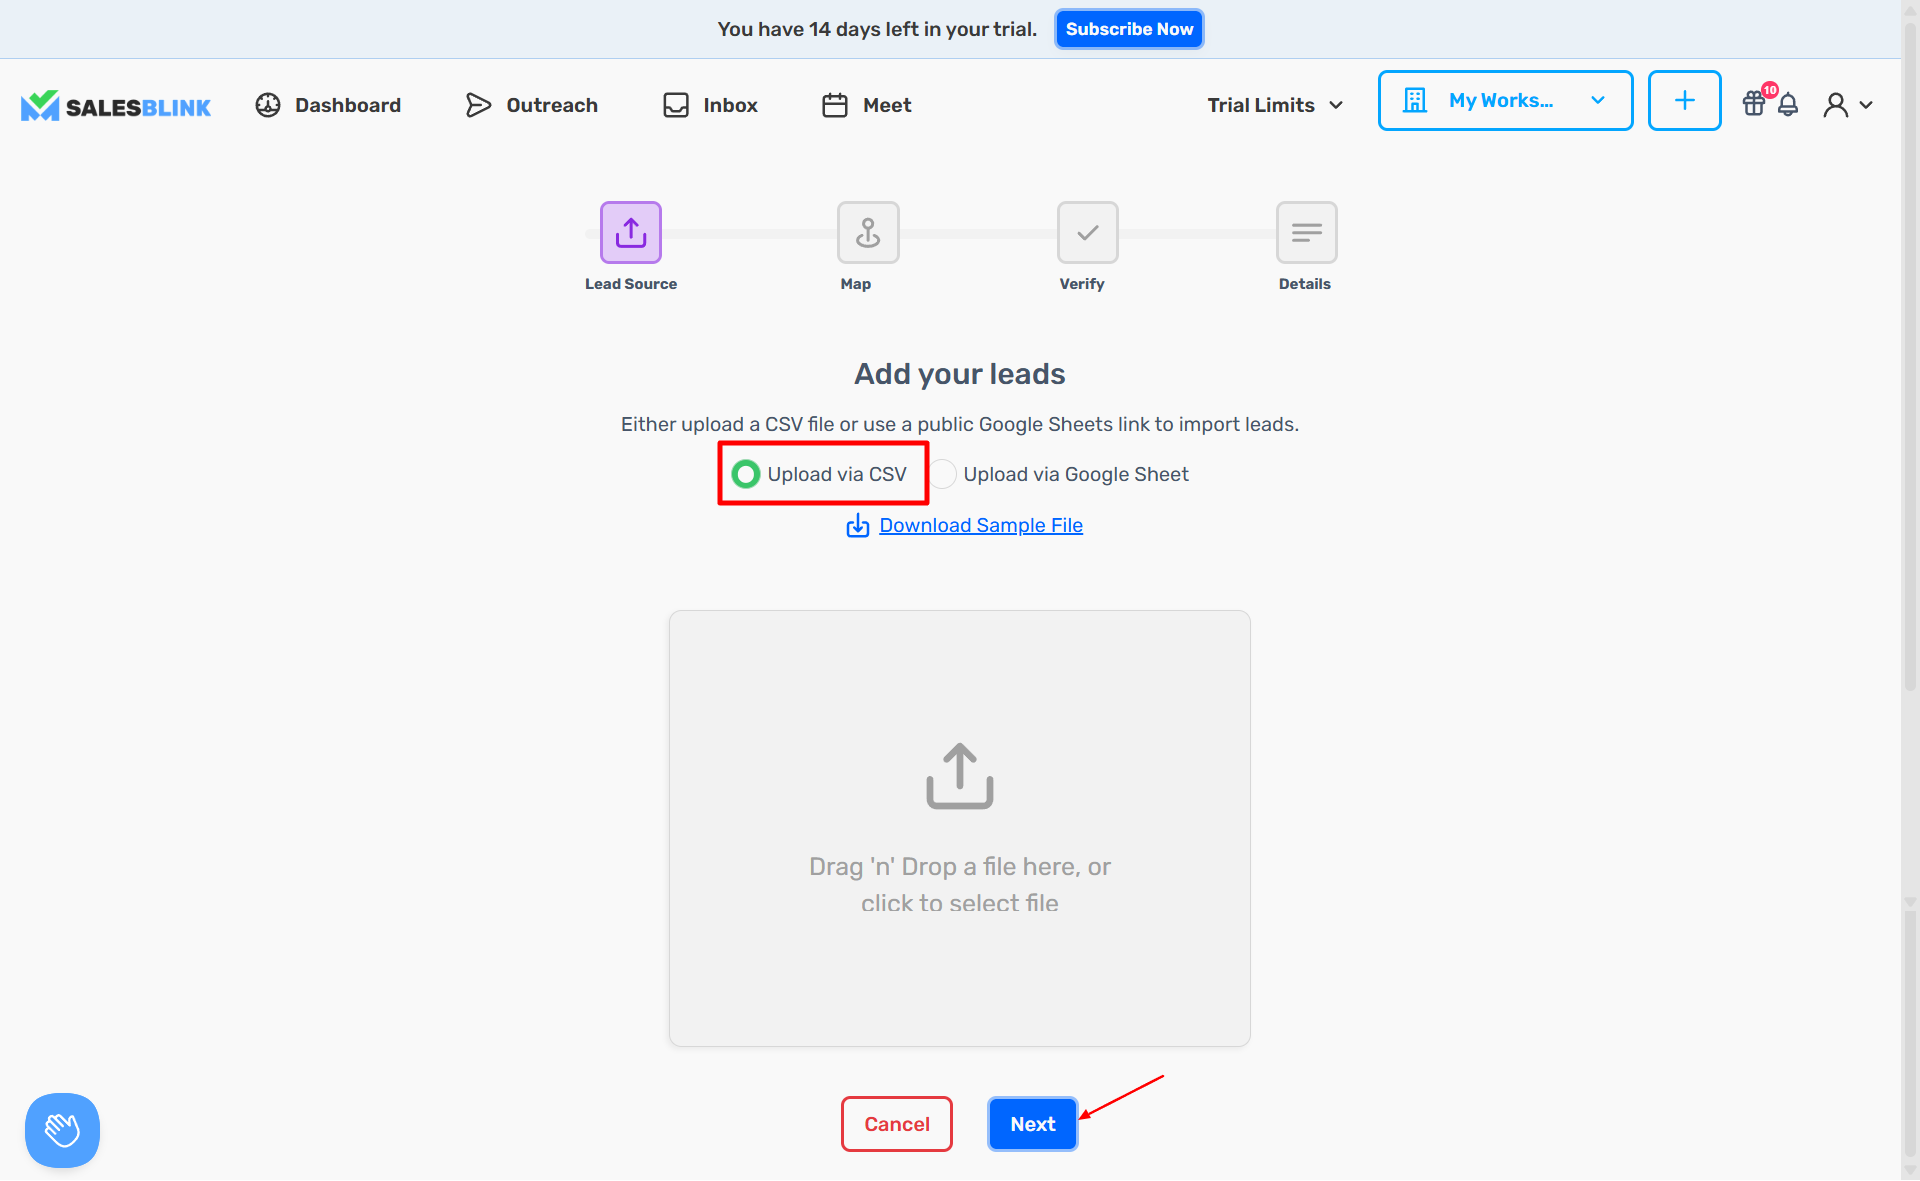
Select Upload via CSV
Click Download Sample File to see the required format
Tip: Each row represents one lead. Include columns like name, email, company, etc. Rows without a valid email address are not imported.
Supported CSV Fields
SalesBlink recognizes the following standard fields. Any additional columns you include become custom variables that you can use for personalization.
| Field | Description | Example |
|---|---|---|
| First Name | Lead's first name | John |
| Last Name | Lead's last name | Doe |
| Email Address | Lead's email address (required) | john@example.com |
| Phone Number | Lead's phone number | +1 555-123-4567 |
| Company Name | Lead's company or organization | Acme Inc. |
| Job Title | Lead's role or position | VP of Sales |
| Office Phone | Company's main phone number | +1 555-987-6543 |
| Department | Department the lead works in | Marketing |
| Street | Street address | 123 Main St |
| City | City | New York |
| State | State or province | NY |
| Country | Country | United States |
| Website | Company or personal website | https://acme.com |
Upload your CSV file by dragging and dropping or clicking to select
Click Next to proceed to column mapping
Create a List via Google Sheets
Click Outreach → Lists
Click New List
Enter a List Name and click Create List
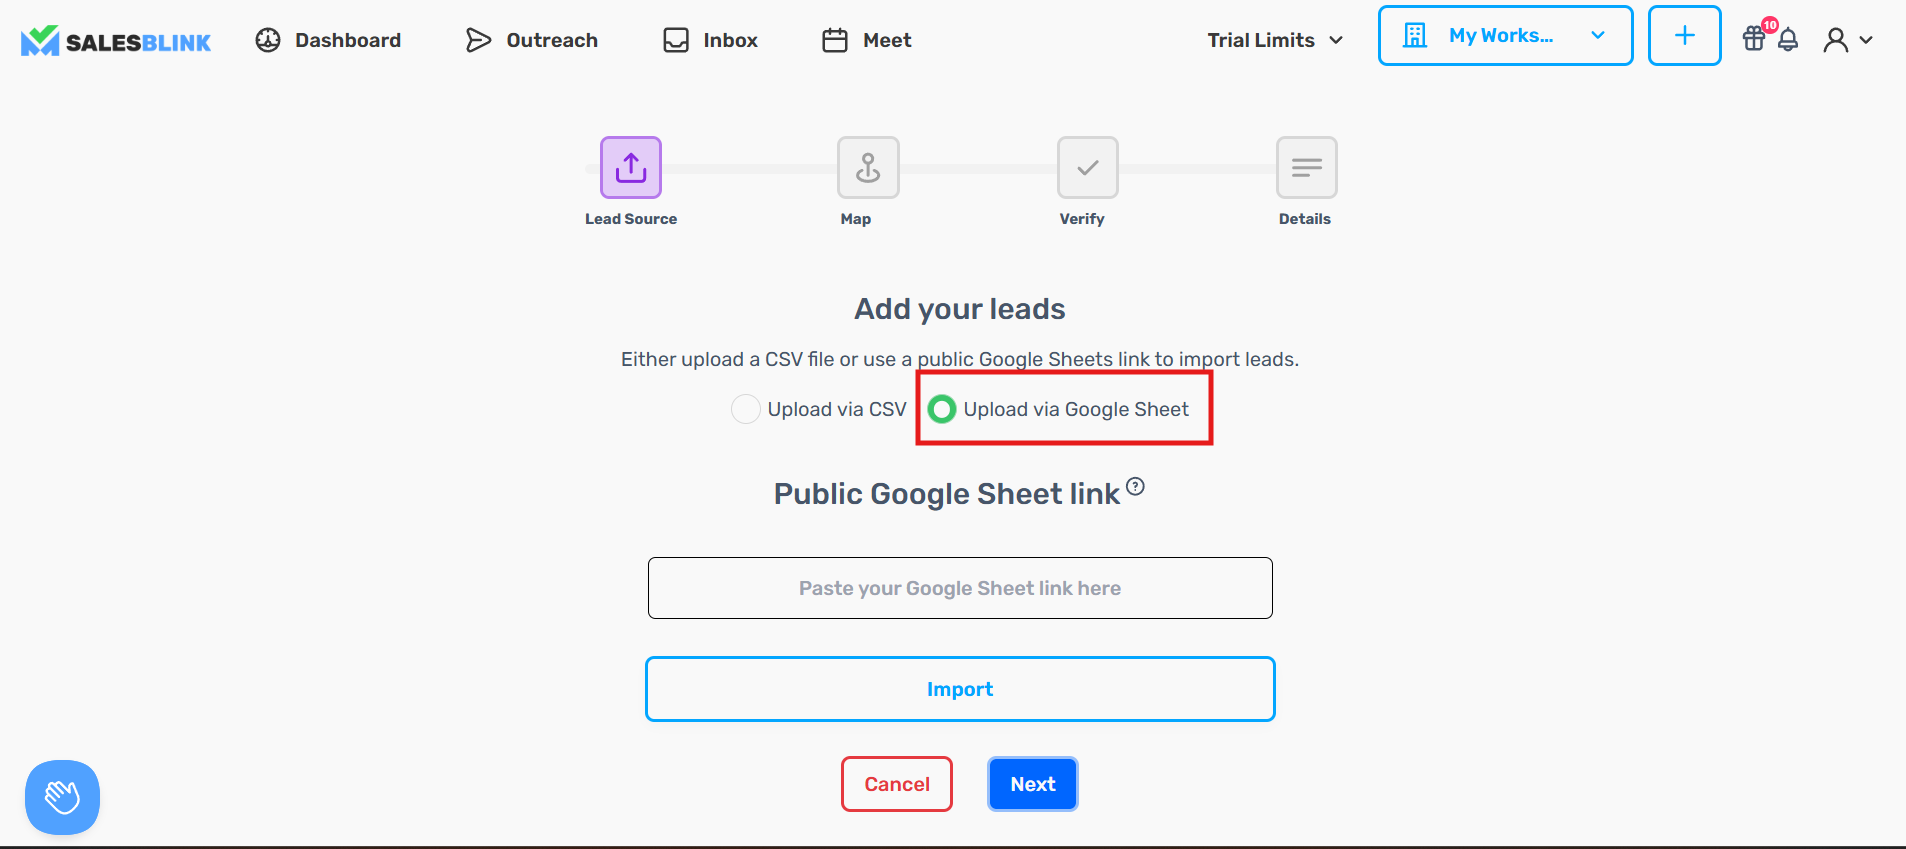
Select Upload via Google Sheet
Prepare your Google Sheet with columns for name, email, company, etc.
You can follow the sample CSV format
Note: The sheet must be public (viewable by anyone with the link).
Paste your Google Sheet link in the field
Click Import
Click Next to proceed to column mapping
Note: SalesBlink checks the sheet for new leads every 24 hours and automatically adds them to your list. A list connected to a Google Sheet can only get new leads from the sheet. You can't add leads to it from the SalesBlink UI, the API, or MCP. To add leads, add rows to the sheet and wait for the next sync.
To sync right away, open the list and click the sync icon ("Sync leads from Google Sheet") in the list header. Each sync adds the sheet rows whose email isn't already in the list.

Map Columns to Lead Data
After uploading, map your CSV/Google Sheet columns to SalesBlink variables for personalization.
- Review the column preview and data samples
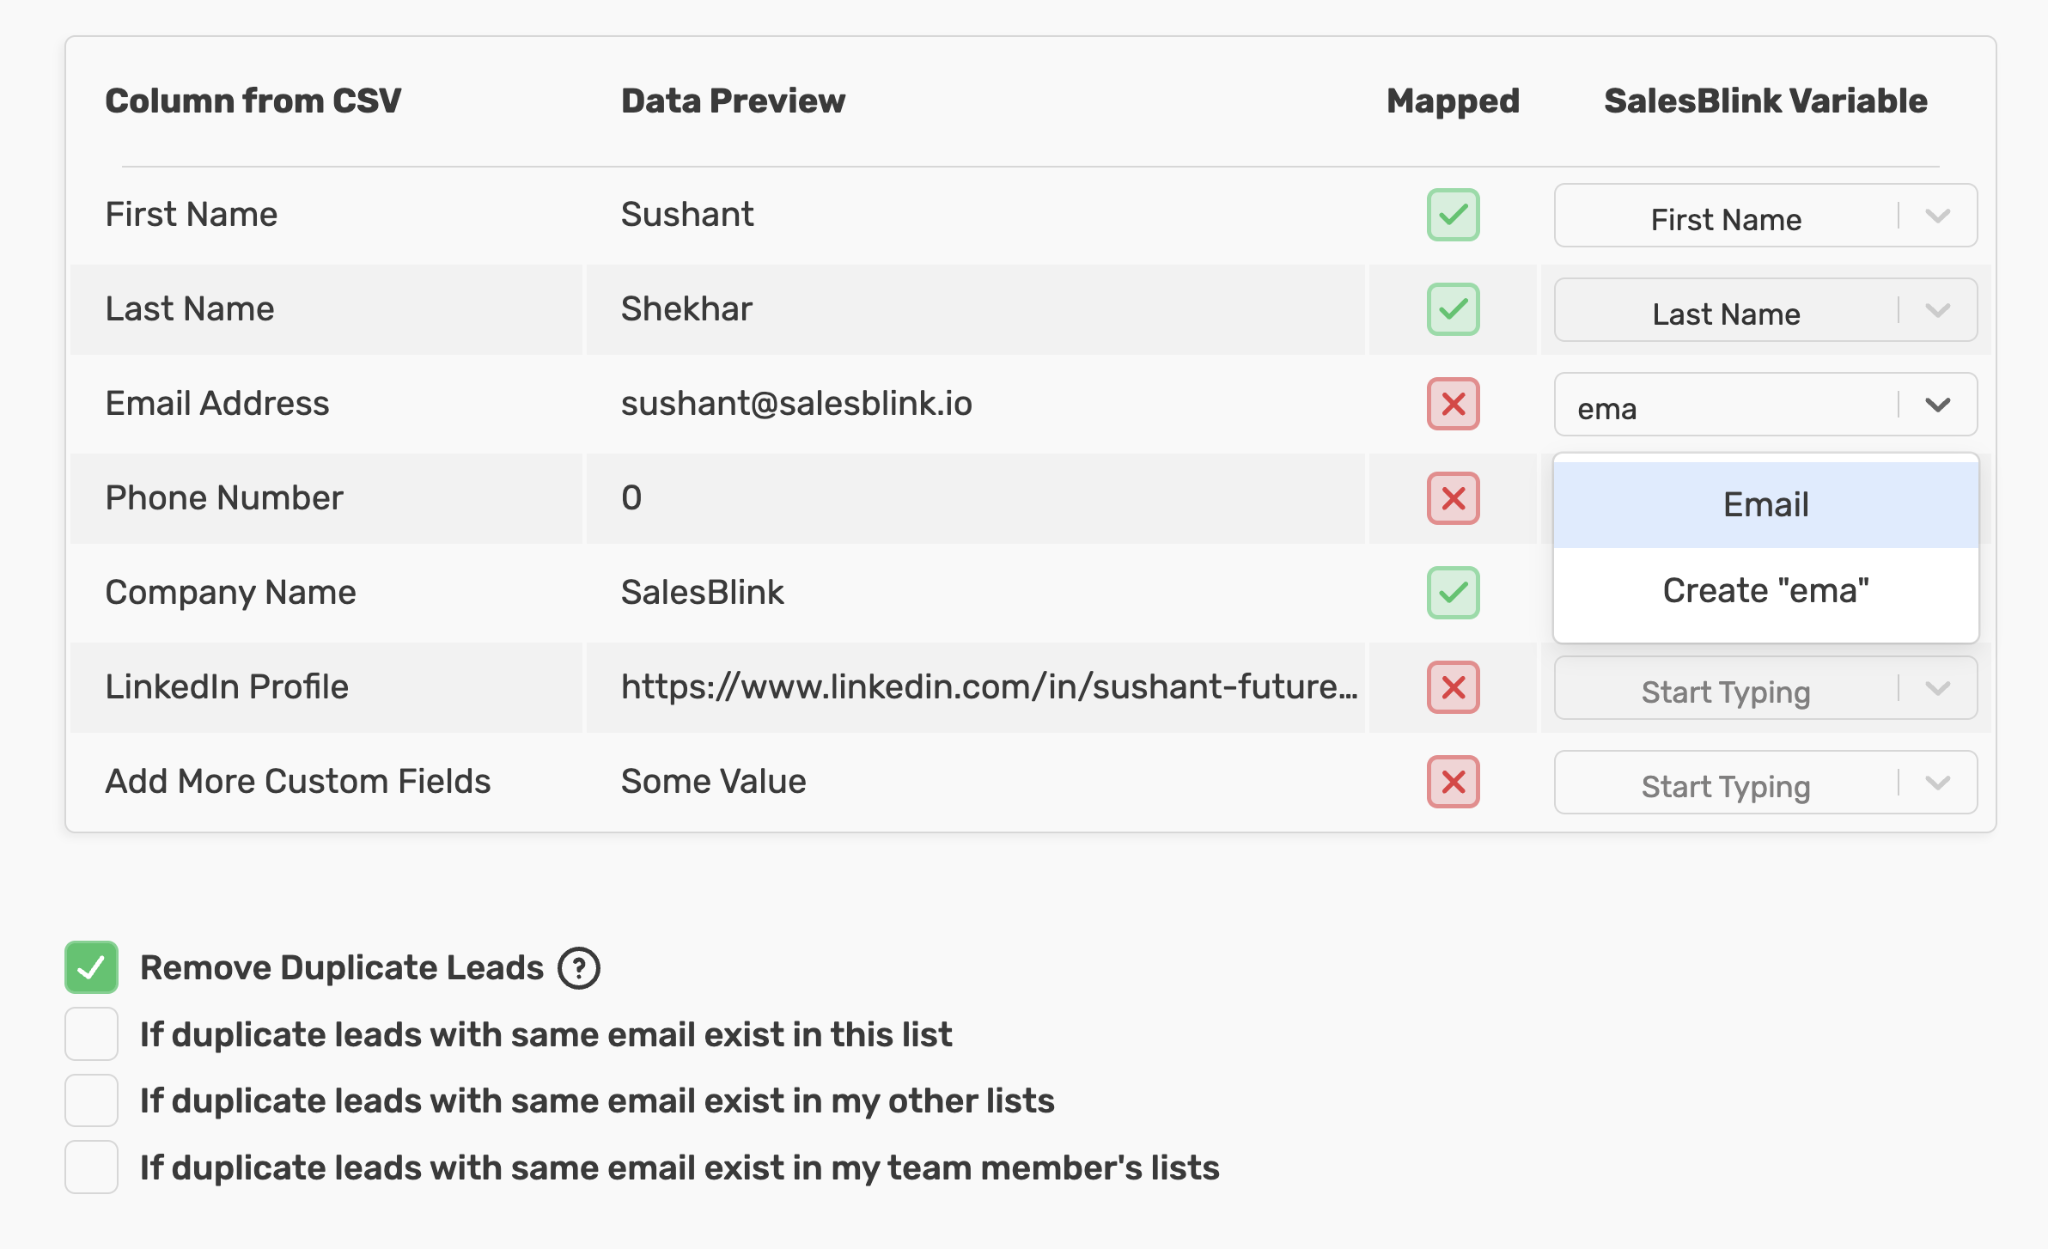
- Map each column to a SalesBlink Variable using the dropdown
Tip: You are not limited to the predefined variables. Type any name directly into the dropdown and click enter to create a new custom variable on the fly (e.g.,
fav_color,mutual_connection). Custom variables become available as personalization variables in your email templates — see how to use them in Create and Personalize Email Templates.
- Select Skip Column for any columns you don't need
Note: Custom variables can only be created here, while mapping columns during an upload (a new list or Add Leads to an existing list). You can't add a custom field to leads that are already in a list. If you need a new field, include it as a column in your file and map it when you upload. Custom variable names are saved in uppercase and spaces become underscores, so
Fav Color,fav_color, andFAV_COLORare the same variable. Variable names in templates are not case-sensitive, but the spelling must match.
Remove Duplicate Leads
Choose how to handle duplicate email addresses:
| Option | Description |
|---|---|
| If duplicate leads exist in this list | Removes duplicate emails within the list you're uploading |
| If duplicate leads exist in other lists | Removes emails that already exist in your other lists |
| If duplicate leads exist in team member lists | Removes emails that exist in any team member's lists |
Check the appropriate Remove Duplicates checkbox(es)
Click Next to continue
Note: Duplicate removal runs in the background, usually within about 10 minutes after the upload finishes (longer for large lists). Right after upload, the list can still show duplicate leads as imported. The count drops once the duplicates are removed. If every lead in a new list is a duplicate, the list is empty after this step and is deleted automatically.
Verify Emails (Optional)
Skip this step if you've already verified emails using another service.
- Check the Verify Emails checkbox
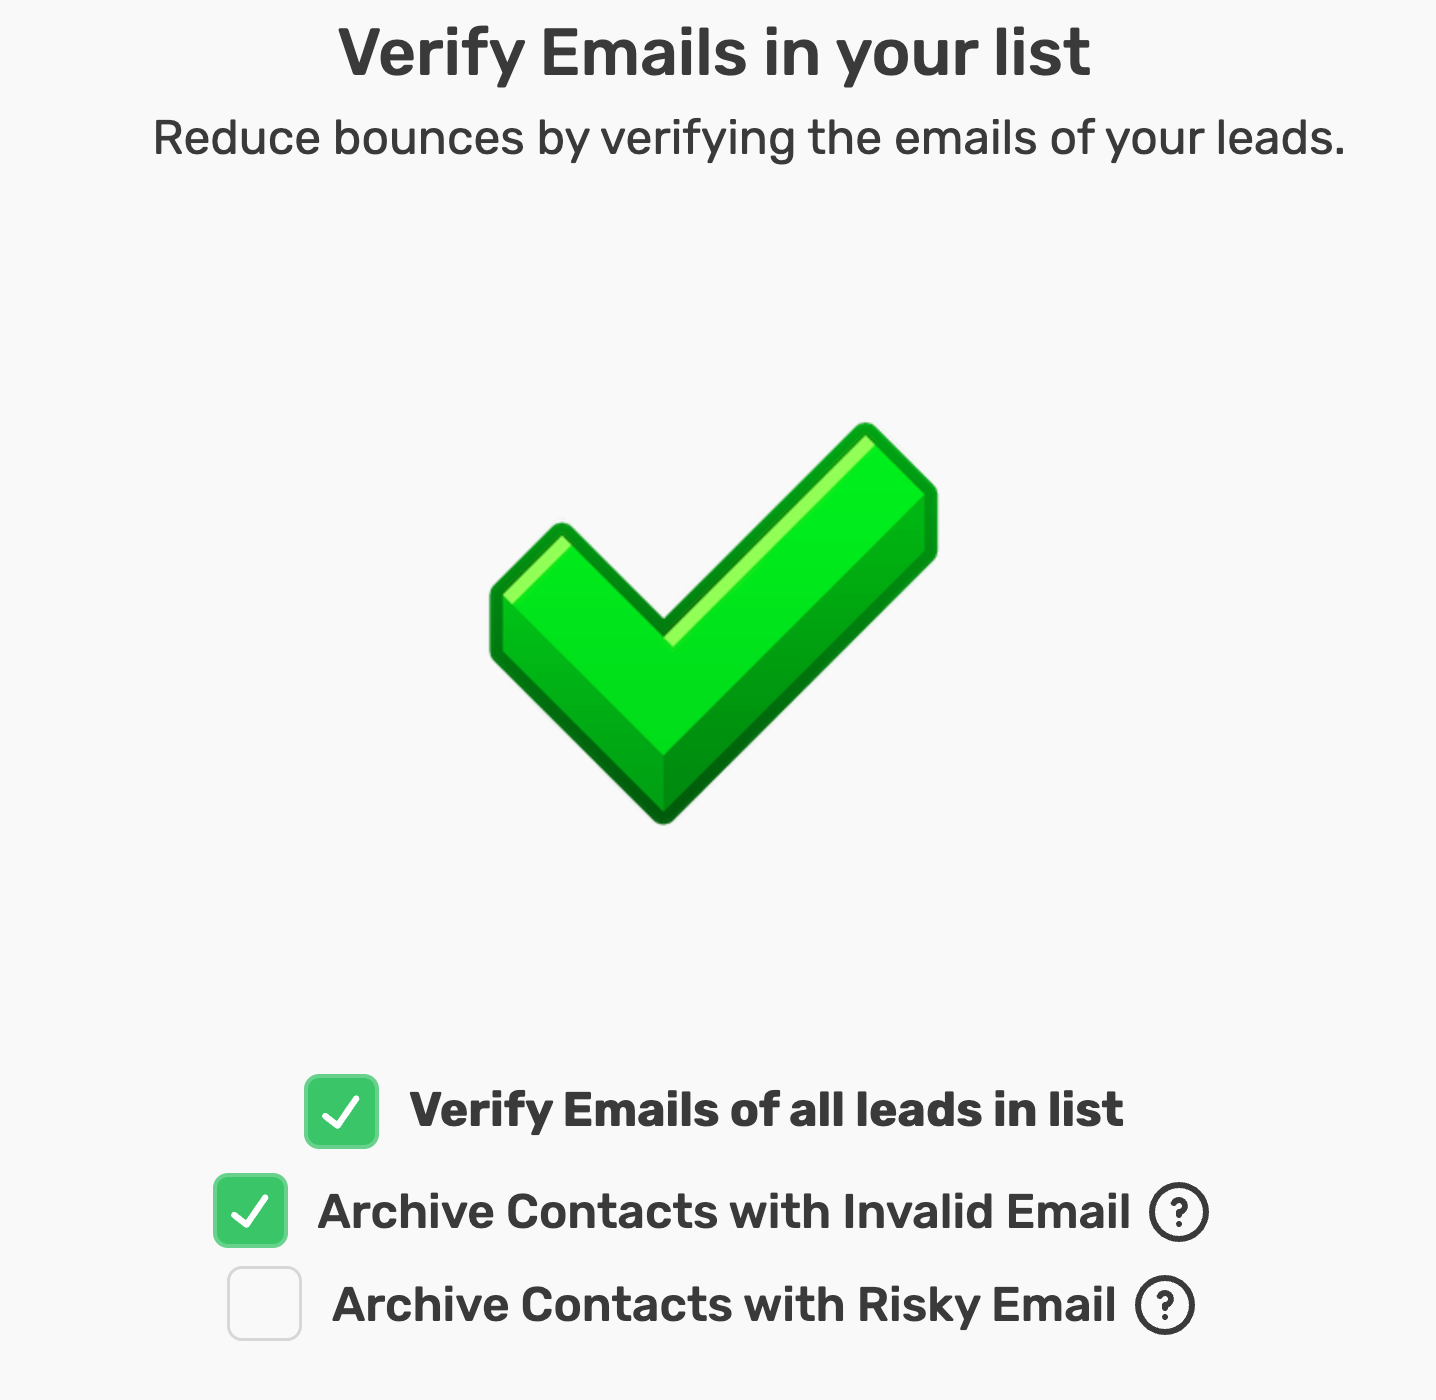
(Optional) Check Archive leads with Invalid Email and/or Archive leads with Risky Email to exclude them automatically
Click Next to complete the list creation
Note: You can only choose to verify emails at upload. There is no option to re-verify a list after it is created. To verify leads you already uploaded, download the list and upload it again as a new list with Verify Emails checked.
Add Leads to an Existing List
Add more leads to a list that's already connected to a running sequence. New leads will be detected and scheduled automatically.
Go to Outreach → Lists
Find the list and click the Add Leads (+) button in the Actions column
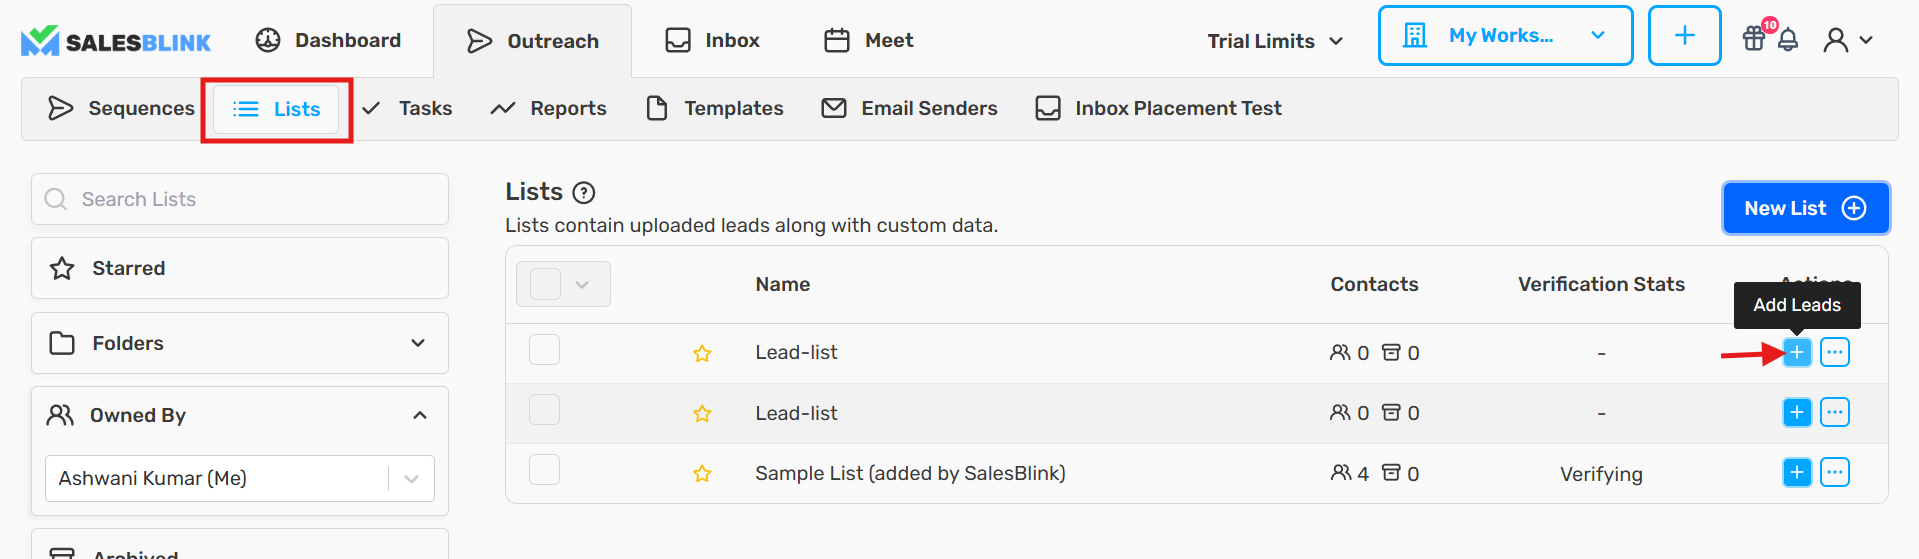
Upload your CSV file and map the fields
Click Add Leads to complete
Note: Uploading a new list, or adding leads to a different list, does not change which list a sequence uses. A sequence only sends to the lists connected to it. To send to a new list, connect it to the sequence. See How to edit a sequence.
Why did fewer leads import than expected?
The lead count in a list can be lower than the number of rows in your file. Common reasons:
- Rows without an email address are dropped. Every lead needs an email.
- Duplicates were removed. If you selected any Remove Duplicates option, SalesBlink removes emails that repeat within the file, already exist in your other lists, or exist in your team members' lists. This runs 15 to 30 minutes after upload, so the count can drop after the list first looks fully imported.
- The list was empty after duplicate removal. If every lead was a duplicate, the empty list is deleted automatically.
- Risky and invalid emails were archived. If you checked Archive Risky & Invalid Emails, those leads are archived and are not contacted. See What do email verification statuses mean.
Note: If the same email appears more than once in a single list, SalesBlink never schedules it more than once. The duplicate rows are not emailed.
Common error messages
| Error | Meaning | What to do |
|---|---|---|
Please upload CSV file with some data in it! |
SalesBlink could not read any lead rows from the file. | Check that the file is a comma-delimited CSV with a header row and at least one row of data, then upload it again. |
Could not find any contact info. |
Shown on a sequence lead when the contact no longer exists in the list at send time, for example because duplicate removal deleted it after it was added to the sequence. | No action is needed for that lead. The same email is still in your other list. If you don't want leads removed, leave the "other lists" duplicate option unchecked when uploading. |
Organize Lists
Star Important Lists
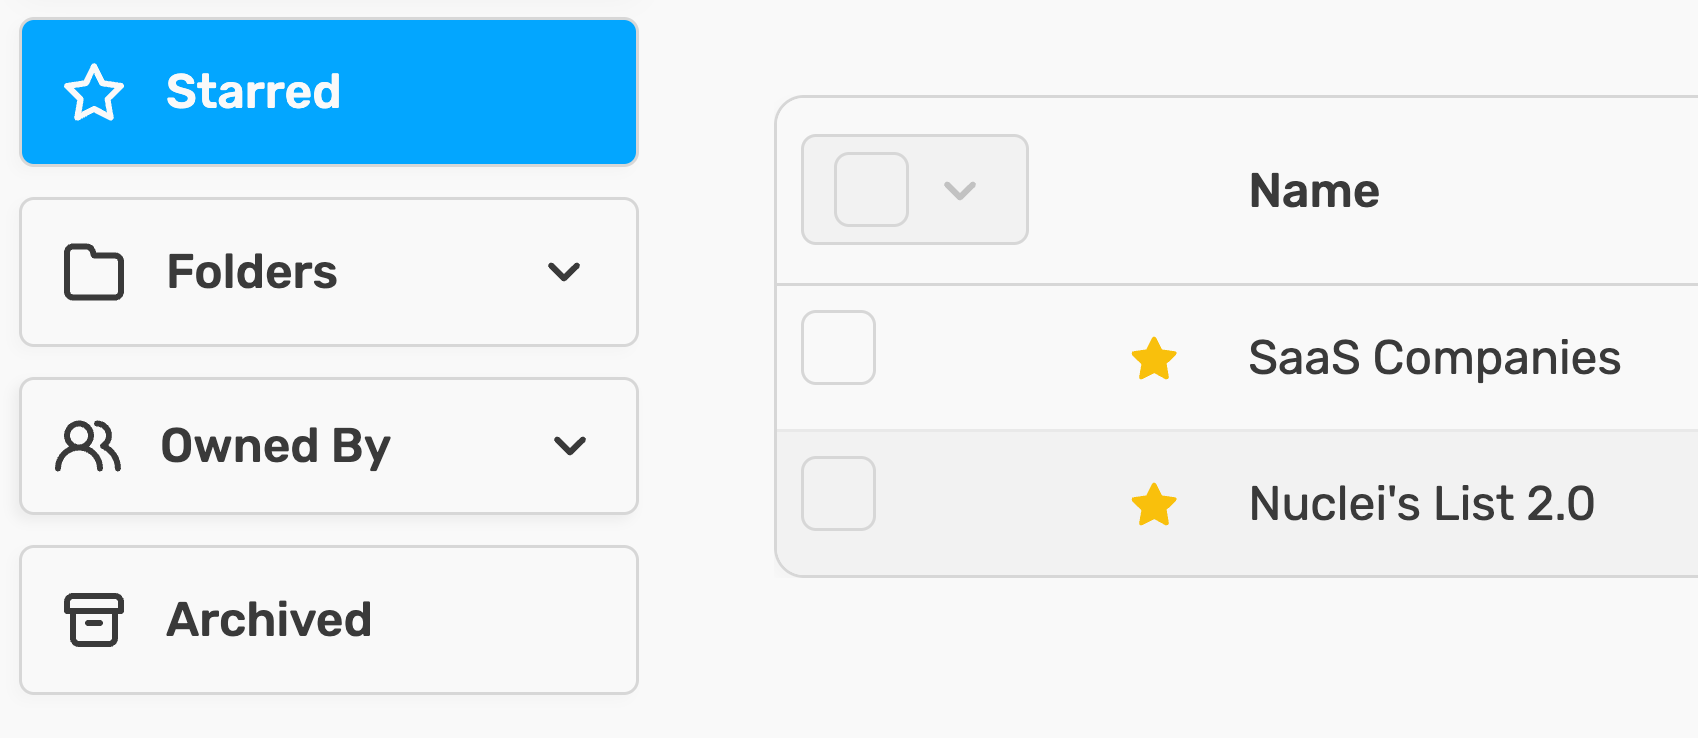
Click the star icon next to any list to mark it as important
Filter starred lists by selecting Starred from the Left Sidebar
Create Folders
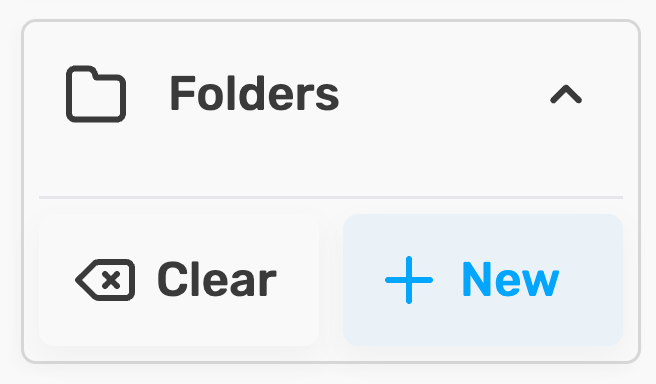
Click the Folders dropdown in the Left Sidebar
Click New
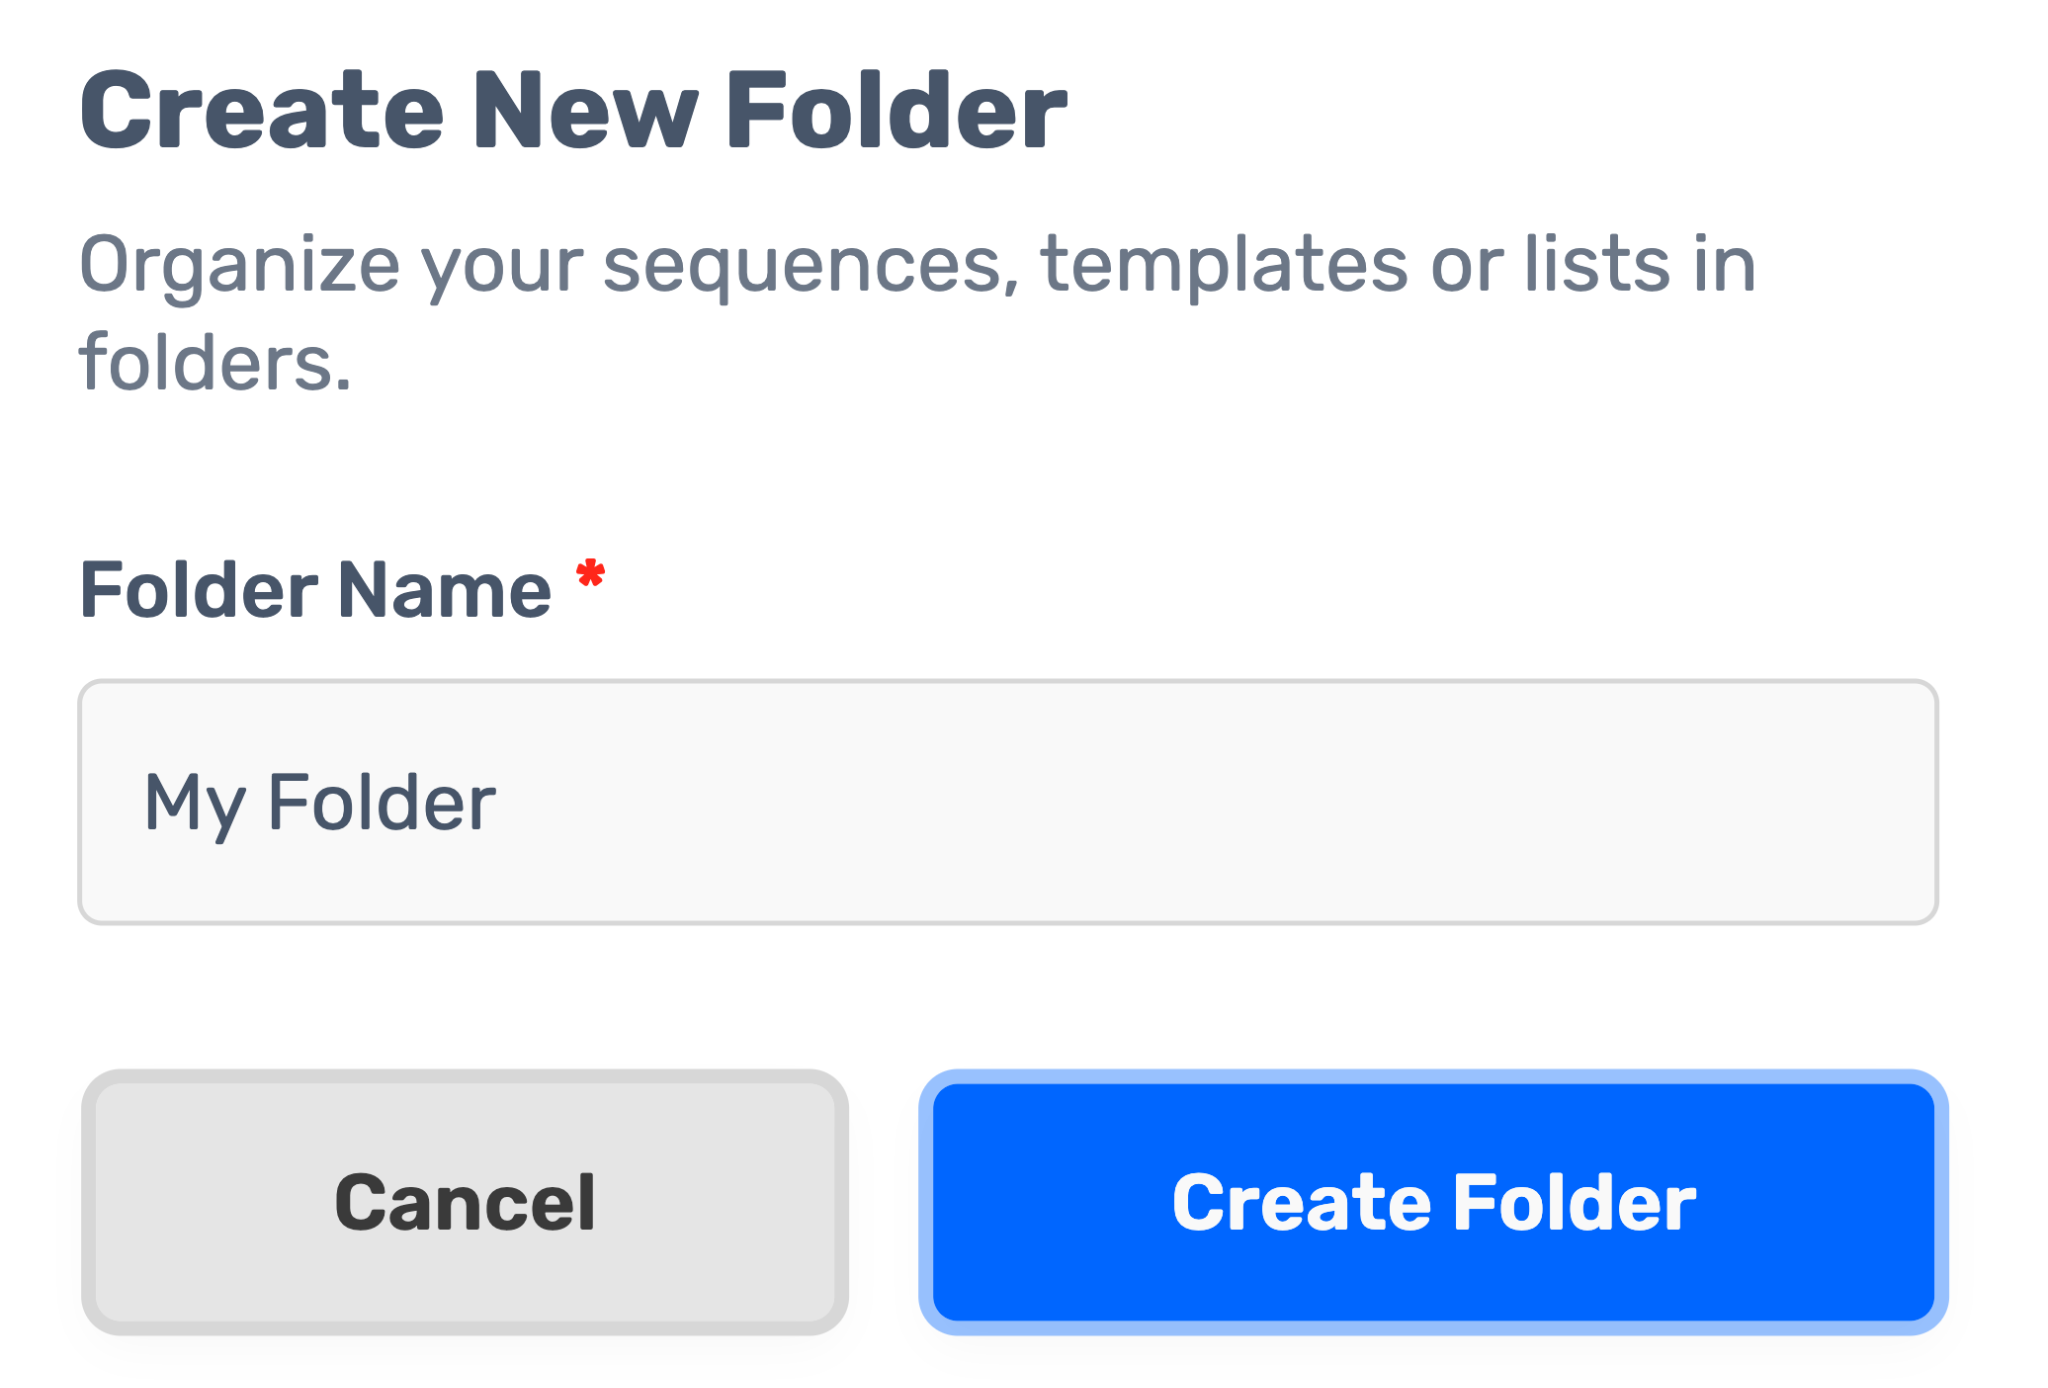
- Enter a folder name and click Create Folder
Move Lists to a Folder
Check the lists you want to organize
Click Move to Folder from the bulk actions toolbar

Select the destination folder
Click Move to Folder
Select all lists
When you tick every list on a page, a message lets you click Select all N lists matching this search query. The selection then covers every matching list, not only the current page, for Star, Archive and Move to Folder.
View Team Member Lists
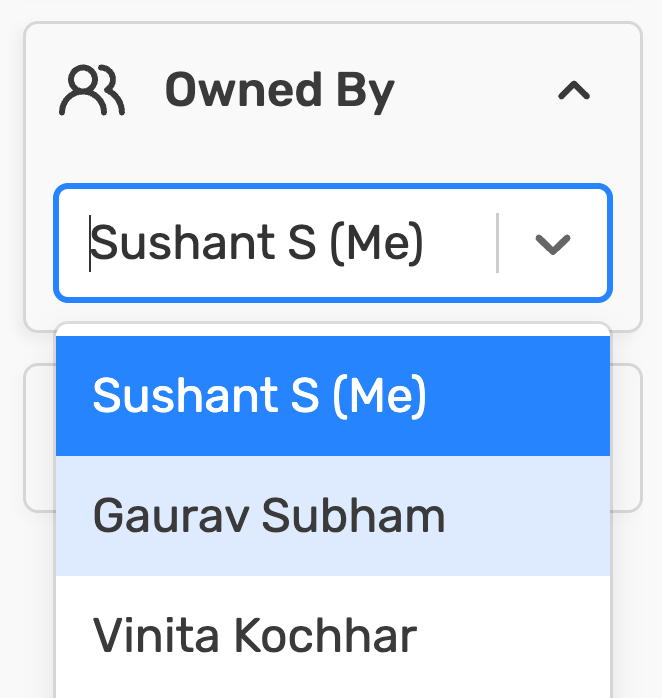
- Select a team member's email from the Owned By dropdown in the Left Sidebar
Download a List
Go to Outreach → Lists
Click the list name to open it
Click the Download icon (⬇️) at the top right
Under Leads, choose which leads to download:
- Leads that match the current filters: the same leads you see in the table (for example, only Starred leads, or only one Lead Status)
- All active leads
- All archived leads
- All leads (active and archived)
Under Columns, choose Columns in the current column view or All columns
Check the number of leads, then click Download
The file downloads in your browser. For large lists, this can take a few minutes. You can see the progress in your browser's downloads.
The CSV file always has these columns too: Archived, Starred, Verification Status, Confidence Score, Created Date, Last Modified and List Name. If you selected a sequence, the file also has Sequence Name, Lead Status, and performance metrics (Sent, Opens, Clicks, Replies, Bounces, Unsubscribed).
Use Column Views
A column view changes only which columns you see in the list. It does not filter leads. To choose which leads you see, use the Starred, Archived and Sequence filters in the Left Sidebar.
Open a list
Click the column view menu (eye icon) in the Left Sidebar. It shows All Columns or the name of the selected view. Then click New
Enter a name, add the columns you want, and drag them into order
Click Save Column View
To go back to every column, select All Columns.
The filters that are on show in the Left Sidebar, under the search box, in Active filters. Click × on a filter to remove it, or click Clear all.
Archive a List
Archiving stops all emails to leads in that list, even if connected to a running sequence.
Go to Outreach → Lists
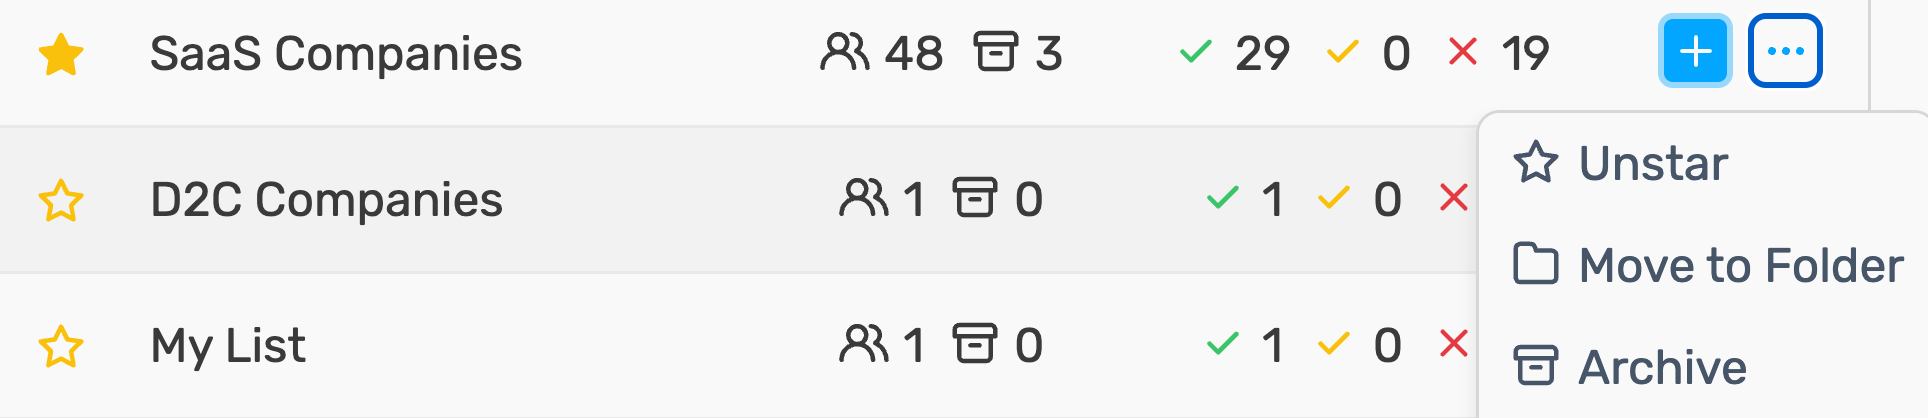
Click the Actions menu for the list
Select Archive
- View archived lists by selecting Archived from the Left Sidebar
Archived lists are not deleted automatically. You can un-archive a list at any time, or delete it permanently from Archived. Only archived lists can be deleted.
Manage Individual Leads
View Lead Details
- Open a list and click on a lead's name

The lead detail page has two sections:
Left side: Edit lead details
Right side: View all activity (emails sent, opens, clicks, replies)
Star a Lead
Click the star icon next to a lead to mark it as important
Filter starred leads by selecting Starred from the Left Sidebar
Archive a Lead
Click the Actions menu for the lead
Select Archive
Note: Archiving a lead cancels all scheduled emails and stops future communication.
To see archived leads, open the list and turn on Archived in the Left Sidebar. On the Lists page, you can also click the number next to the archive icon of a list.
Tip: To star or archive many leads at once, tick every lead on the page, then click Select all N contacts matching this search query. The action then applies to every lead that matches your current search and filters, not only the current page.
Permanently delete leads
- Open the list and turn on Archived in the Left Sidebar.
- Tick the leads you want to remove. You can use Select all N contacts matching this search query to include every matching archived lead.
- Click Delete from the bulk actions toolbar.
- Confirm in the modal ("This would Permanently Delete N contact(s).") by clicking Delete.
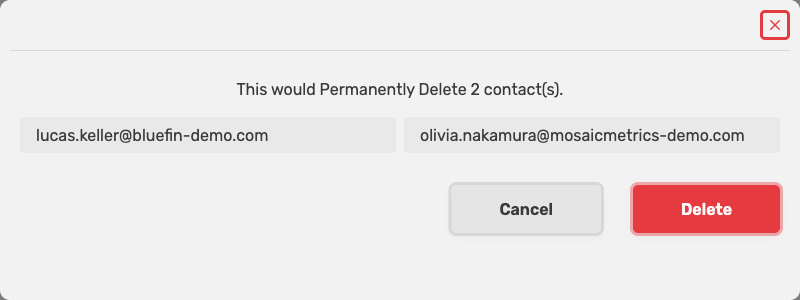
Note: Permanent deletion can't be undone.
Remove bounced leads in bulk
To stop emailing leads that bounced across your lists:
- Download the bounced leads as a CSV: open the list, select the sequence in the Sequence filter, set Lead Status to Bounced, then download with Leads that match the current filters.
Note: The Sequence filter is available for lists created on or after December 9, 2025. It shows your running sequences that use this list. Paused and archived sequences do not show.
- Open the Manage Unsubscribed Leads page (
/account/unsubscribed).- Upload the CSV to add those emails to your unsubscribe list.
Leads on the unsubscribe list are skipped by all sequences. See also How to remove leads from a sequence.
Frequently Asked Questions
How do I edit a list name?
Open the list and click the pencil icon next to the list name.
Can I add a single lead without uploading a CSV?
No. Currently, you must upload a CSV file even for a single lead.
Why is my CSV putting all columns in one column?
SalesBlink only supports comma-delimited CSV files. Other delimiters (semicolon, tab) will not work correctly.
Why do I see "Please upload CSV file with some data in it!"?
SalesBlink could not find any data rows in your file. Make sure the file is a comma-delimited CSV with a header row and at least one lead, then upload it again.
Why do sequence leads show "Could not find any contact info."?
The lead was removed from the list after it was added to the sequence, most often by duplicate removal against your other lists. When the send time came, the contact no longer existed in that list. See Why did fewer leads import than expected?
Can I re-verify a list I already uploaded?
No. Verification can only be chosen during upload. Download the list and upload it again as a new list with Verify Emails checked.
Can I add a custom field to an existing list?
No. Custom variables are created only while mapping columns during upload. Type the variable name in the mapping dropdown and press Enter. Names are case-sensitive.
Why can't I add leads to a list connected to a Google Sheet?
Lists connected to a Google Sheet only take leads from the sheet. Add rows to the sheet instead. SalesBlink syncs the sheet every 24 hours. To sync right away, click the sync icon ("Sync leads from Google Sheet") in the list header.
How do I download only archived leads?
Open the list and click the Download icon (⬇️). Under Leads, select All archived leads, then click Download.
Why are the columns different from what I expected?
A column view changes which columns you see. Select All Columns in the Left Sidebar to see every column, or choose All columns when you download.
How do I permanently delete a list?
First, archive the list. Then, select Archived in the Left Sidebar, tick the list and click Delete. Only archived lists can be deleted.
How accurate is email verification?
Email verification is up to 99.99% accurate. False positives or negatives may occur occasionally.
My Google Sheets are public but I can't import. What's wrong?
Ensure your file is a native Google Sheet (not .xlsx). Go to File → Save as Google Sheets.