Overview
Customize your booking page, working hours, notifications, and lead capture settings.
Setting Up Your Meeting Scheduler
You can update your meeting scheduler settings by navigating to Meet settings.
Access Meeting Settings
- Click Meet in the main navigation.
- Click Settings.

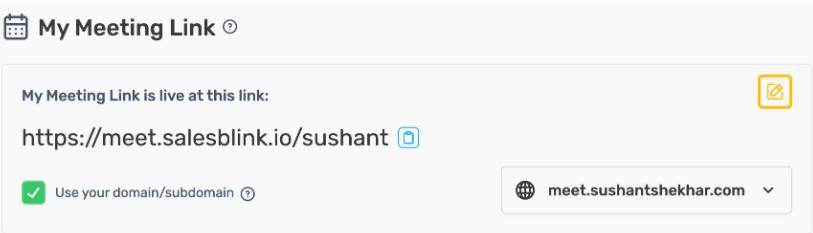
My Meeting Link
Set your booking URL and custom domain.
- Edit your Meeting Link slug.
- Toggle Use Custom Domain to enable a branded URL.
- Select your Custom Domain from the dropdown.
Note: To set up a custom domain, see Custom Domain As a Meeting Scheduler
General Meetings
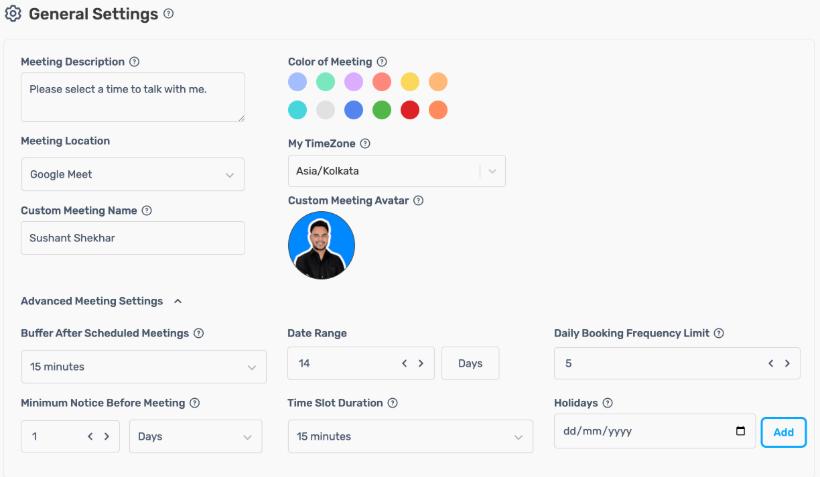
Configure the appearance of your booking page and scheduling rules.
| Setting | Description |
|---|---|
| Page Title | Headline on your booking page |
| Description | Subtext explaining the meeting purpose |
| Avatar | Your profile image |
| Primary Color | Brand color for buttons and accents |
| Background Color | Page background color |
| Buffer Time | Minutes added after each meeting |
| Minimum Notice Before Meeting | How far ahead someone must book, in Minutes, Hours or Days (default: 3 days) |
| Time Slot Duration | Default meeting length (15, 30, 60 min) |
Working Hours
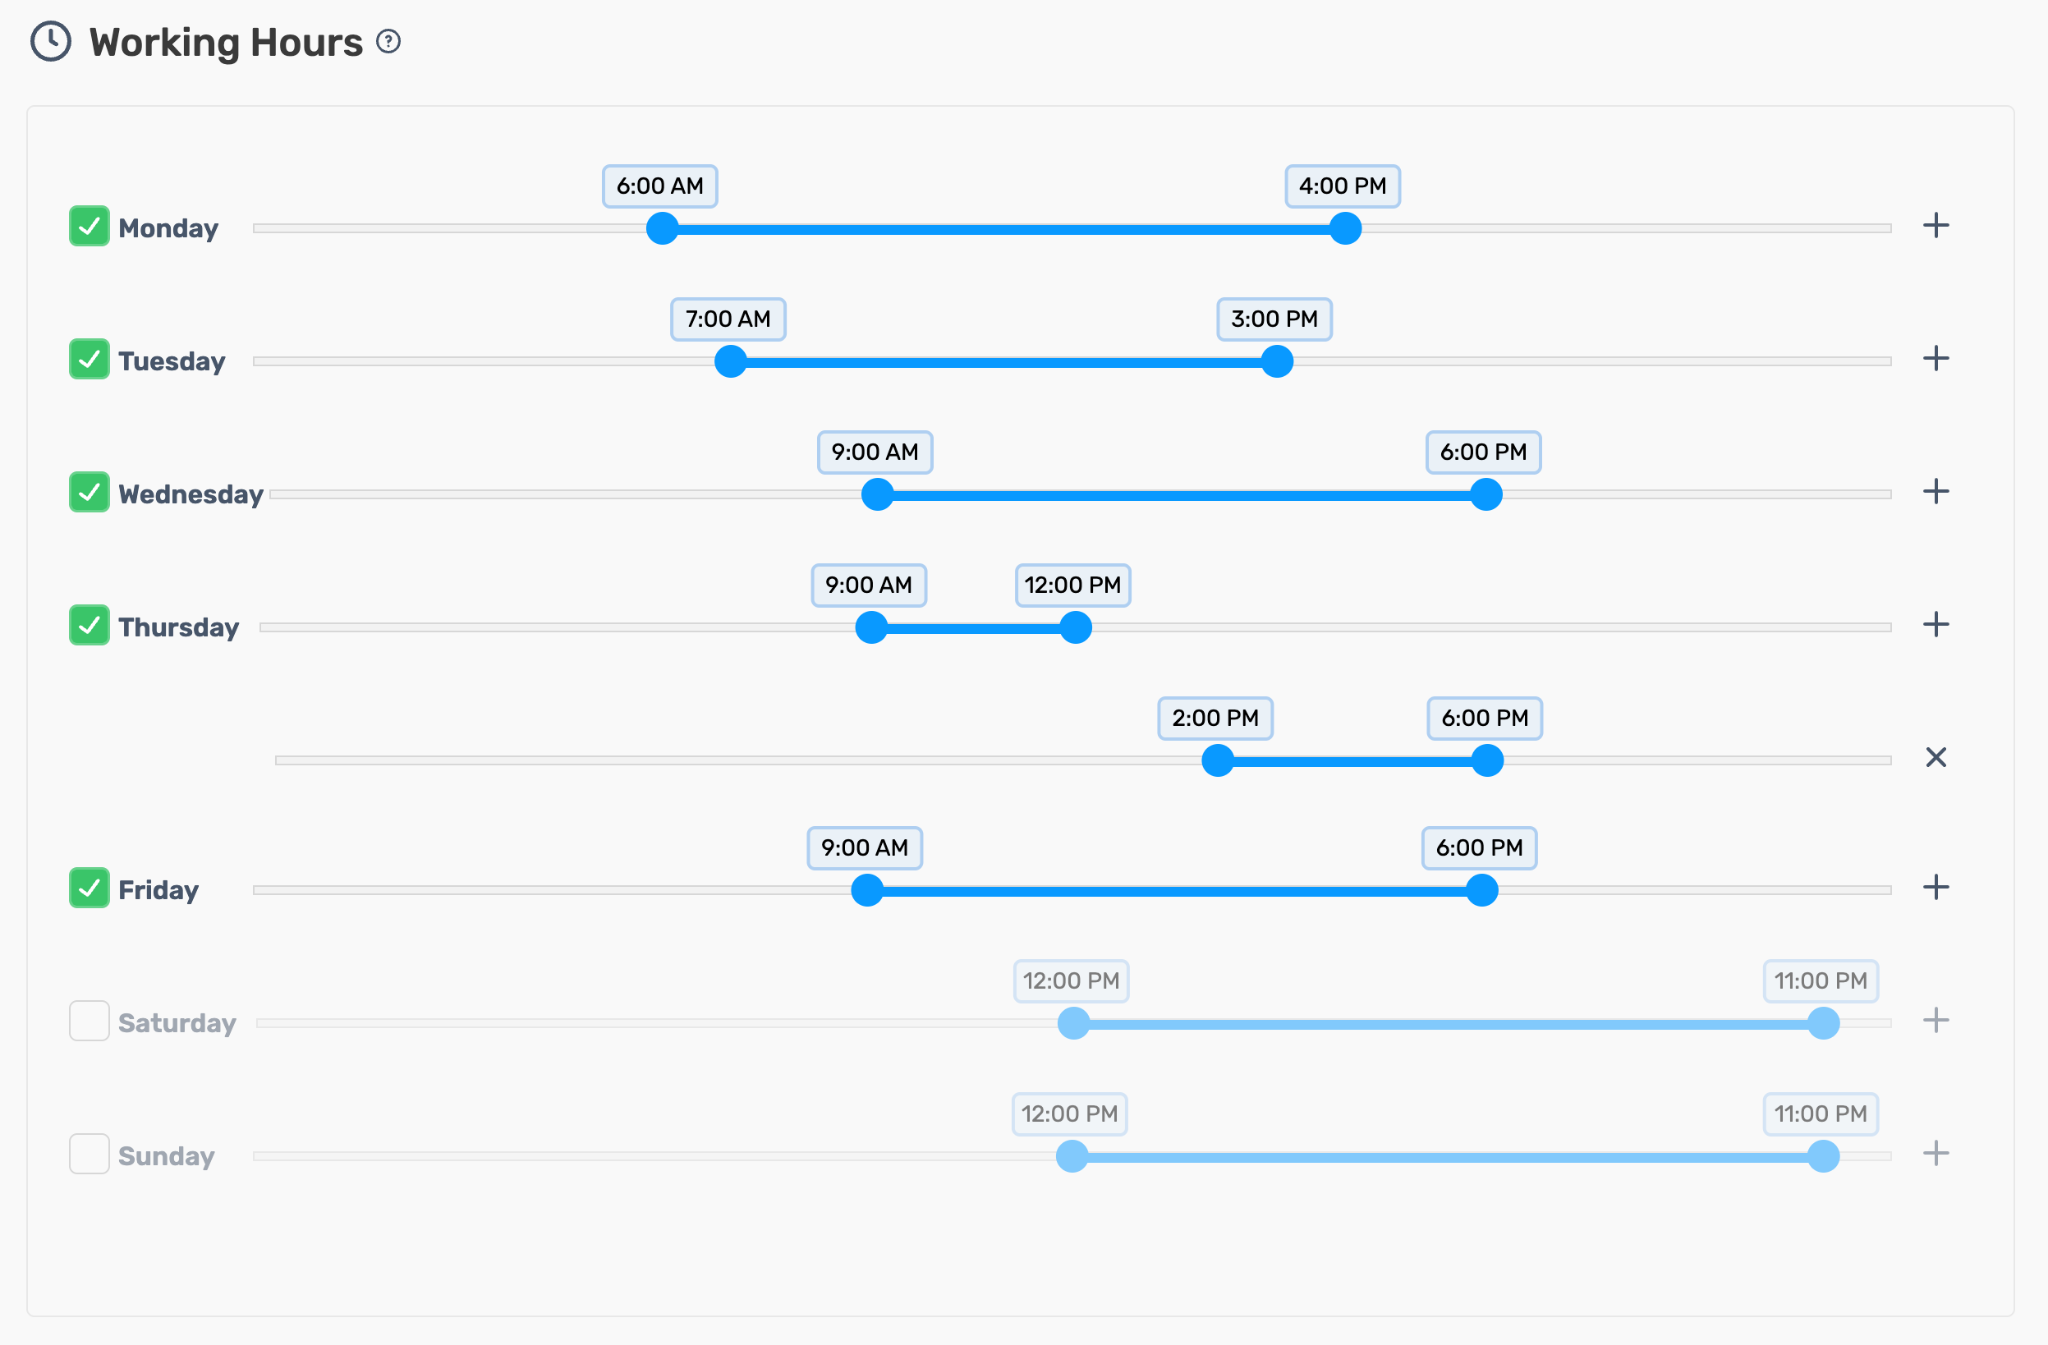
Set when leads can book meetings.
- Toggle days On/Off to enable or disable booking.
- Click a day to set Start Time and End Time.
- Click + Add Hours to create multiple time blocks (e.g., 9 am-12 pm and 2 pm-5 pm).
SalesBlink checks your connected Google Calendar for conflicts and automatically blocks unavailable times.
Attendees List
Automatically save meeting bookings to a lead list.
- Toggle Save Attendees to List.
- Select an existing List or click Create New List.
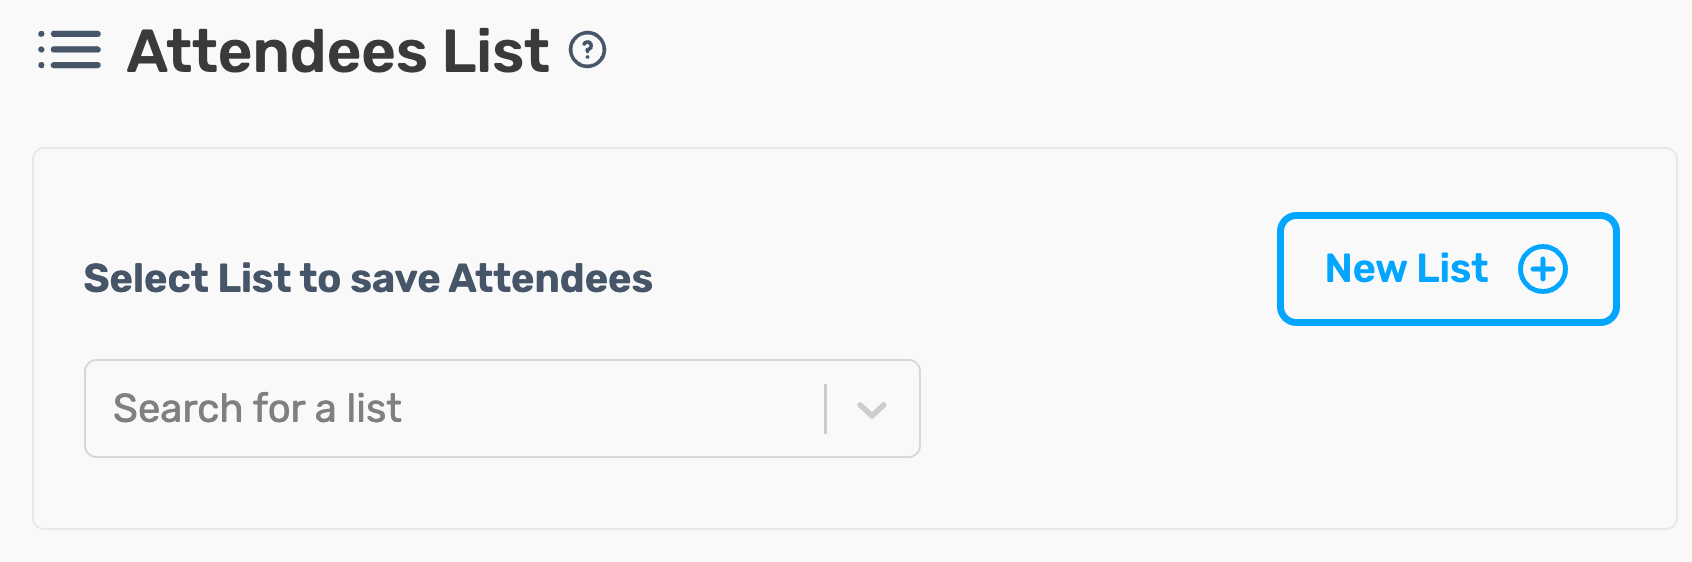
Use this list to launch automated email sequences to meeting attendees.
Booking Form
Add qualifying questions to your booking page.
- Click Add Question.
- Select Question Type:
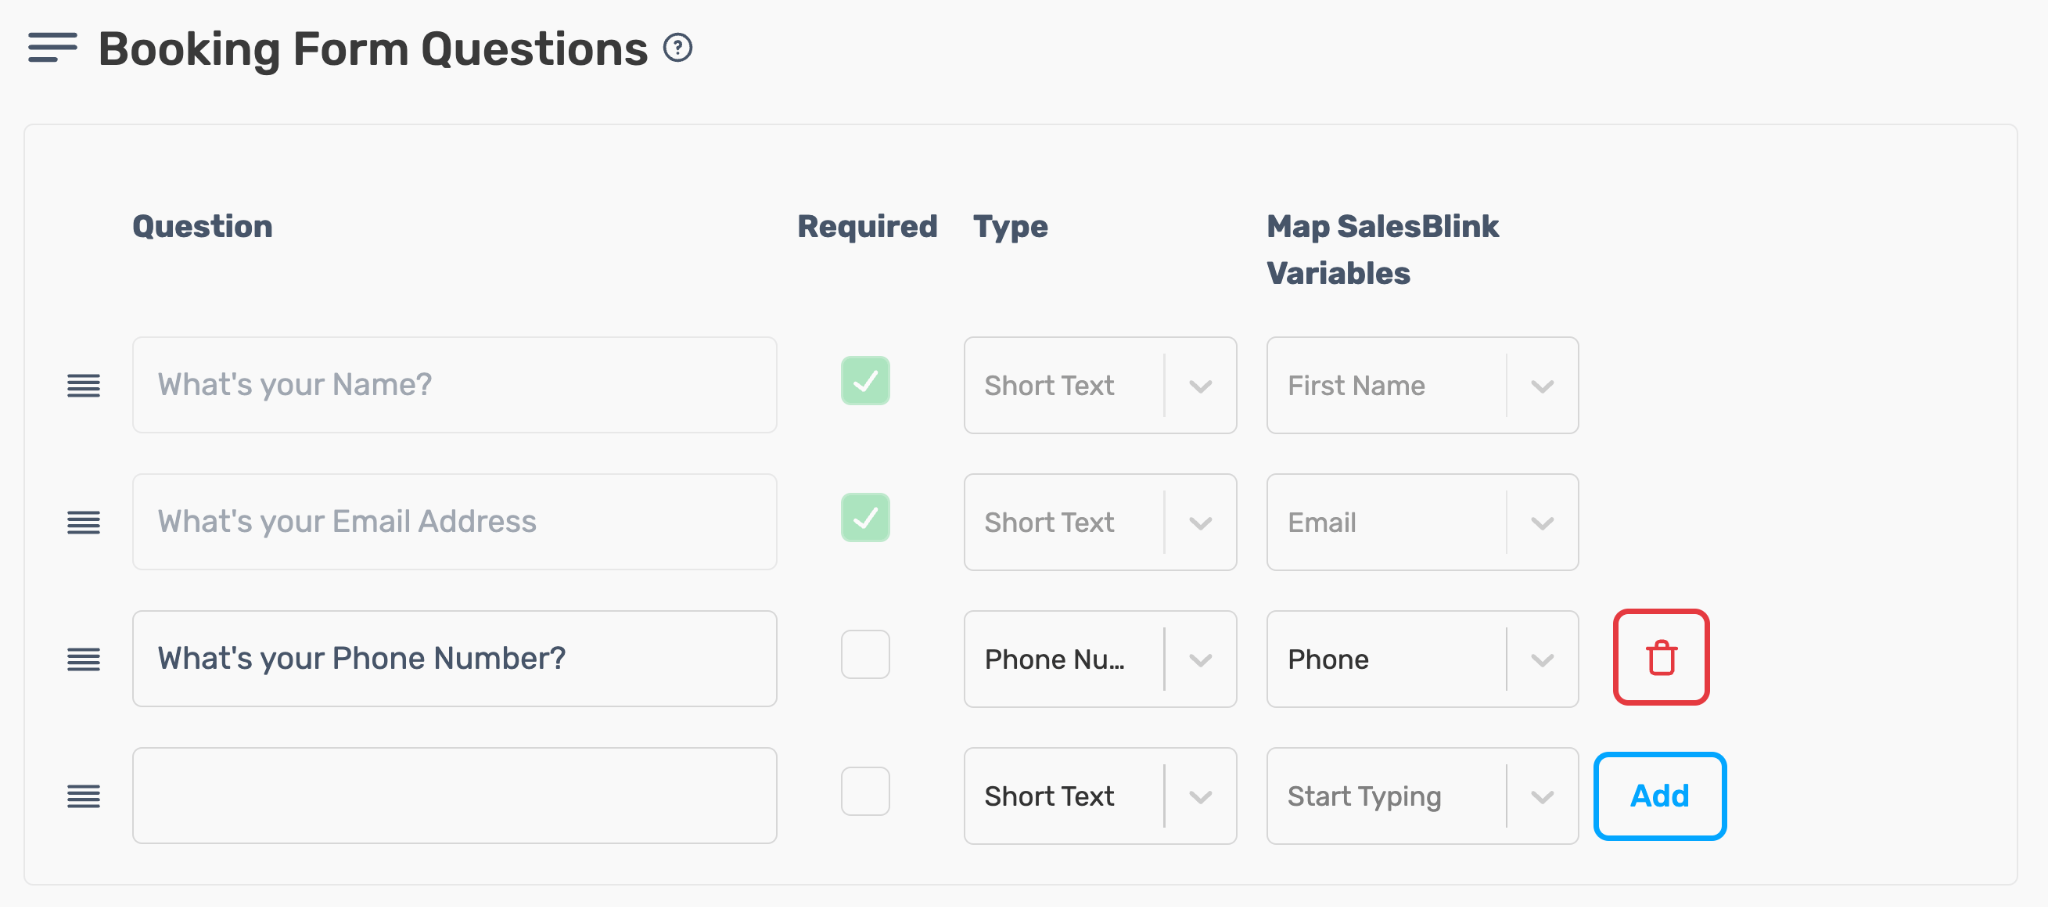
- Enter the Question.
- Toggle Required if the question is mandatory.
- (Optional) Map the answer to a SalesBlink Variable for email personalization.
Email Notification
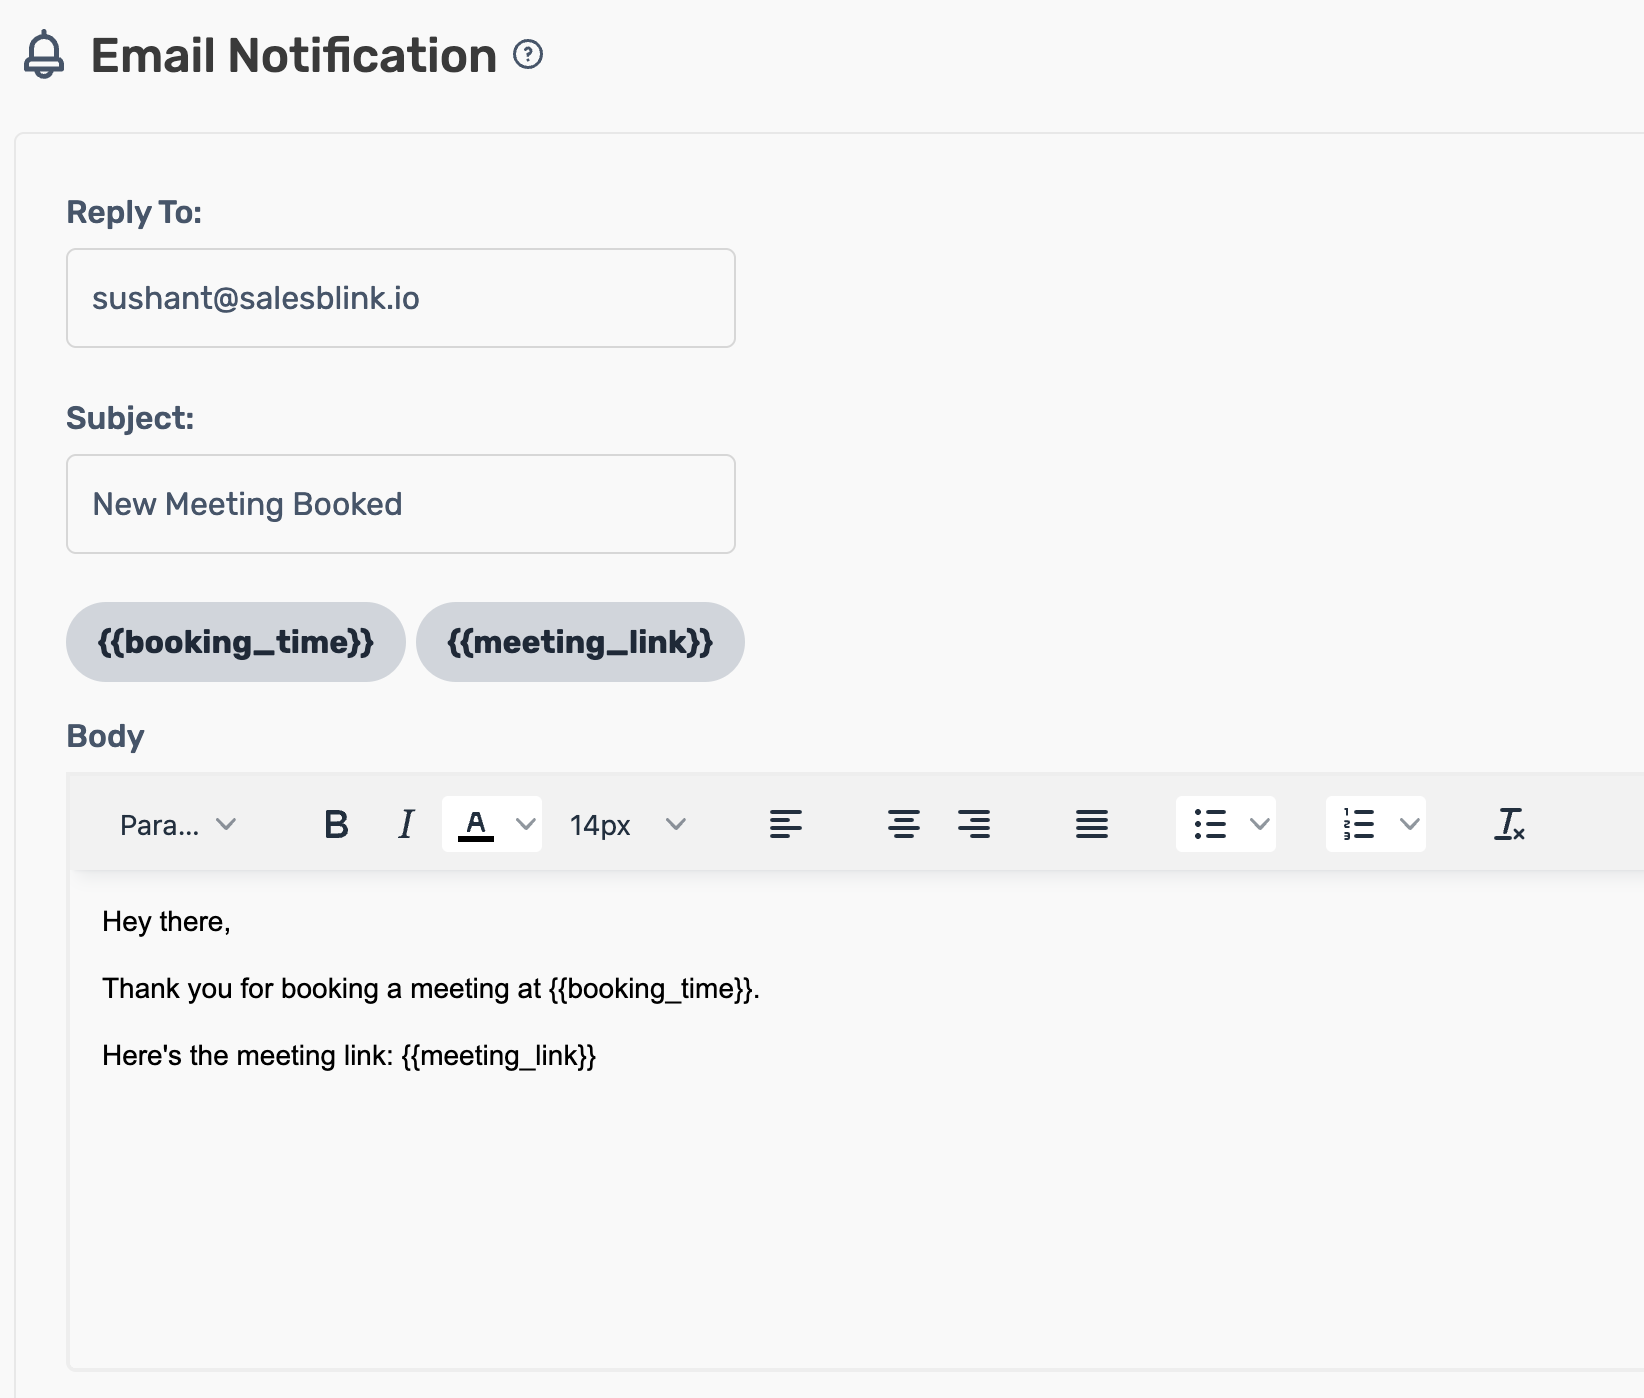
Send a confirmation email immediately after booking.
- Toggle Send Email Notification.
- Enter Email Subject.
- Enter Email Body (supports variables like
{{first_name}}).
Email Reminder
Send a reminder before the meeting.
- Toggle Send Reminder Email.
- Set When to Send (e.g., 24 hours before, 1 hour before).
- Enter Email Subject and Body.
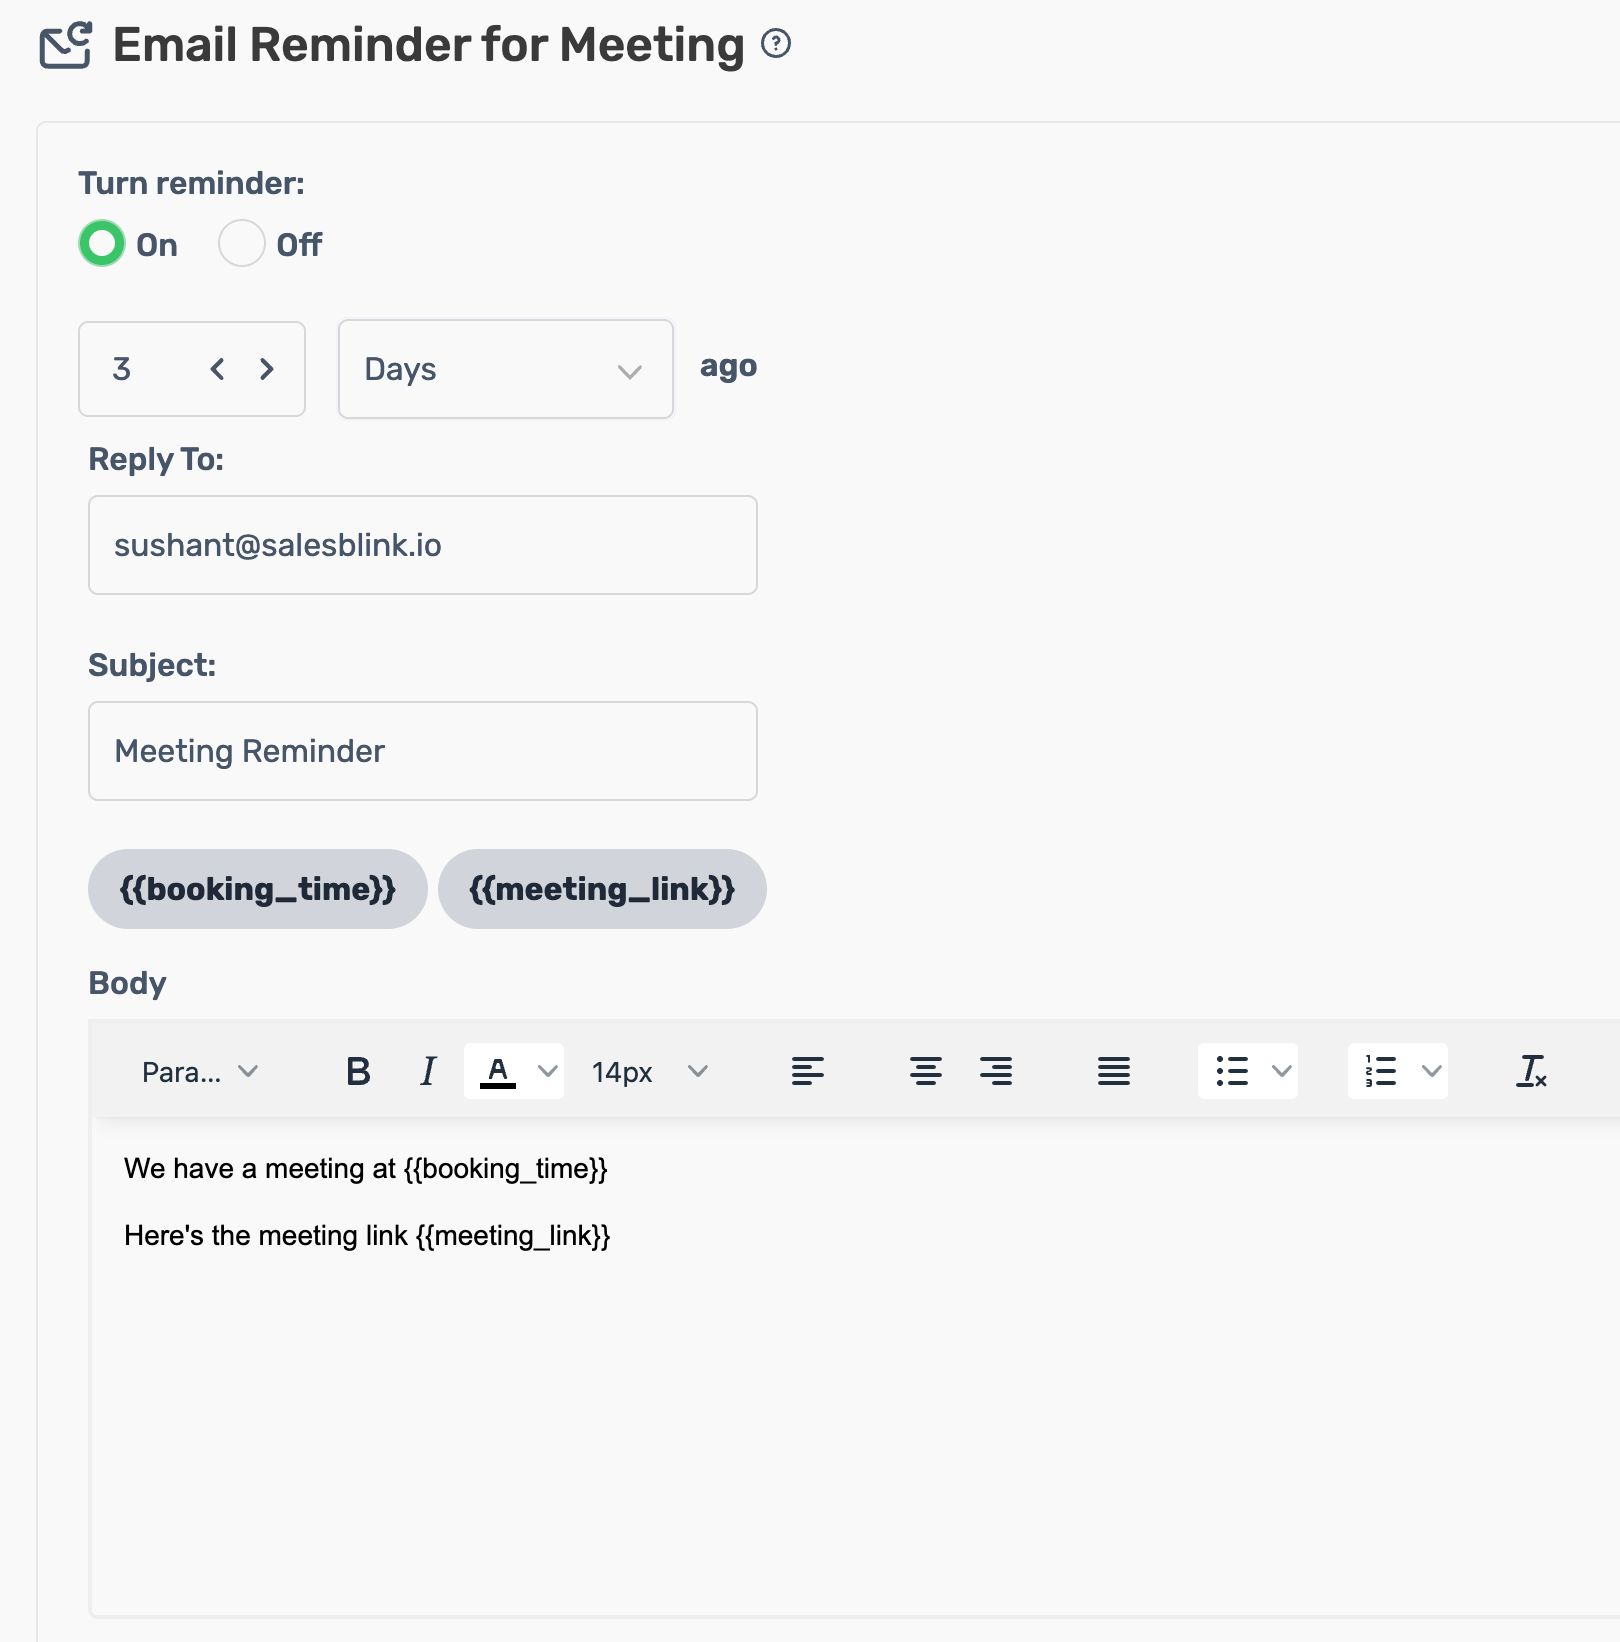
Add multiple reminders by clicking + Add Reminder.
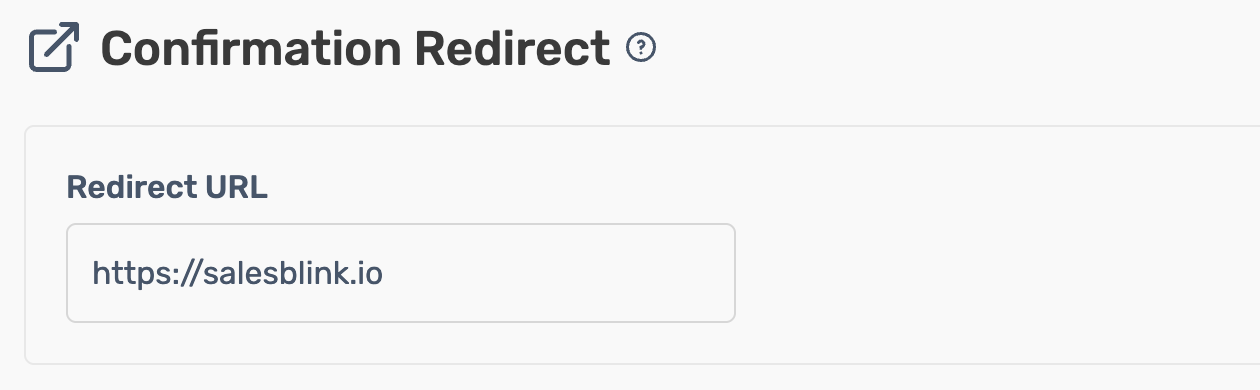
Confirmation Redirect
Redirect attendees to your website after booking.
- Toggle Enable Redirect.
- Enter your Redirect URL.
Calendar Connection
Manage your Google Calendar integration.
| Setting | Description |
|---|---|
| Connected Account | Google account linked to SalesBlink |
| Calendar for New Events | Where meetings are saved |
| Check for Conflicts | Calendars scanned for double-booking |
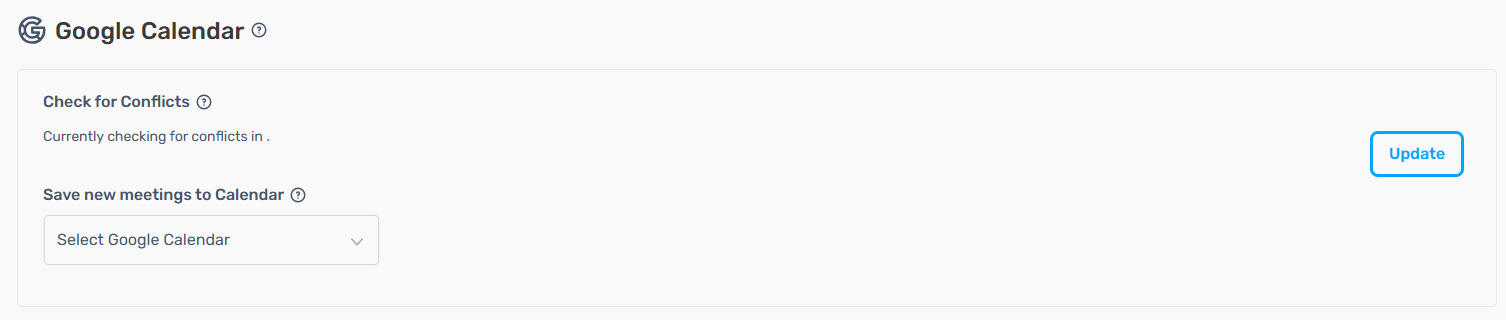
Click Change Calendar to select a different calendar for saving events.
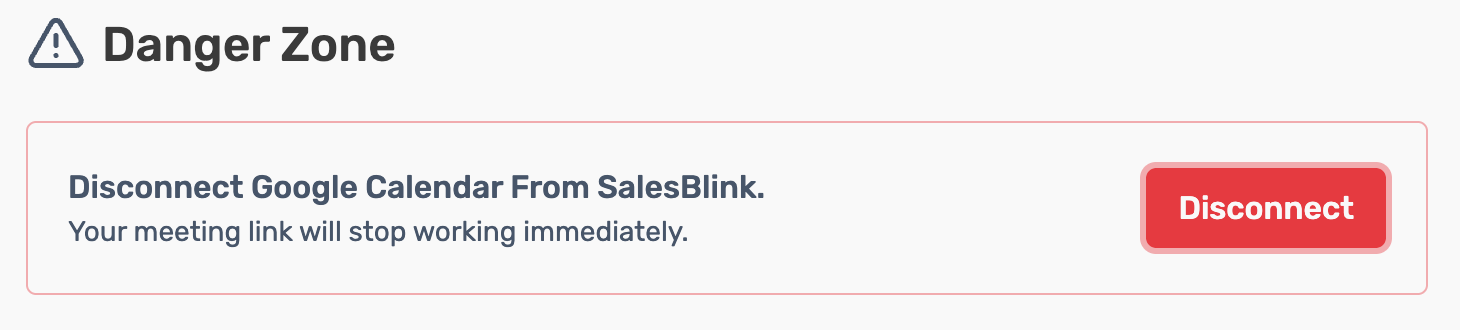
Danger Zone
Disconnect your calendar integration.
Warning: This will deactivate your meeting link. Existing bookings remain in your Google Calendar, but new bookings cannot be made.
- Click Disconnect Calendar.
- Confirm by clicking Yes, Disconnect.