Overview
Replace the default salesblink.io link with your own branded domain or subdomain.
Prerequisites
- Access to your domain's DNS settings
- A domain or subdomain not currently in use (or willingness to use a subdomain) Important: If you have a live website on your root domain, use a subdomain instead of the root domain. Adding A records to a root domain with an existing site will break your website.
Add Your Domain in SalesBlink
- Click Meet in the main navigation.
- Click Settings.
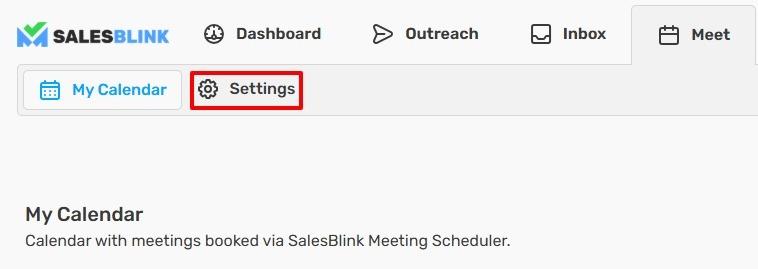
- Scroll to My Meeting Link.
- Toggle Use Custom Domain.
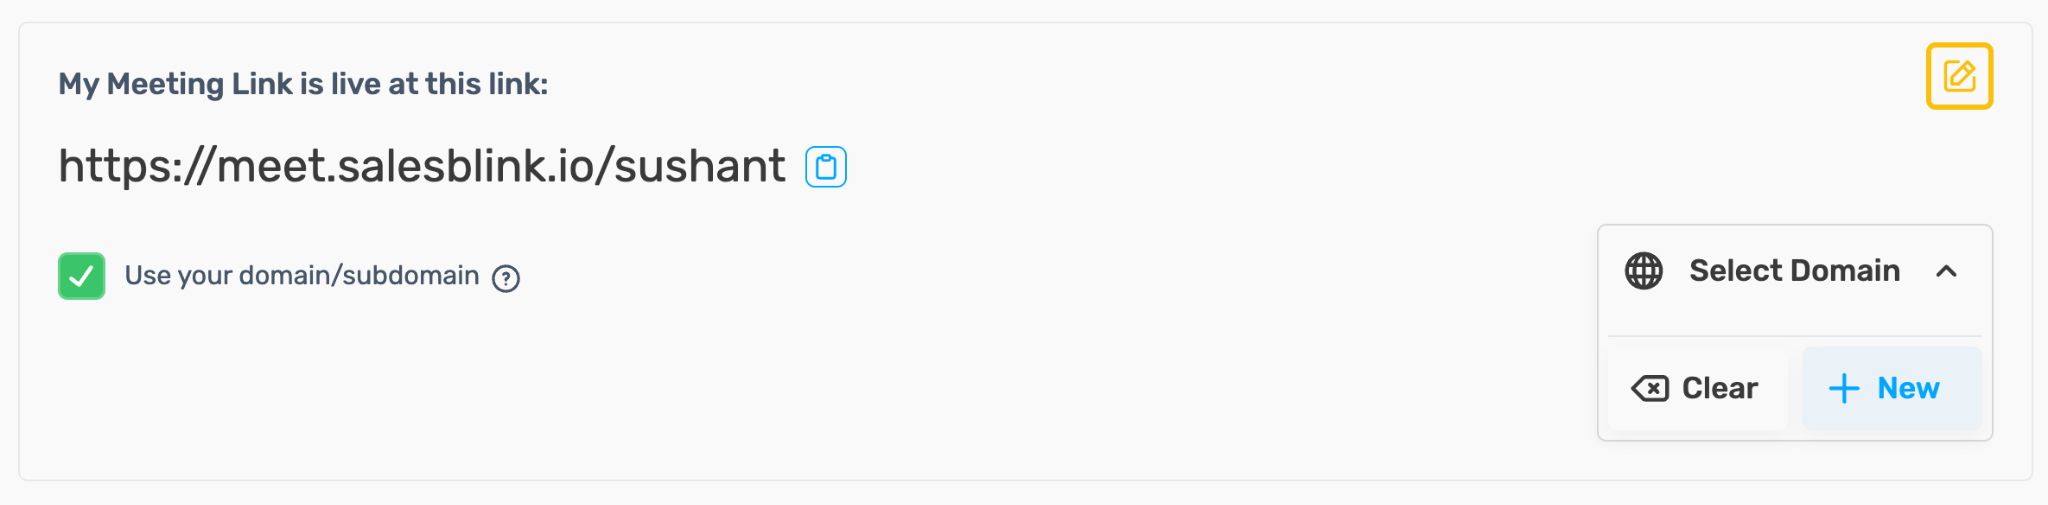
- Click Select Domain → New.
- Select Domain Type:
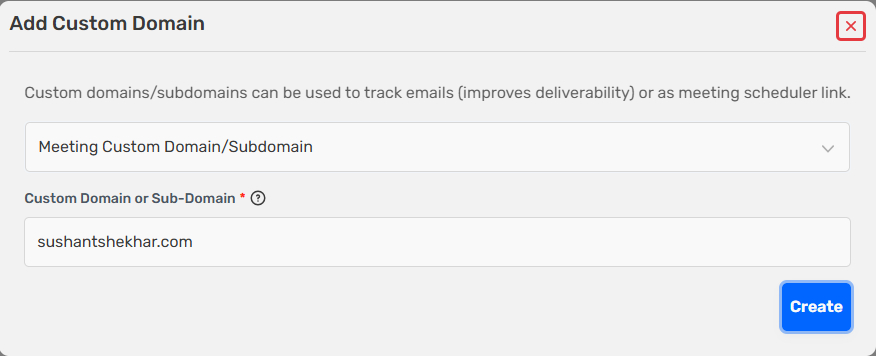
- Enter your Domain/Subdomain.
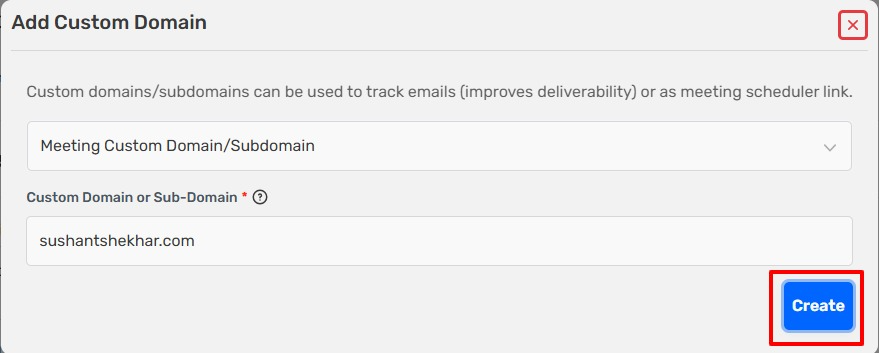
- Click Create.
Configure DNS Records
Add the required DNS record at your domain provider.
For Root Domains (A Record)
| Type | Name | Value |
|---|---|---|
| A Record | @ or yourdomain.com | 178.105.15.117 |
For Subdomains (CNAME Record)
| Type | Name | Value |
|---|---|---|
| CNAME | subdomain or meet.yourdomain.com | meet.salesblink.io |
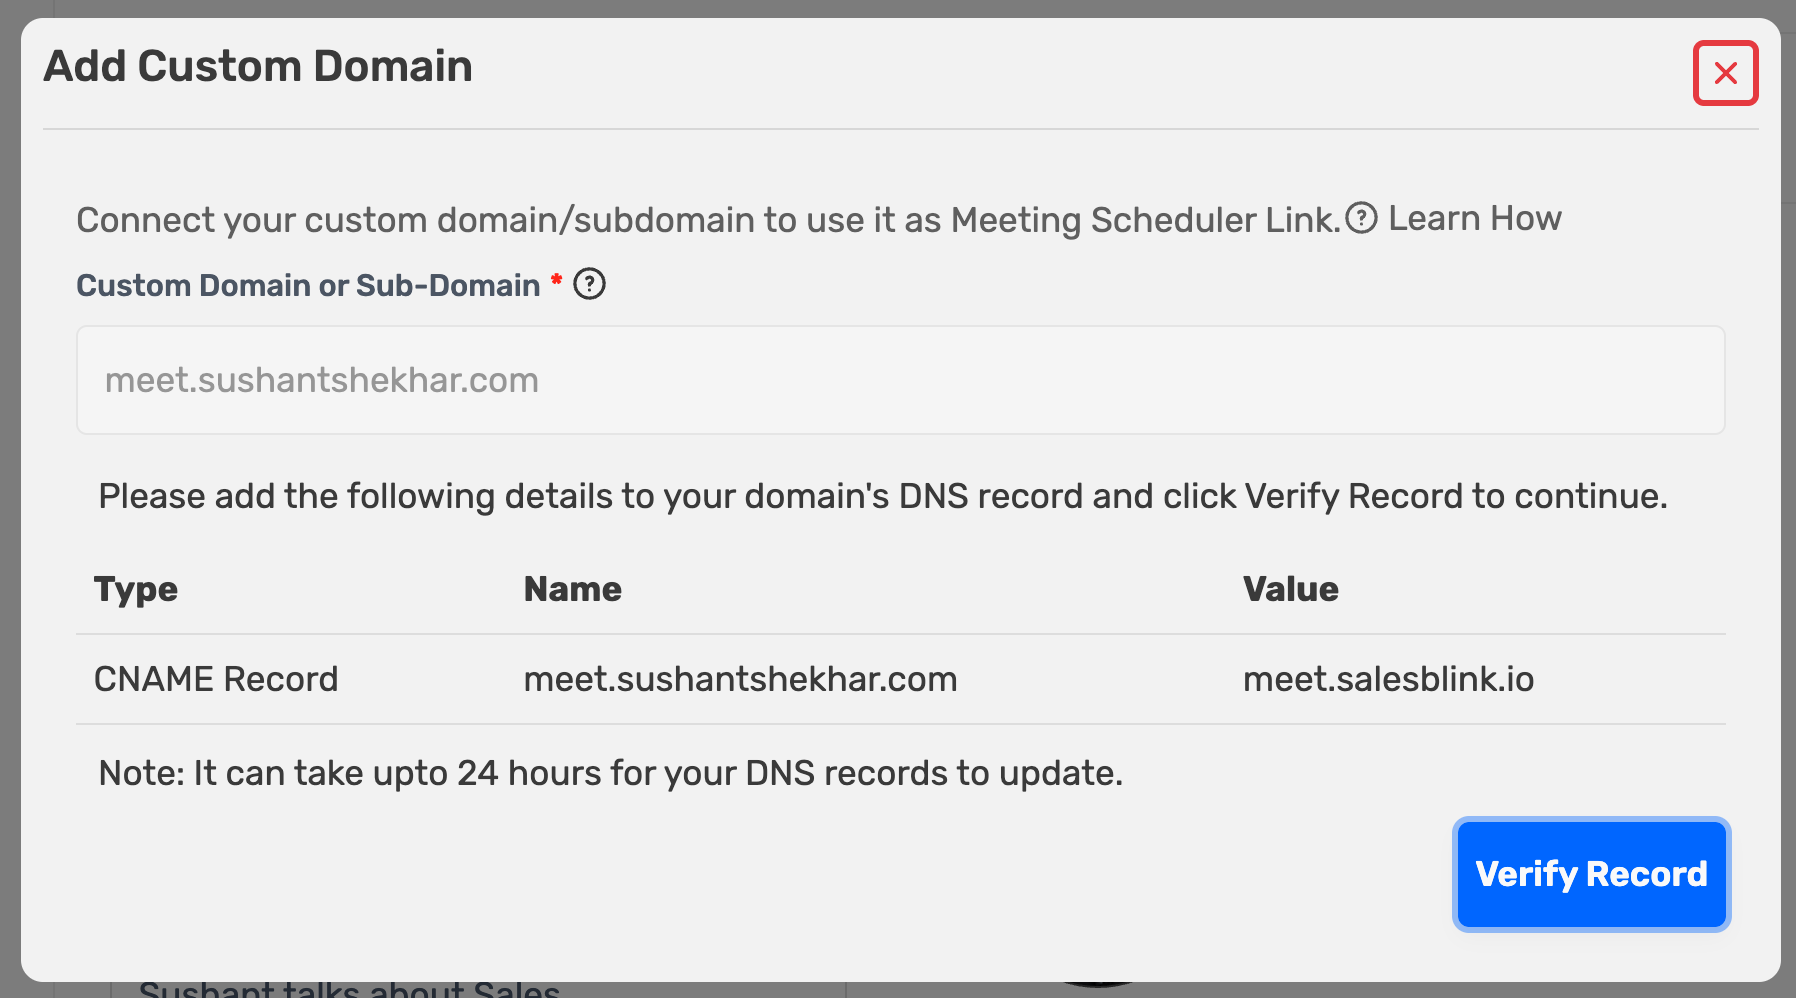
Note: DNS changes can take up to 24 hours to propagate.
Verify Your Domain
- Return to Meet → Settings → My Meeting Link.
- Click Verify Record.
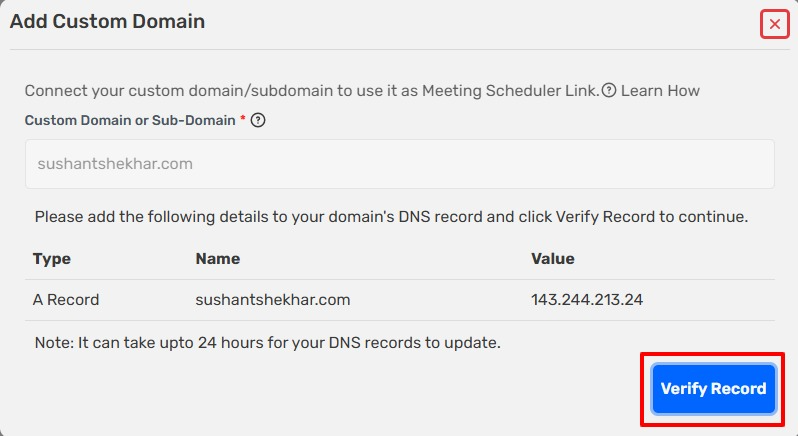
- Once verified, select your custom domain from the Select Domain dropdown. Your meeting link now uses your branded domain. Share it in emails or embed it on your website.