Overview
Learn how to connect Google Workspace (G Suite) Email as an email sender with SalesBlink
In this guide, you will learn how to connect Google Workspace (GSuite) Email as an email sender with SalesBlink to use in your cold email sequences.
Note: If you are looking to connect a free Gmail account, refer to this guide.
Step 1: Connecting Google Workspace Email with SalesBlink
- Navigate to Email Senders & click on Add Sender.
- Select Gmail (Google Workspace).
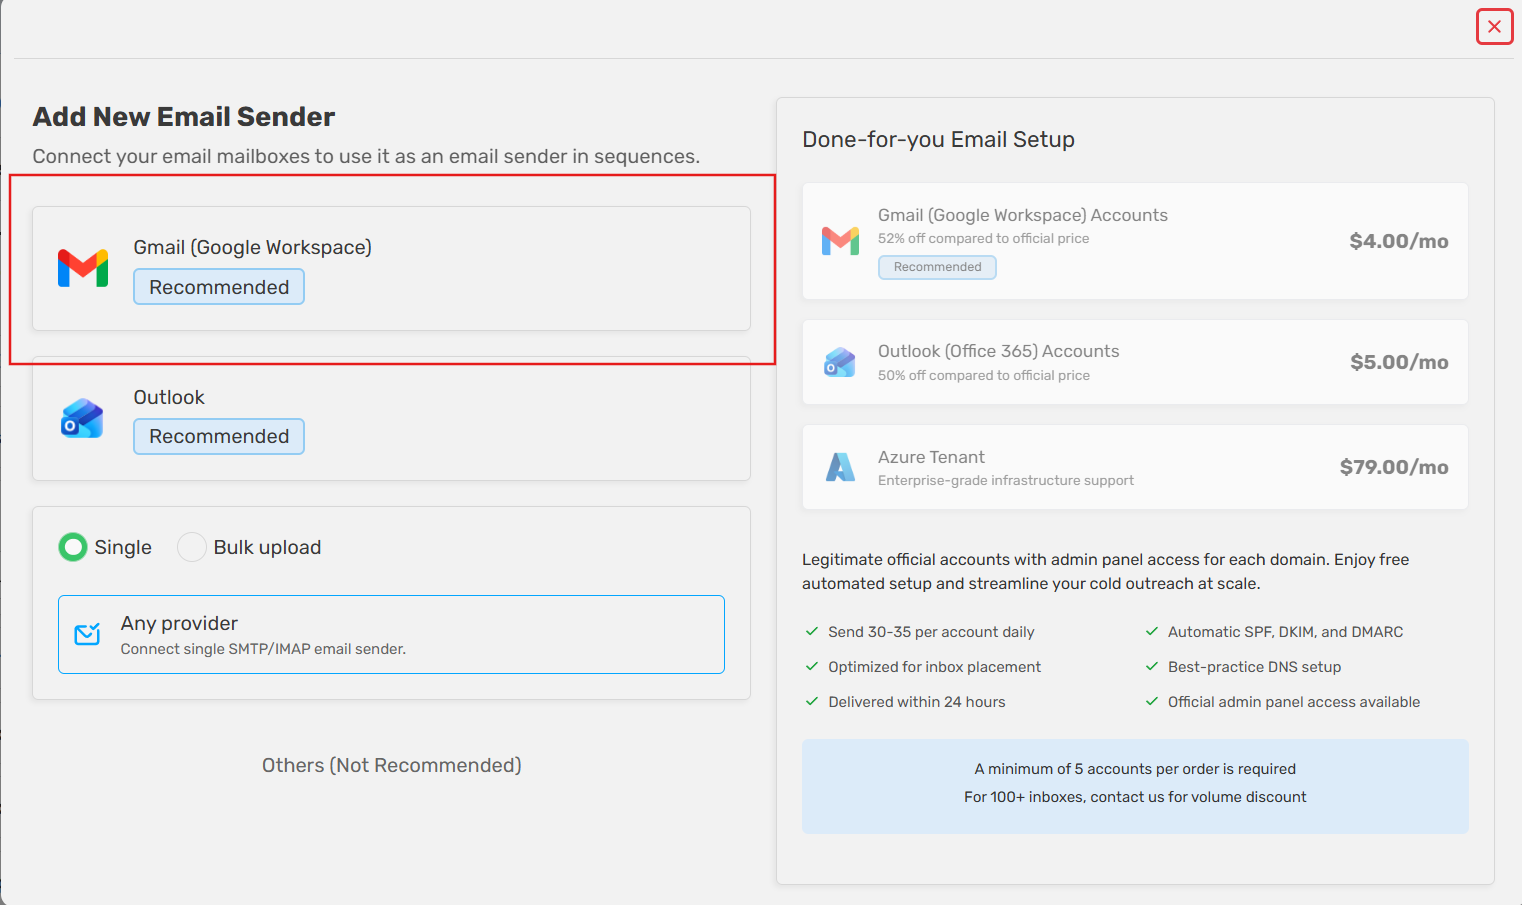
- Confirm IMAP is enabled and click Yes, IMAP has been enabled.
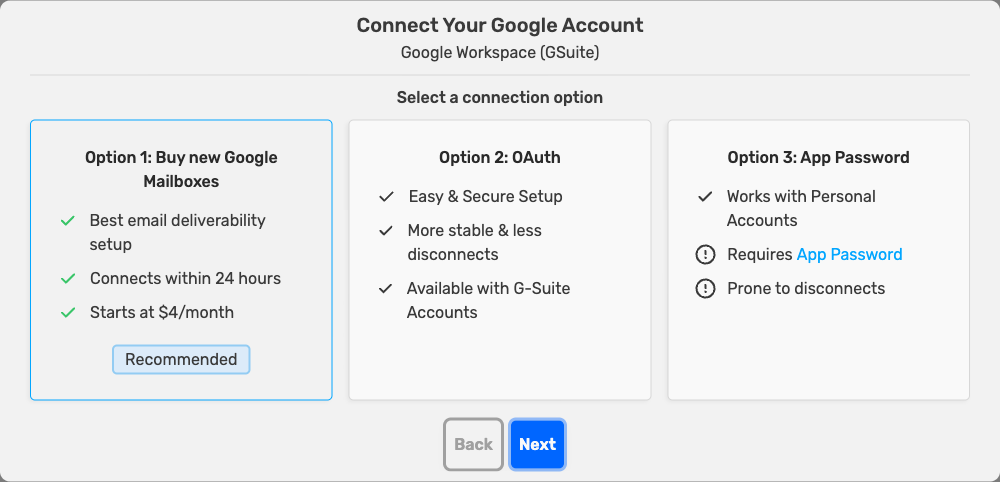
- Select a connection option and click Next. SalesBlink shows three options:
- Option 1: Buy new Google Mailboxes (Recommended): Buy ready-to-use mailboxes from SalesBlink. See Buy DFY Gmail Mailboxes.
- Option 2: OAuth: Connect your existing mailbox by signing in with Google. Steps below.
- Option 3: App Password: Connect your existing mailbox with SMTP/IMAP and an App Password. Steps below.
Option 2: OAuth - Connect Google Workspace Email with SalesBlink
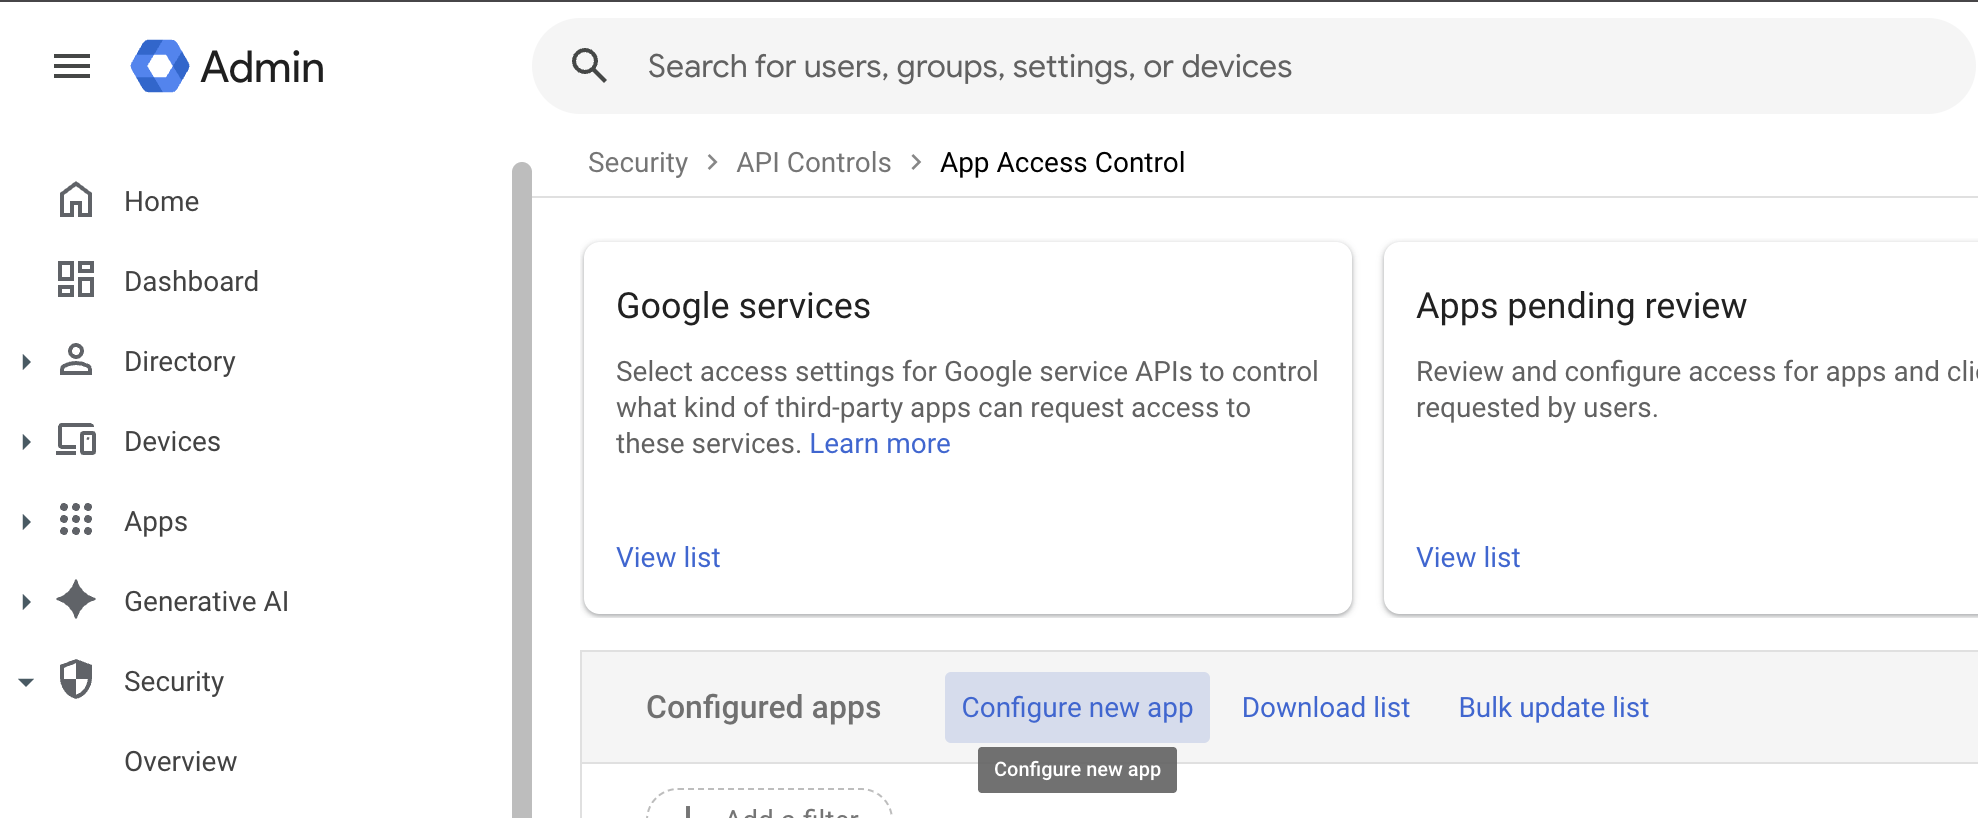
- Go to your Google Workspace Admin Panel (App Access Control).
- Click Configure new app.
- Use the following ID to search for SalesBlink.
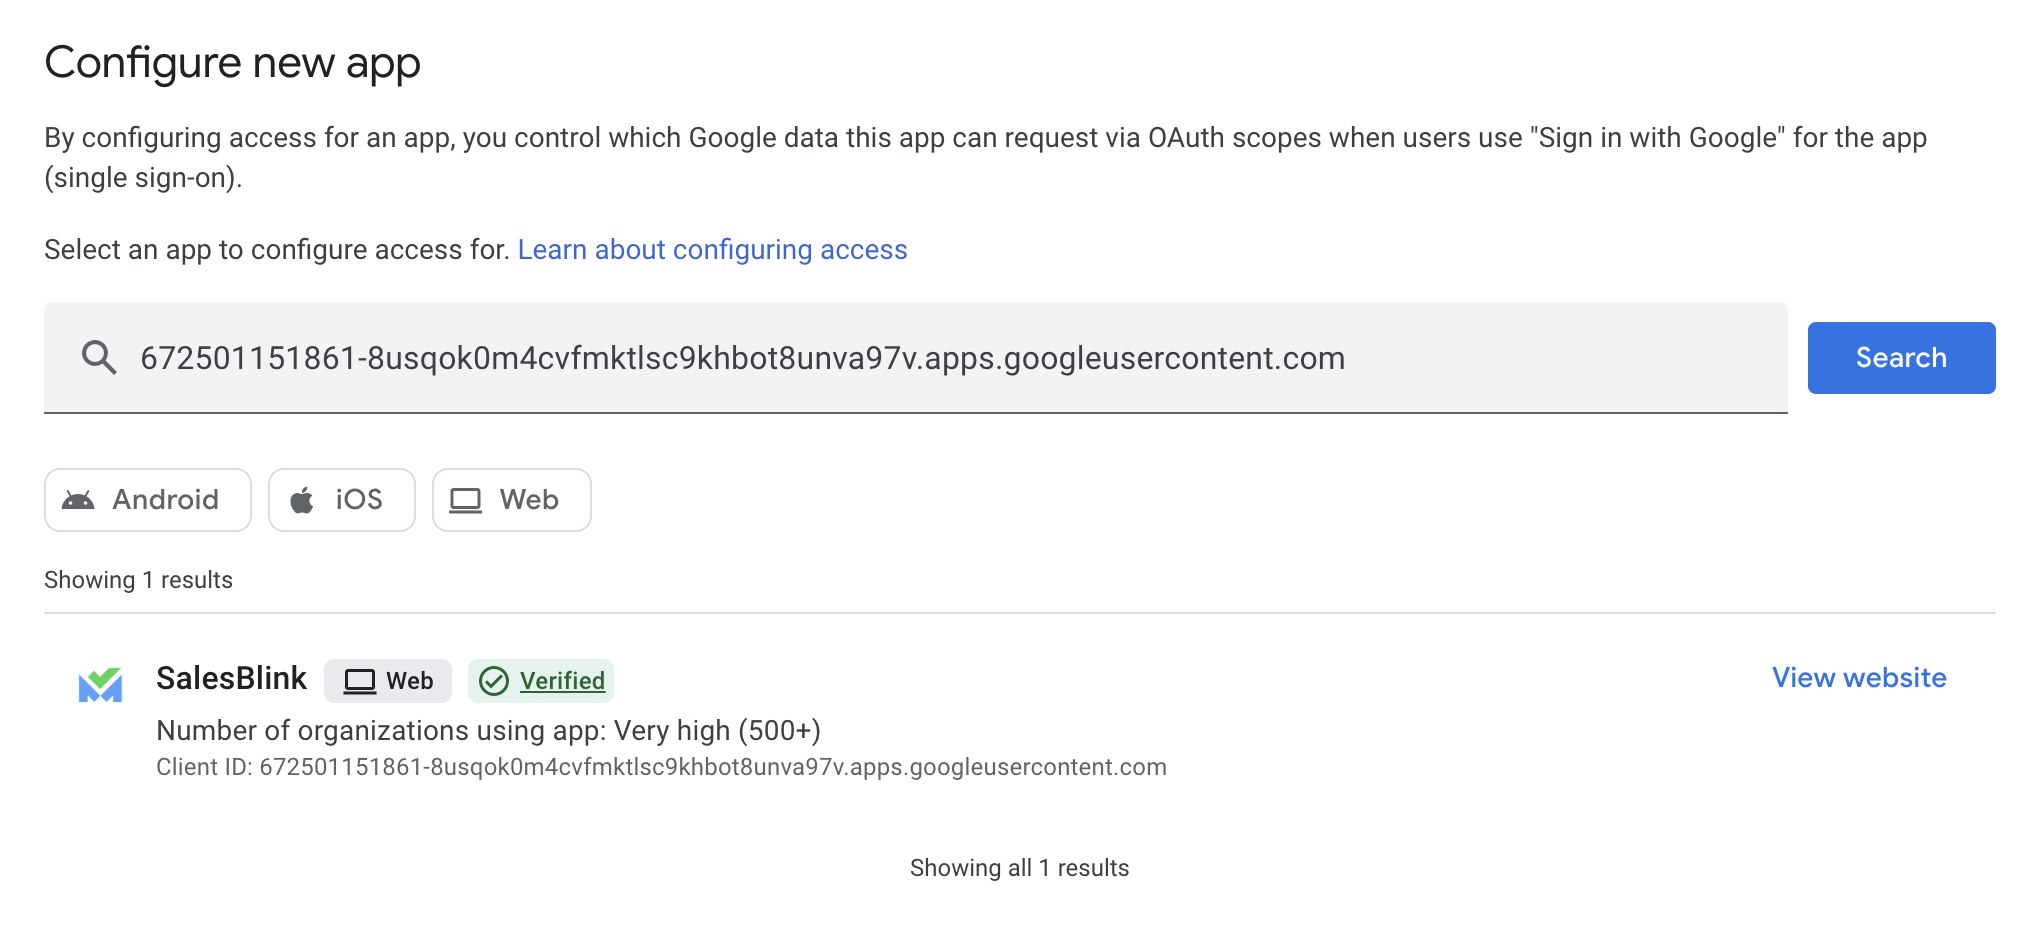
- Set scope as All in WORKSPACE (all users).
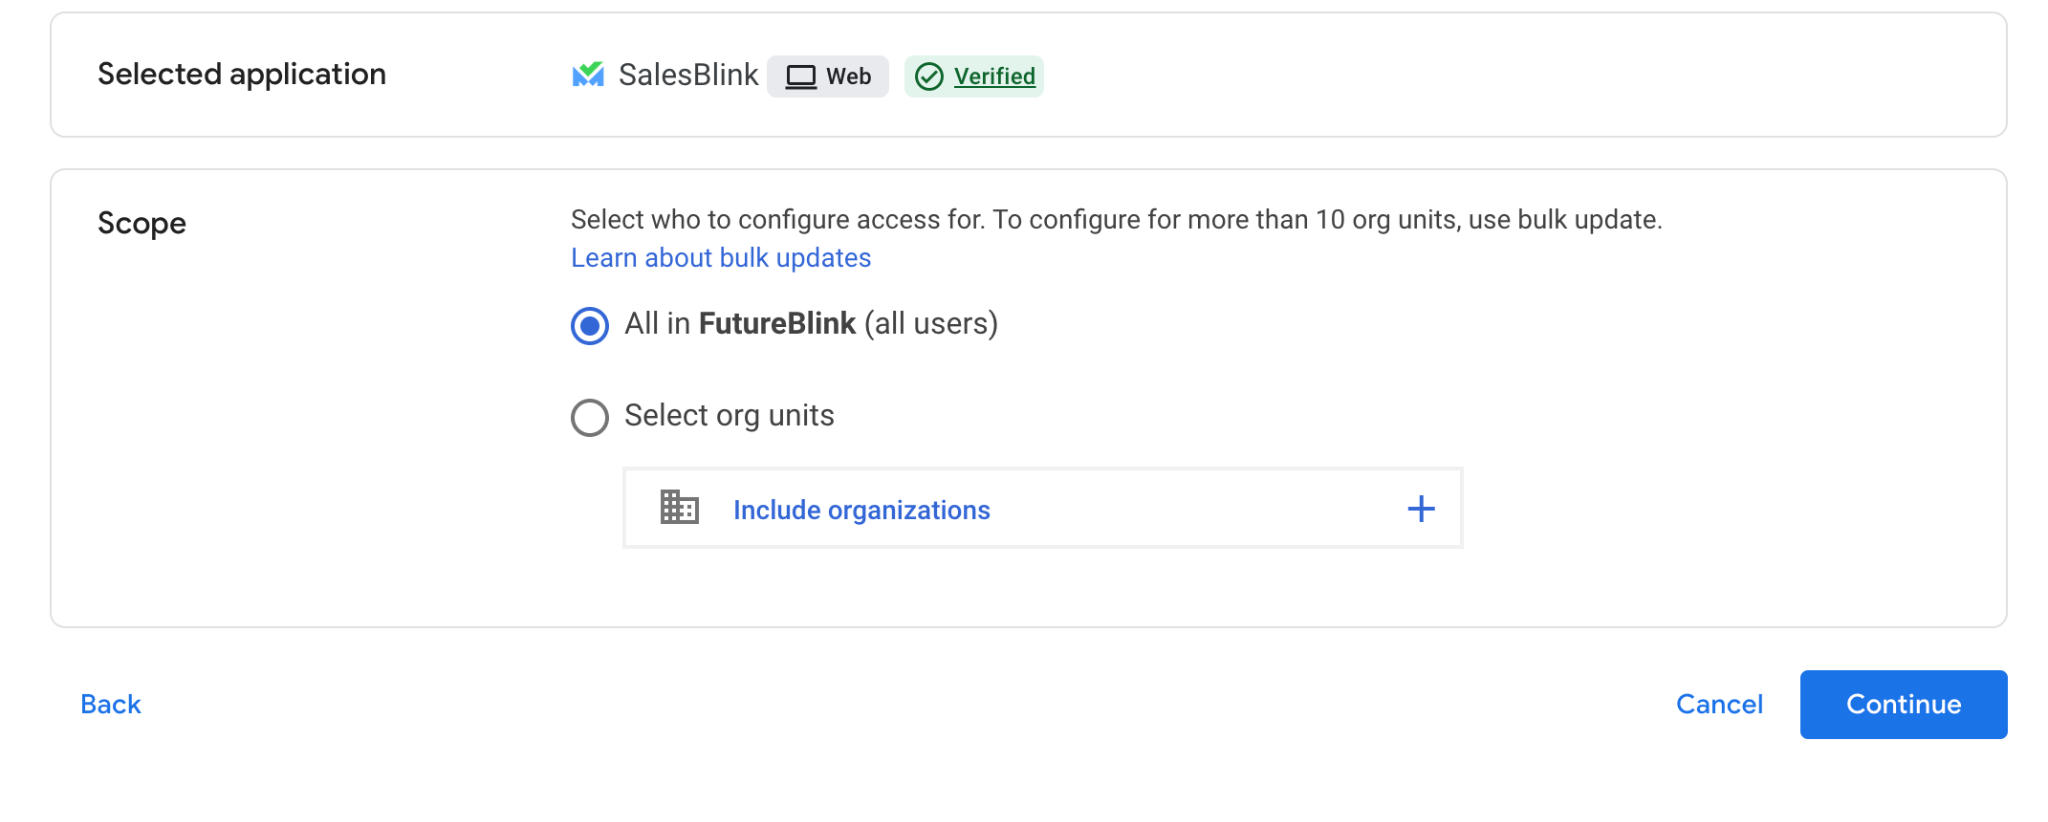
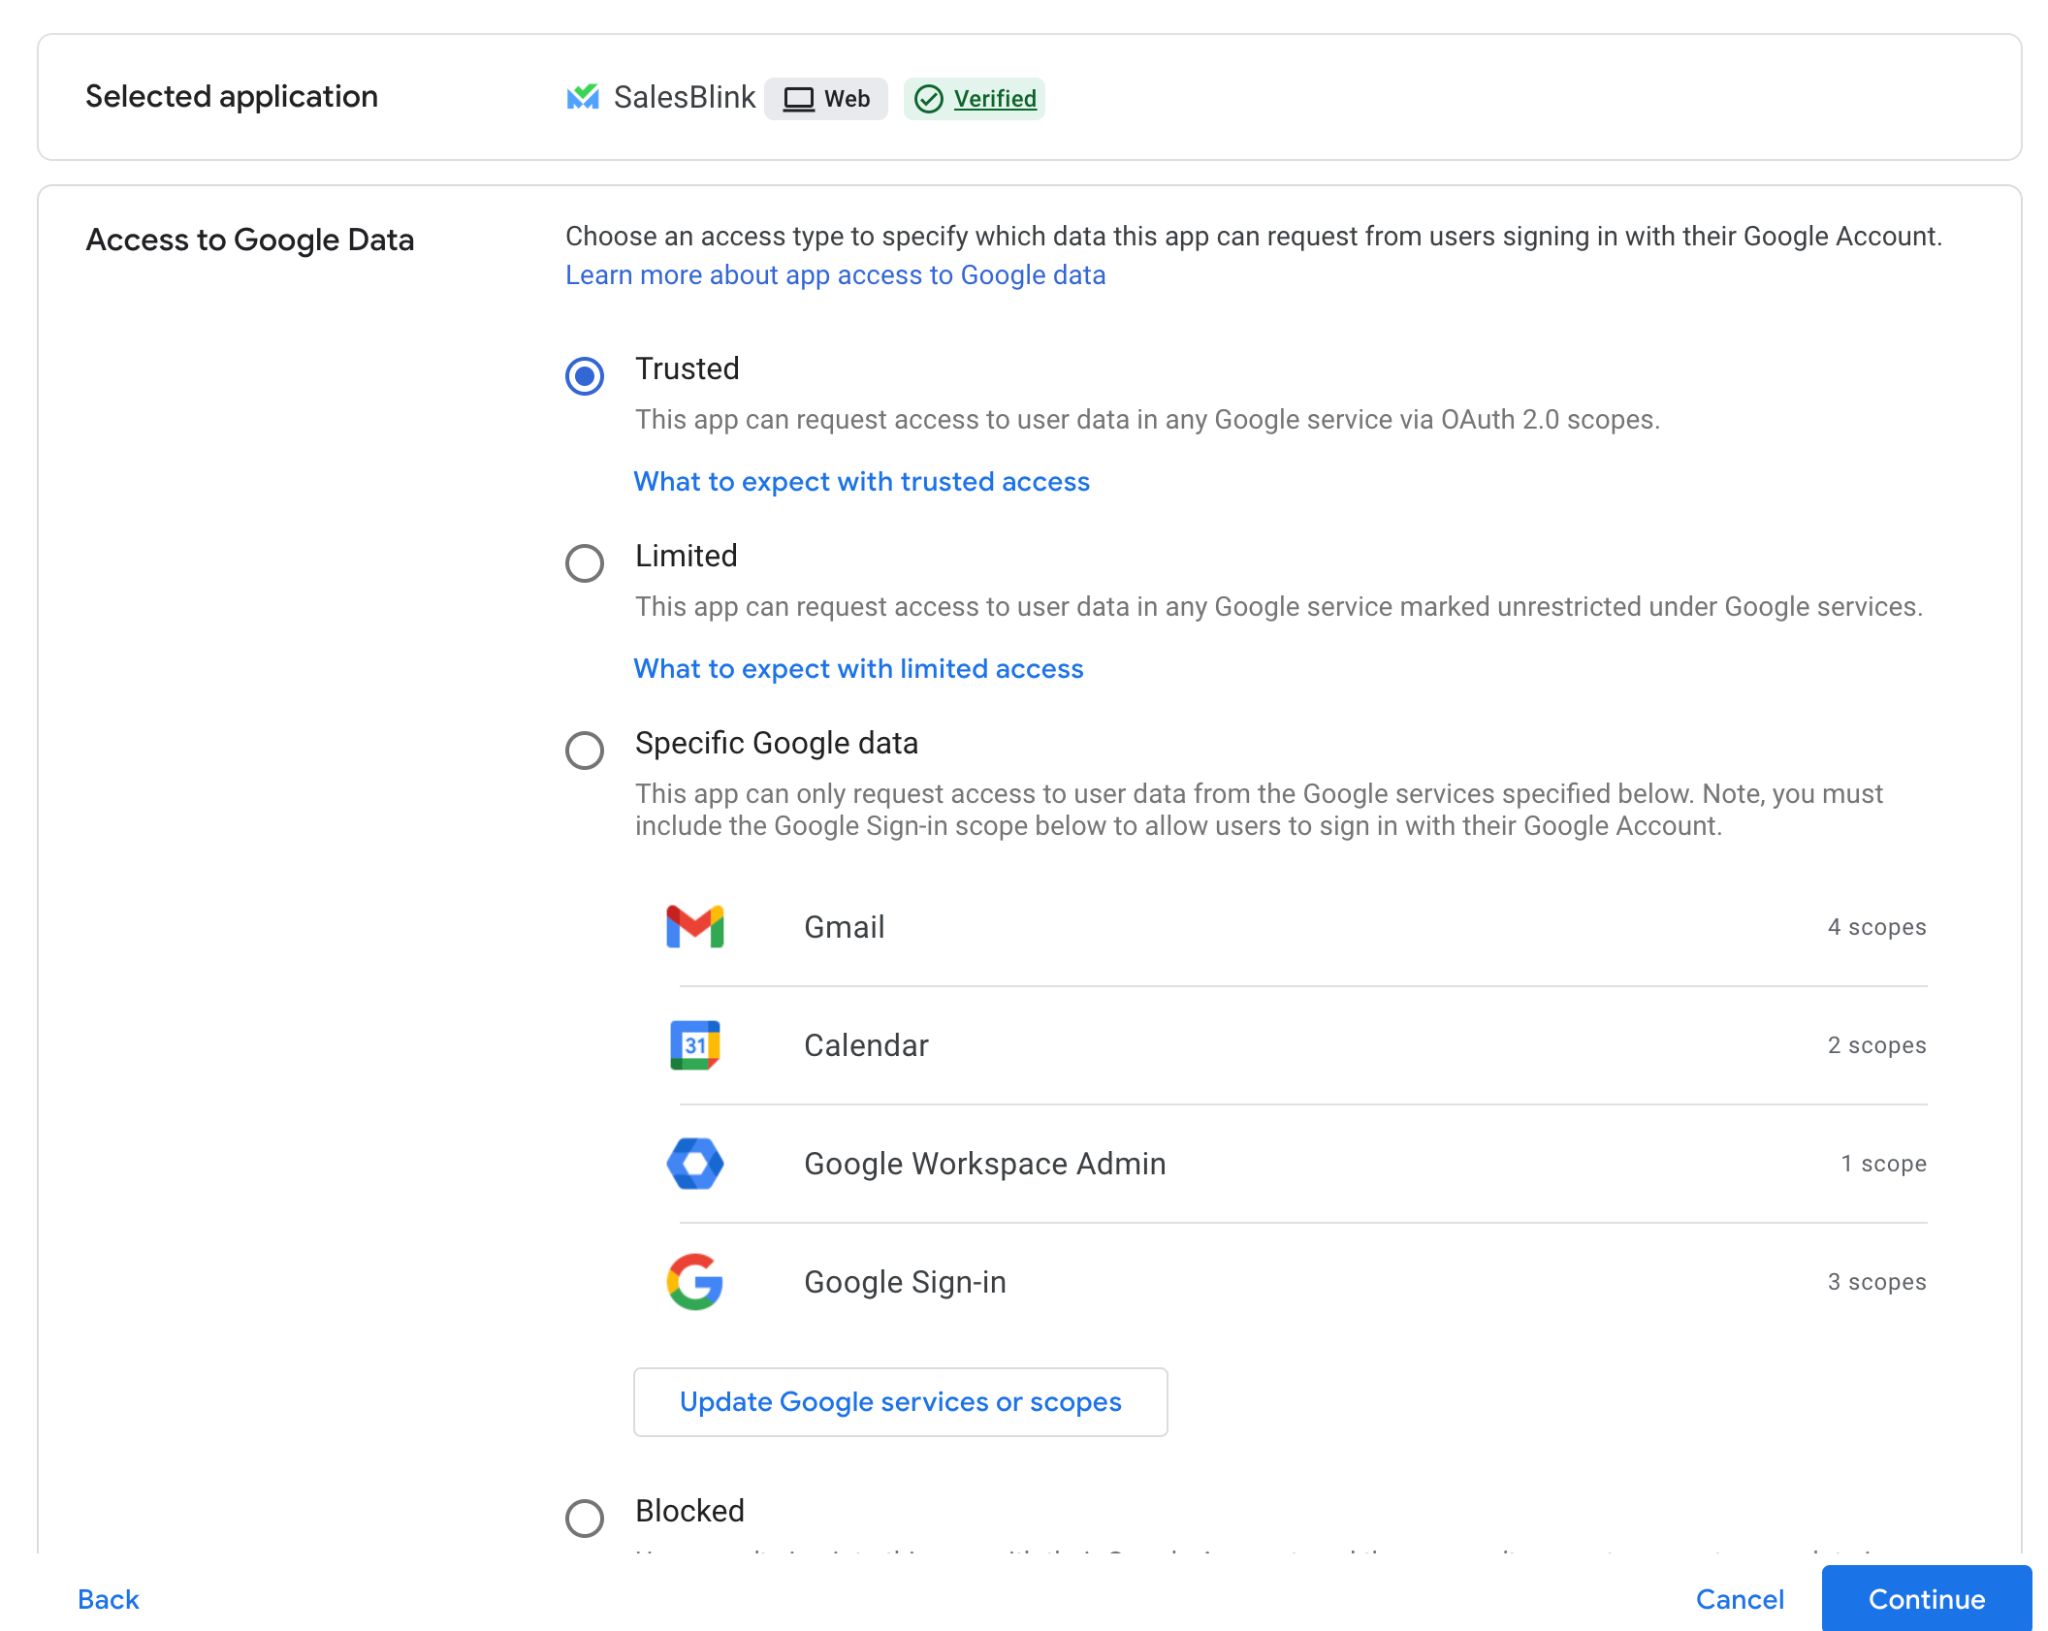
- Set Access to Google Data as Trusted.
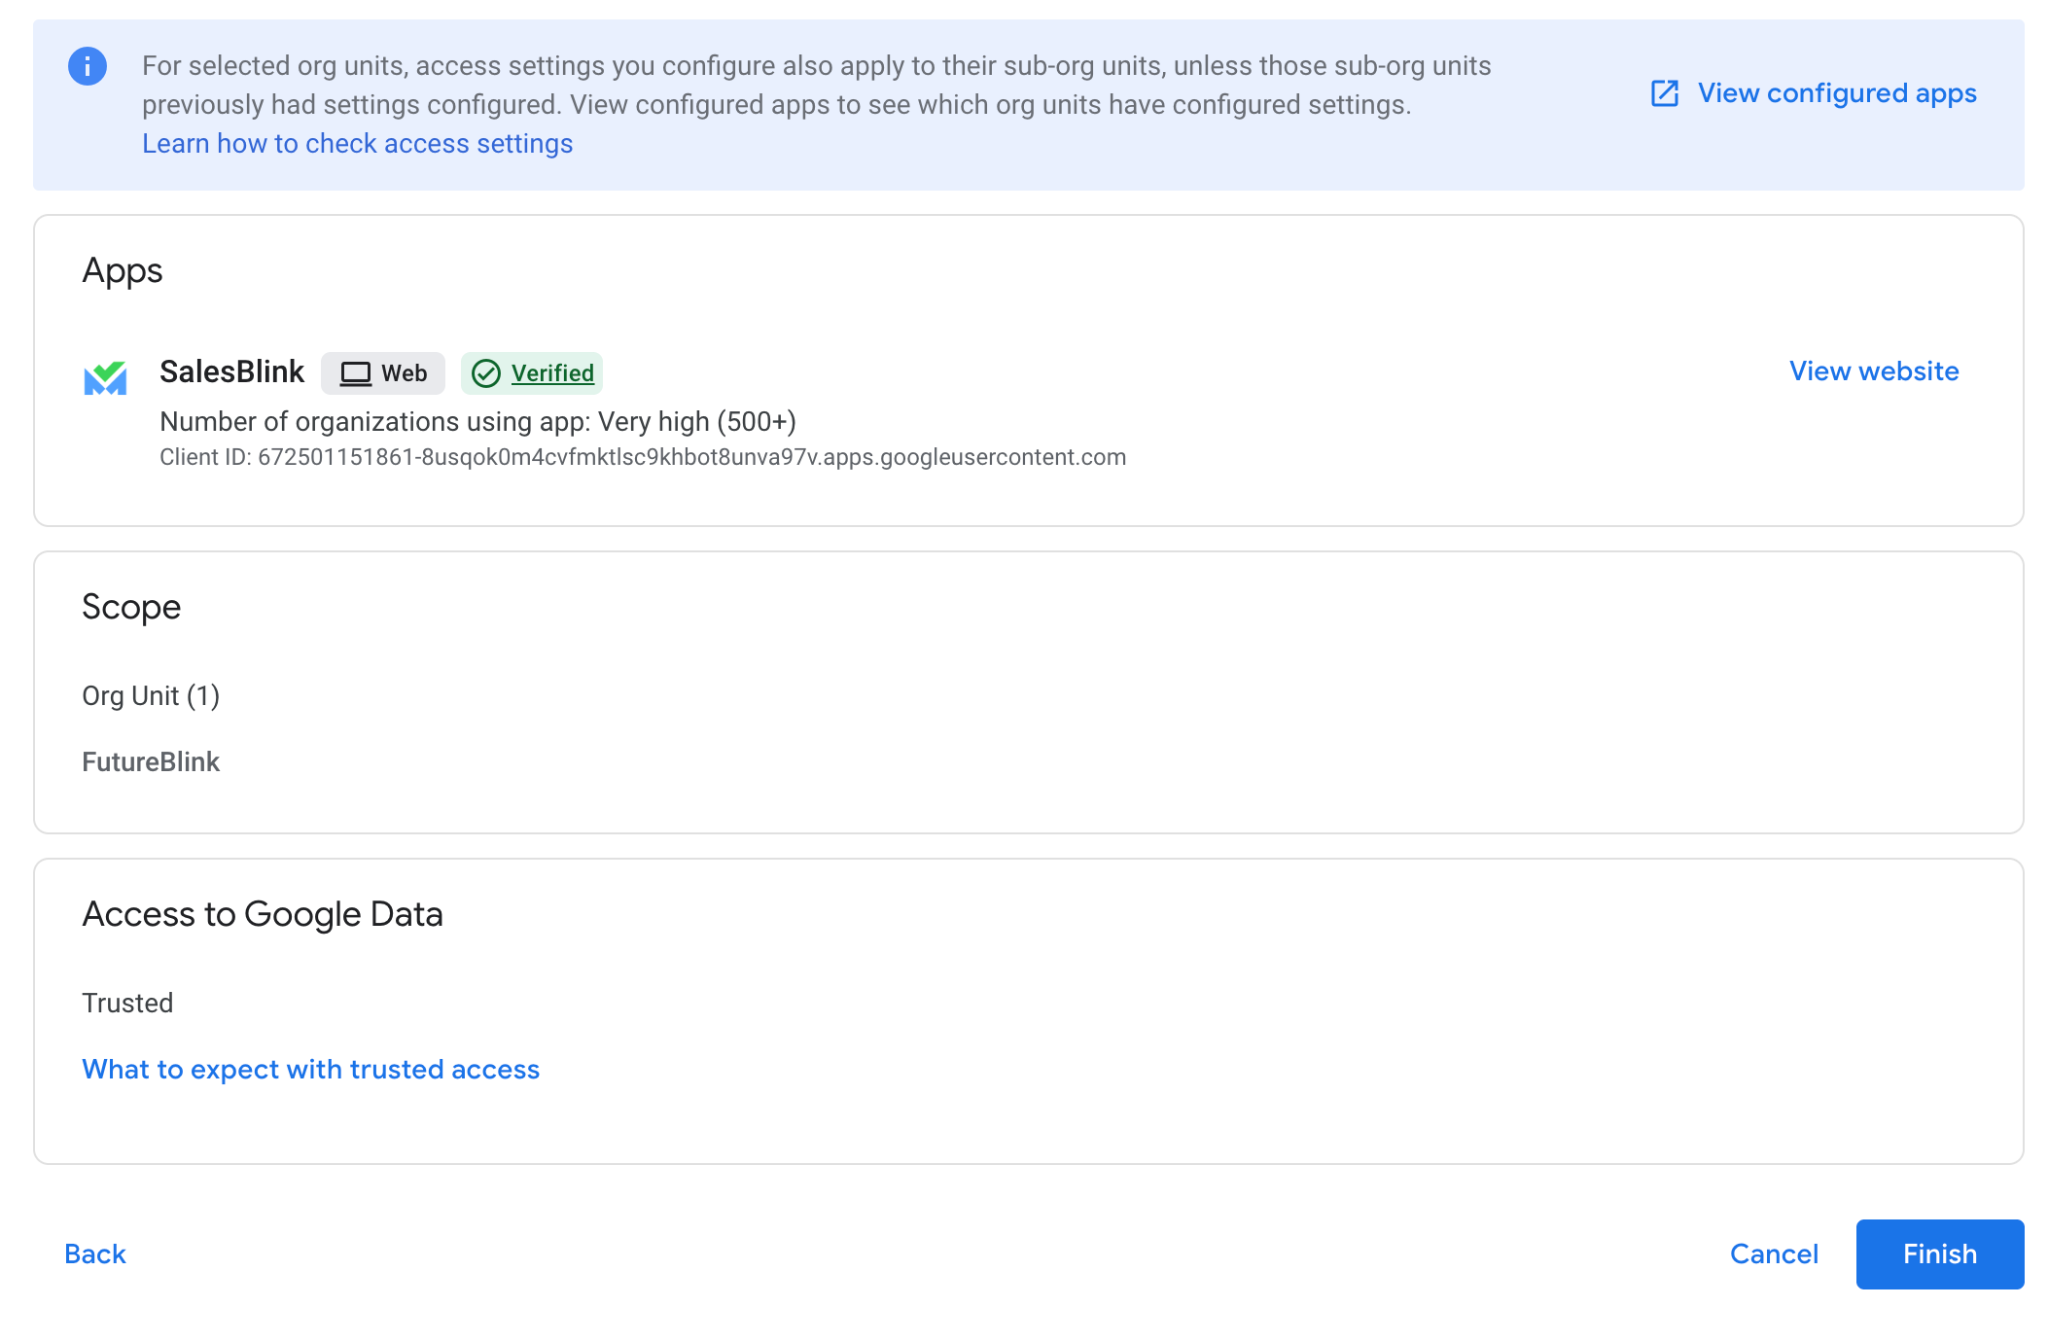
- Finally click on Finish.
- Head back to SalesBlink and finalize connecting your Gmail address.
Option 3: App Password - Connect Google Workspace Email with SalesBlink
- Turn on 2-Step Verification if you haven't already. Manage your Google Account in your browser.
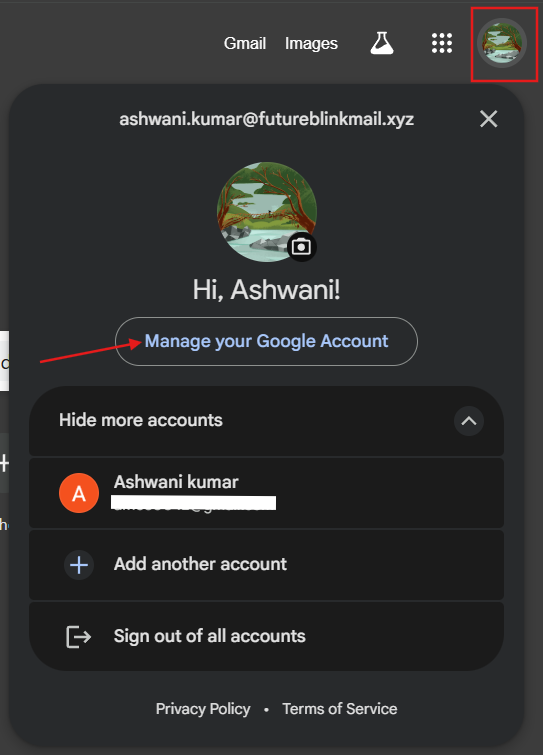
Enable 2-Step Verification (Google Account)
- Go to Google Account → Security.
- Click 2-Step Verification.
- Authenticator: Add and verify using an authenticator app
- Phone number: Add and verify via OTP
- Click Turn on and complete setup.
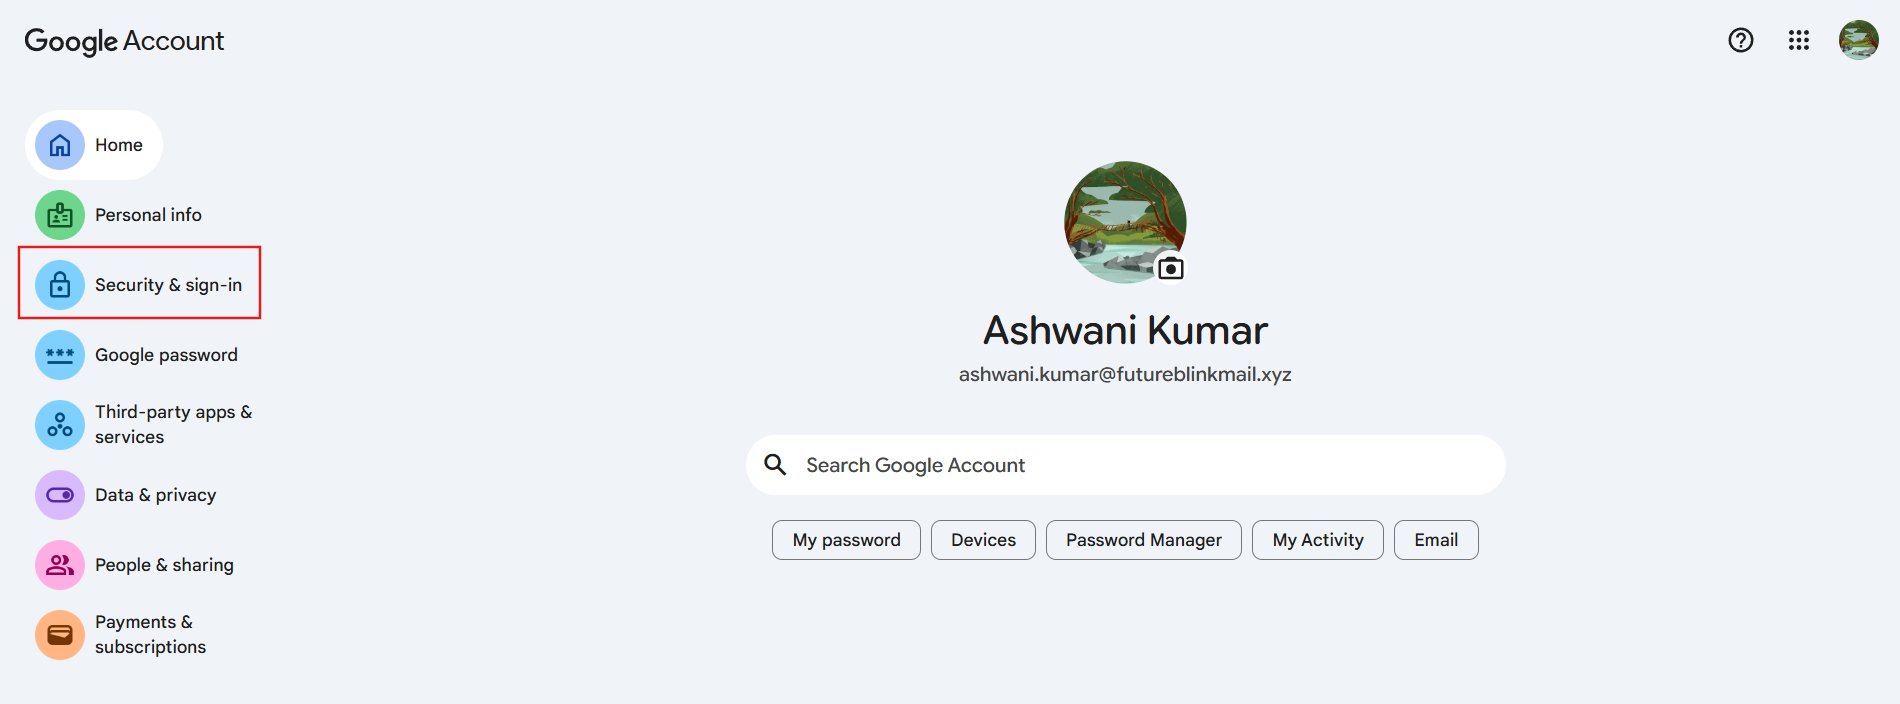
- On the Home Page, you will see a search bar, type App Passwords and select the option that says App Password. 🔑
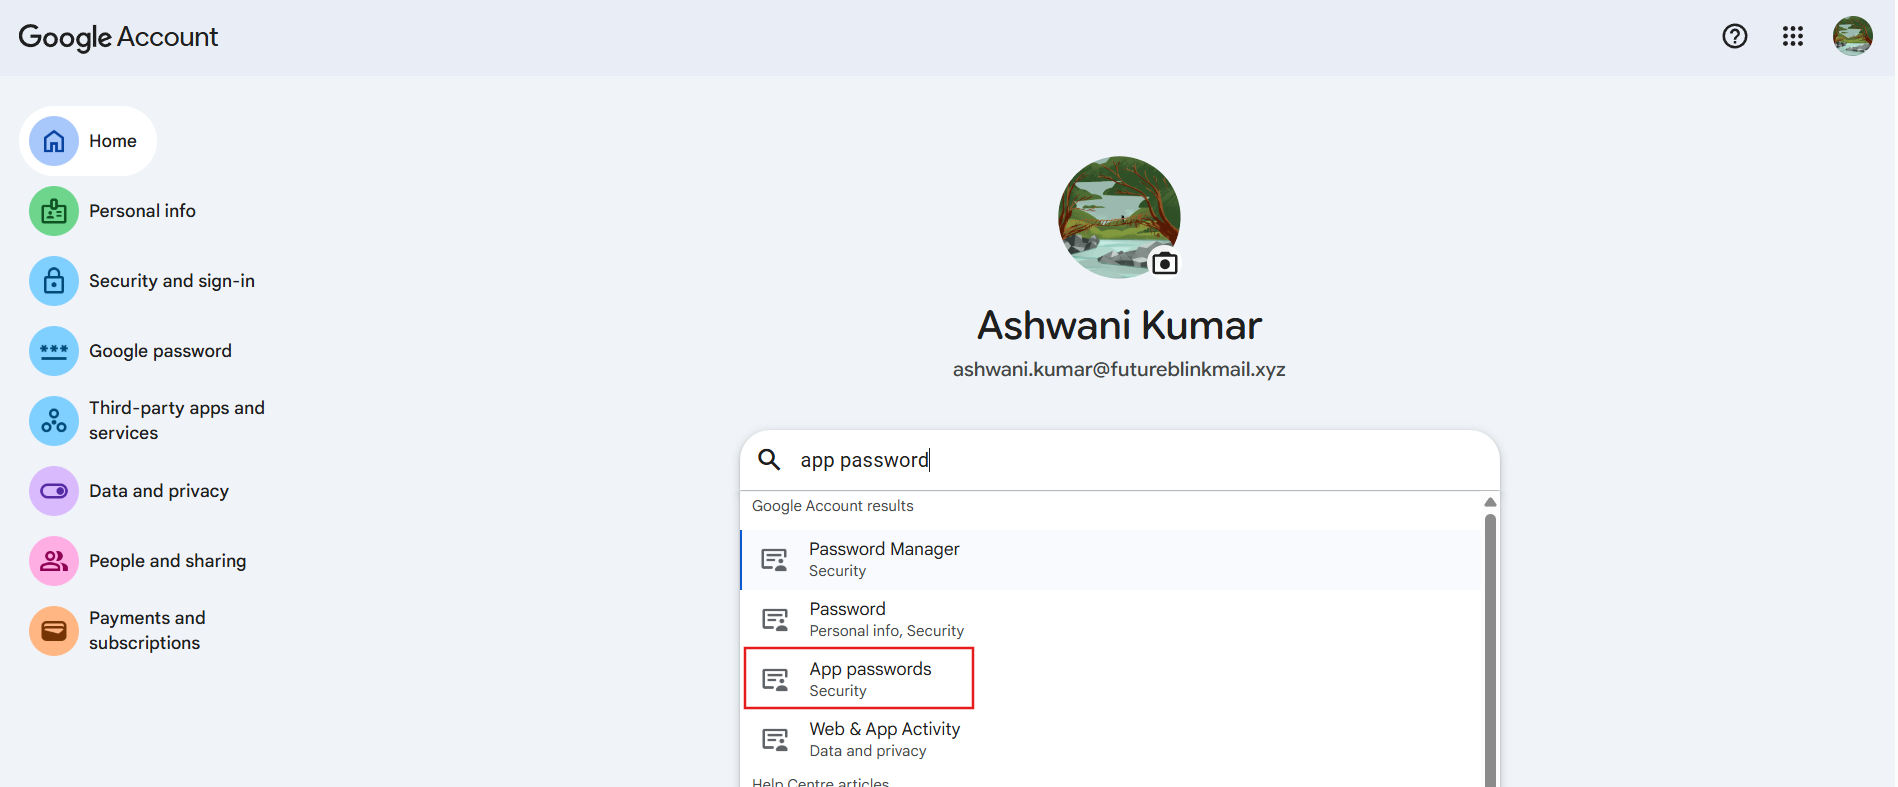
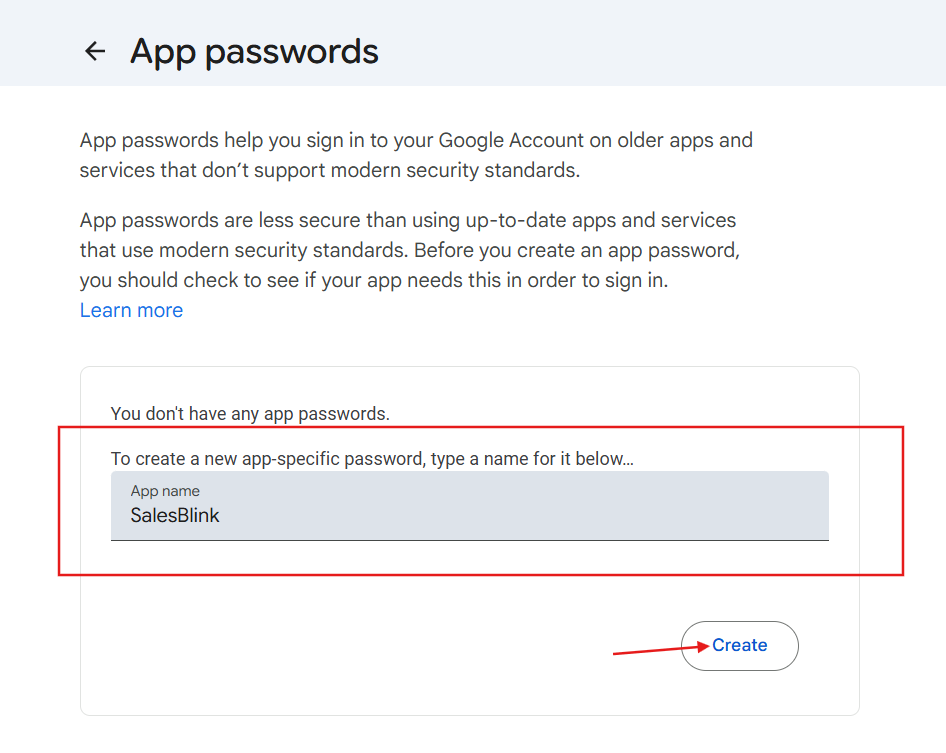
You will be greeted with a page like this,
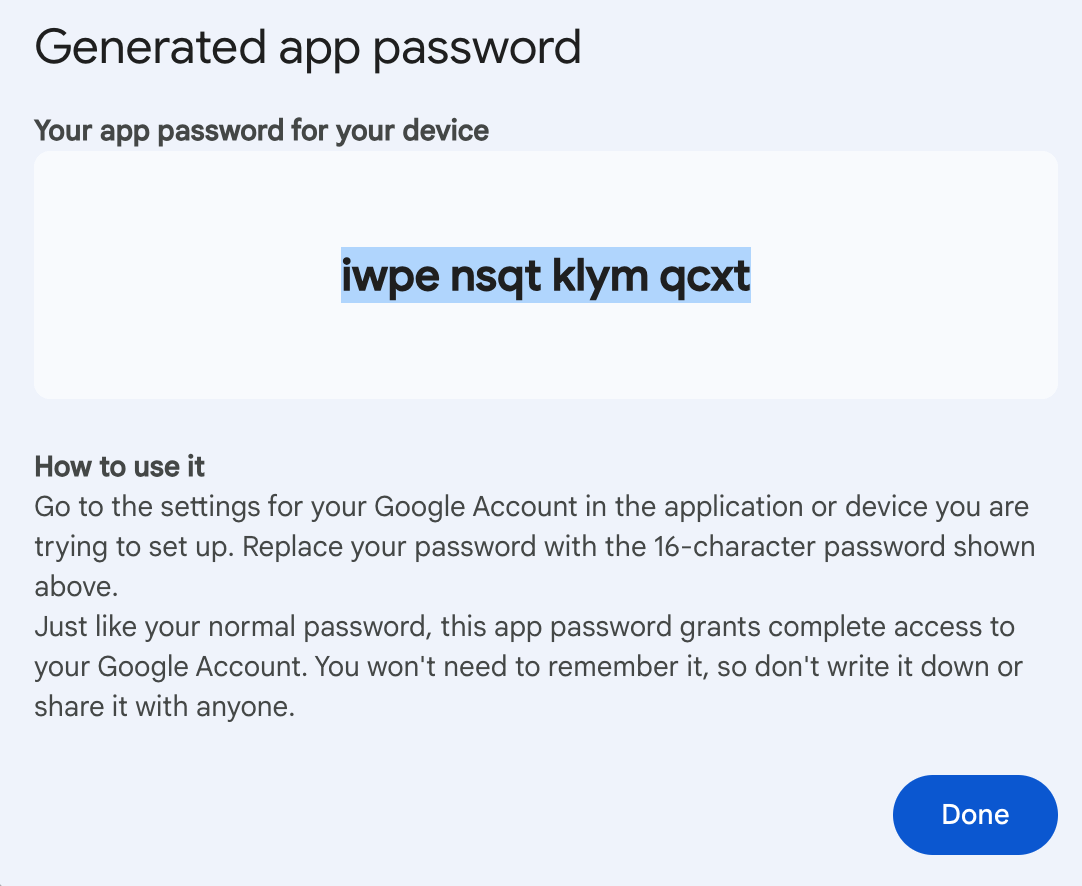
- Copy the generated app password and store it in a safe place.
- Now head back to SalesBlink & enter the credentials as follows:
SMTP Host: smtp.gmail.com
SMTP Port: 465
IMAP Host: imap.gmail.com
IMAP Port: 993
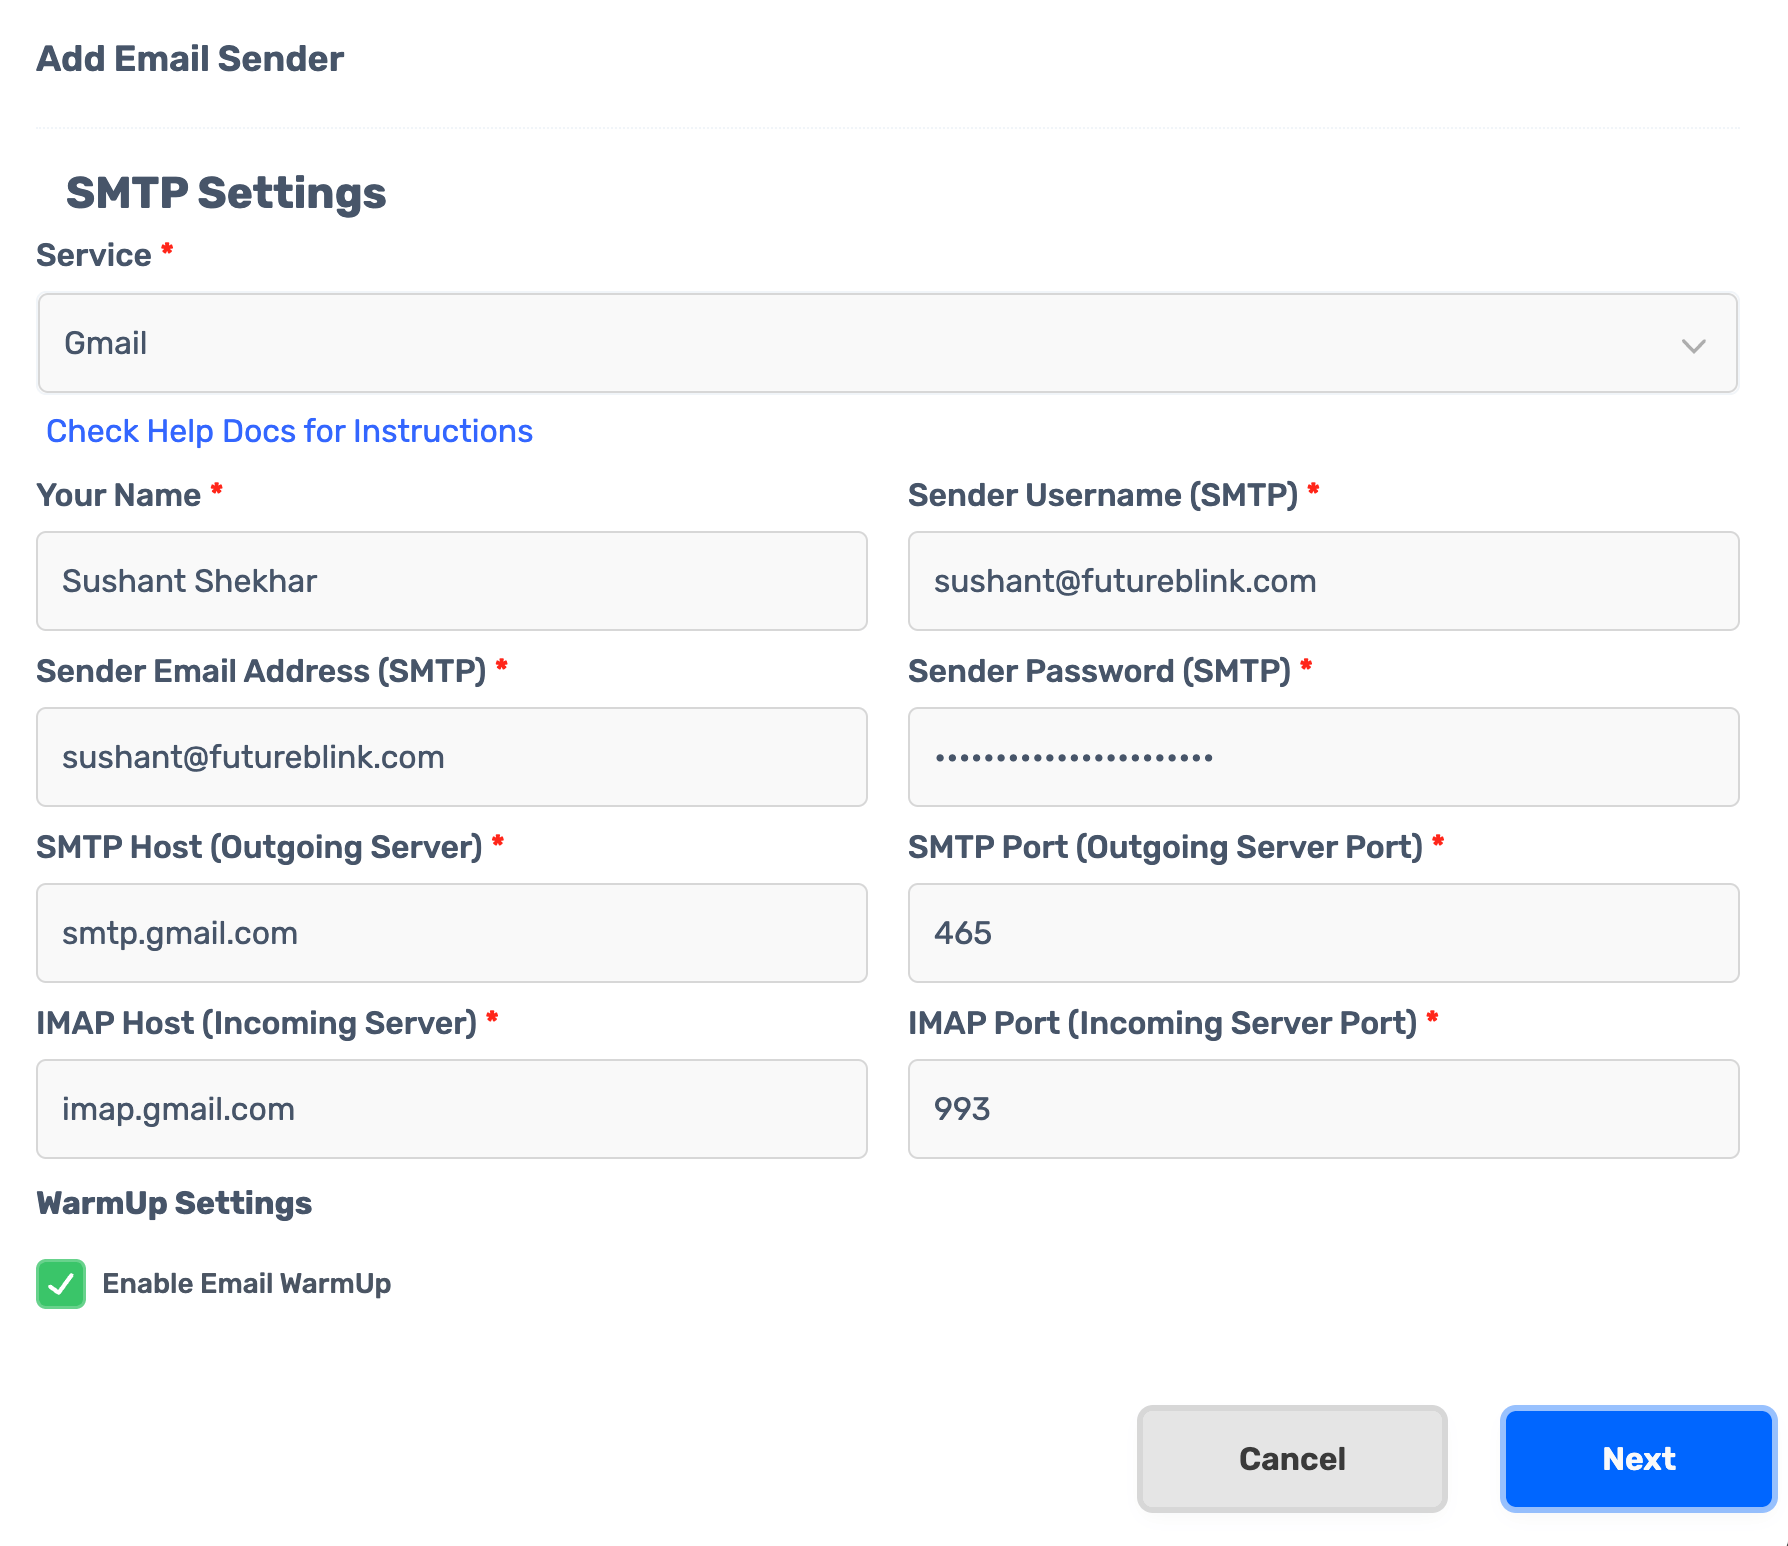
- Hit Next and your email address will be connected.
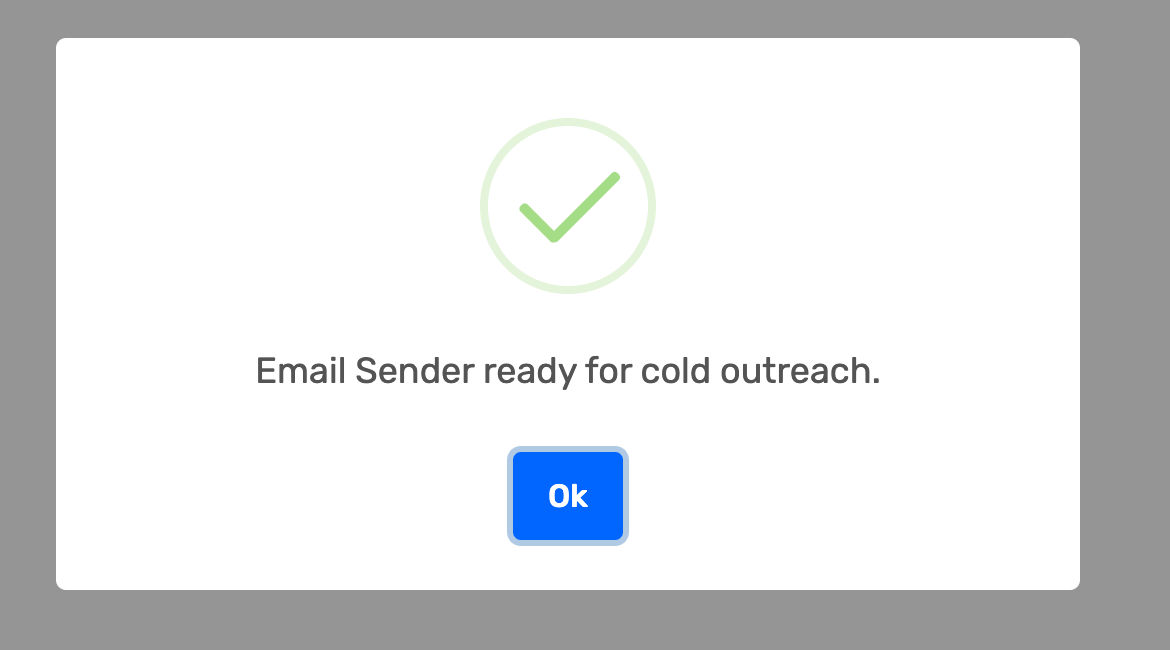
Your Google Workspace Email Address is ready to start sending cold emails!
What's Next
There are a few more optional but recommended steps you should take to maximize email deliverability.
- (optional) Set your email signature. ✏️
- (optional) Enable Email Warmup 🔥 for better deliverability.
- (optional) Set your custom domain for better email deliverability.
- (optional) Check your domain setup. 💯
Step 2: Launch your Cold Email Sequence 🚀
You can now use your Google Workspace email address to launch cold email sequences.
There are a couple of ways to go about this:
- BlinkGPT AI Personalized Sequences
- Cold Email Sequences using Templates
- Cold Email Sequences from Scratch (Advanced)
Common reasons for error ⚠️
- Make sure your 2-Step Verification is enabled (if selecting Option 3: App Password).
- Make sure your app password is correct (if selecting Option 3: App Password).
- If Google shows This App is Blocked or Google blocked your app, your admin has not approved SalesBlink yet. See the section below.
Google blocked your app
When you sign in with Google during Option 2: OAuth, Google may stop the connection with one of these messages:
- This App is Blocked
- Google blocked your app
This happens when your Google Workspace admin has not marked SalesBlink as a trusted app. Google blocks the sign-in until an admin approves it.
To fix it, a Google Workspace admin must do the following:
- Sign in to the Google Admin console with an admin account.
- Go to Security → Access and data control → API controls → App access control.
- Click Configure new app.
- Search for SalesBlink and select it.
- Set the scope to All in WORKSPACE (all users).
- Set Access to Google Data to Trusted.
- Click Finish.
- Go back to SalesBlink and connect the mailbox again with Option 2: OAuth.
Note: Only a Google Workspace admin can change App access control. If you are not the admin, send these steps to the person who manages your Google Workspace.
If you can't get admin approval, connect the mailbox with Option 3: App Password instead.
If the sender still won't connect, see Sender Stuck on Connecting or Reconnecting a Sender.
Frequently Asked Questions
I see the App not verified error. How to fix?
- Your Google Workspace admin needs to approve SalesBlink from the Admin console. Follow the steps under Option 2: OAuth above, or see Google blocked your app.
I see "This App is Blocked" or "Google blocked your app". How do I fix it?
- Your Google Workspace admin must set SalesBlink to Trusted under Security → Access and data control → API controls → App access control. See Google blocked your app.
How can I connect the Alias Emails of Google Workspace?
- Just add an alias from Google Admin Console and verify it under Send mail as in Gmail. Then connect the main email address with Option 2: OAuth and SalesBlink will prompt you to select an alias if it exists. Repeat the connection once per alias to add each alias as a separate sender with its own WarmUp. For the full steps, including the App Password method, see Connect Google Workspace Aliases as Separate Senders.
What is the recommended daily sending limit for Google Workspace?
- SalesBlink recommends sending 30–50 emails per day per email sender, regardless of whether you use Google Workspace, Outlook, or another provider.